You can save extra frames with a well timed jump at the very end of the 2nd room with this strat
[](https://goodboyrush.net/uploads/images/gallery/2024-04/fceux-2baozvbbpt.gif)Sliding while trying to jump is significantly harder to do, and keep in mind the timesave is very minimal.
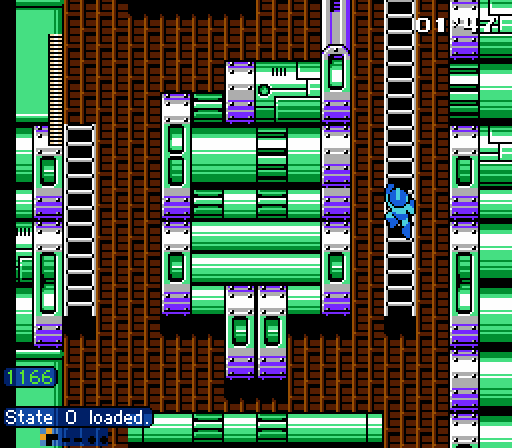
##### Balloon left path This what most runners will do as it's the fastest to approach the stage as well. As stated in the name, we need **Balloons** so in the first screen, after climbing reaching Ladder, switch to Balloons. Then you climb the left ladder and you need to precisely place 2 balloons in order to reach the top. [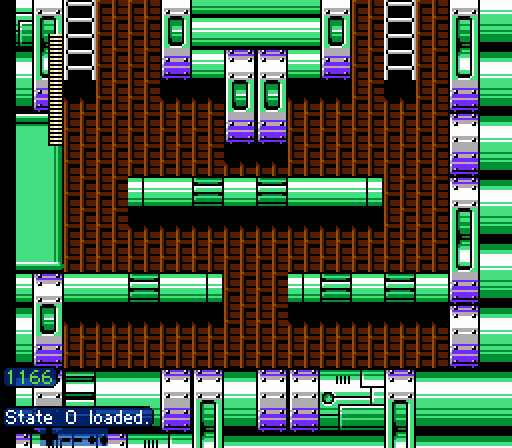](https://goodboyrush.net/uploads/images/gallery/2024-04/fceux-oio2kgejt6.gif) This second room might be quite difficult especially for new runners that are not quite used to Balloons yet. You probably noticed that you need to go quite fast in order to reach the top as the top enemy is about to fall into you. Though dont let that rush your movement, as this is precisely what makes this worse. Like any balloons you need to place **BEFORE** you hit the wall, otherwise you wont be able to land on it. Which means, the first one as to be placed before you hug the right wall and the second on the left before you hug it too. You gotta make sure to place these balloons somewhat late to get good height so you land on it late. Especially the last one as you can get hit if you are too slow/too low. It's likely that any deviations are causing this strat to fail. Also make sure you are not holding "Up" - this will make you grab the ladder, and get hit. [](https://goodboyrush.net/uploads/images/gallery/2024-07/mm4-cossak2-screen2-doubleballoonfail.gif) # Spike Room Spike room is one of the scariest hallways in the game. It's very easy to miss something and die. One of the biggest run killers for beginners. This room has a **LOT** of different strategies that can be used #### Beginner strats The beginner strats are all follow-ups to the right path used early on and previously shown [here](https://goodboyrush.net/books/mega-man-4/page/starting-rooms#bkmrk-beginner-route) ##### Jet strat This strat is very comfy but the slowest of all as Rush Jet speed is quite slow. There are a few things you gotta do still. First you need to boost the 2nd spike enemy while facing left, this is important as for whatever reason Jet gets a speed boost for each reversed dboost. Make sure to avoid all refills as you SHOULDNT need them for Jet. [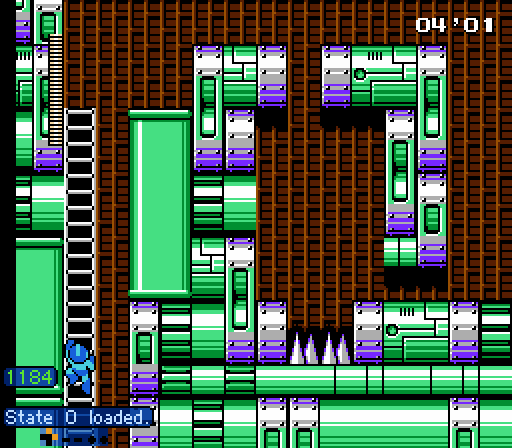](https://goodboyrush.net/uploads/images/gallery/2024-04/fceux-ncpu5h7wxj.gif) ##### Balloon strats (with Buster start) Having buster at the start of this room actually gives a small advantage as the first spike enemy will be as low as possible. After killing the small skull head, you switch to Balloons and take a back boost from the spike enemy you then should have enough time to easily back boost the second one and reach the 2nd ledge. You wanna avoid using balloons here as it will trigger the refill which might kill you if you are not used to it. The rest is pretty straight forward past that point, you do wanna pick up all refills in this room while picking Balloons (not like you can dodge them anyways) [](https://goodboyrush.net/uploads/images/gallery/2024-04/fceux-qkagnr2pmy.gif)Note that most of the back boost are not necessary, they do save time and can make some sections a bit easier. So try them out if you feel comfortable enough with this room, else just boost off.
#### Intermediate strats Lets move on to the early balloon strats. There's a lot of ways, we are going to from easiest and slowest, to fastest and hardest. ##### Friendly way No tricky boost, the iframes last quite long so you can usually get a full slide before dying on the spikes. [](https://goodboyrush.net/uploads/images/gallery/2024-07/fceux-mxqpm4ragm.gif) ##### Back boosts They can vary a lot. But we can first add all the back boosts to save extra frames. [](https://goodboyrush.net/uploads/images/gallery/2024-07/fceux-toj6vz1wwz.gif) We can do an early back boost which can be the first quite tricky trick to pull off, but can gives you a few advantages. It saves a bit of time as you get pushed forward instead of backwards and thanks to this the next spiky enemy will be much lower as your iframes will ends up later. So you dont need as big of a jump off the balloon. [](https://goodboyrush.net/uploads/images/gallery/2024-07/fceux-bd6cvpurc0.gif) With everything we've seen so far, this is what we can do by optimizing the current strat. [](https://goodboyrush.net/uploads/images/gallery/2024-07/fceux-unql023dbd.gif)These strats are good enough to be played at a top level speedrun. Most 37 runners still uses this strat.
#### Advanced Strats Most advanced strats are quite tricky and only used at world record level. ##### Triple balloons One of the strats is to get rid of one of the spike damage to save time. We wanna take advantage of the balloon slides to reach the top ledge in time. [](https://goodboyrush.net/uploads/images/gallery/2024-07/fceux-7bcliqgytc.gif) ##### Ladder balloons One final add is to add ladder balloons. When placed on specifics spots on the ladder, a balloon is placed downwards. Giving you a few frames to land on it and jump off of it. Which then allows to place another one to skip the whole ladder. [](https://goodboyrush.net/uploads/images/gallery/2024-07/fceux-srdc2ewk46.gif) Adding every together gives this result. [](https://goodboyrush.net/uploads/images/gallery/2024-07/2lcqsq9faq.gif) #### Fastest Room Fastest recorded room is performed by **Chelney** with a **14'27** **** # Vertical Screens ### Screen 1 The vertical screens are where **Balloon** really shines over **Rush Jet**. There's various strategies that can be used. ##### Damageless double balloons You place the first balloon to the right of the second spiky block, then place a balloon slightly above the other spiky block to that you can slide on the balloon and safely land on the block then finish the screen  ##### Damageless single balloon A bit more tight, you jump over the enemy and align in between the 2 blocks in the center. #####  ##### Safe Damage boost Similiar to the double balloon except instead of placing an extra balloon, you take a small back dboost off the spike  ##### Damage boost (Zip way) Here you wanna place your balloon intentionally too high and further left than normal and then take damage off the spike from below, which as a result will boost you upwards.  ##### Damage boost (Fast way) Instead of dodging the enemy here we want to slide into it then very quickly place a balloon at the center and jump into the spike while having iframes The window the jump off the spike is tight on this strategy! Wouldn't recommand unless you have good consistency with it!
### Screen 2 You wanna use 2 balloons usually. One of the right and one on the left as a balloon walljump Note that if you struggle with walljump balloons you can wait for the 1st balloon to go higher and climb the ladder that way
### Rush Jet Alternatively, you can also use Jet for both screens, can be useful if you used Jet on prior screens. The first screen is simple enough with Jet. [](https://goodboyrush.net/uploads/images/gallery/2024-07/mm4-cossak2-verticalscreens-jet.gif) The second screen....is a mess as you can see. Might be best to switch back to Balloon on that screen especially if you already used Jet prior to this screen, you should have plenty of balloons to use # Checkpoint Screen This long screen involves avoiding many enemies while moving fast. The first concern with this screen is the **bat**. It can open after **1** or **3** seconds, its a **50/50**. You can clear the wall either with a regular balloon slide or balloon walljump   Using a wall balloon is always slightly faster and slightly riskier (if you get knocked down by the bat). You then wanna place balloons over the Mono Roaders instead of jumping over them, that way you can keep doing slides. ##### Full room example You can use an extra balloon to grab the health, but you may need that balloon to use the faster balloon strat in Cossack 4's shortcut room. You can always use Coil there, so it really depends on your confidence in not needing this health.
For the end of the screen, the balloon must be high enough to get over the rolly enemy, and LOW enough to get under the bat. Getting under the bat is practically an A+B input, or at least a VERY fast balloon usage. [](https://goodboyrush.net/uploads/images/gallery/2024-07/mm4-cossak2-checkpoint-end.gif)In case you are out of Balloons you can jump into the bat, jump off the spikes while in i-frames.
##### Fast Mono Roader damageboost In case you used extra balloons, you can attempt to left damage boost the last mono roader to pass the bat through i-frames without falling like the World Record does This strat is hard (mostly intended for advanced players) and is actually slower if you didnt used extra balloons in Spike Room for example.
# Minoan Room This room is quite straight forward. You wanna menu before to Dust before reaching the top of the ladder, you then have various way to kill the Minoan. ##### Wait and shoot  ##### Early timed shot Dust can deal damage twice if well timed here, killing the enemy in one go You need to be careful of a potential drop from this enemy. Not paying attention to it may result into you completely missing the ladder and loose a bit of time
# Triple Balloon Screens ### Screen After Check Point Up the ladder is where you usually switch to Dust in preparation for Square machine, using it to kill the Saturn enemy. ### Triple Balloon Screen There are two strats for the last ladder screen. The first is the easiest strat - just hold up. It is faster overall across all stages (Balloon ammo problems). The second is triple balloon, which climbs the screen fast, but uses too many balloons to be a viable time save. It still looks rad. [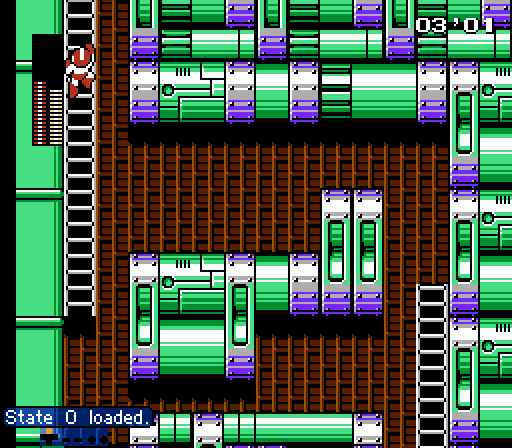](https://goodboyrush.net/uploads/images/gallery/2024-07/mm4-cossak2-tripleballoon.gif) ### Final Screens If you haven't already switched to Dust, switch to dust somewhere in here. # Square MachineNote - Square Machine damage produces a very flashy screen.
### Damage Table| Buster | 1:1:3 ? |
| Dust | 4 |
Given there are no checkpoint screens, surviving this fight is important to a good intermediate time. This is a very common place to use the Cosssak 1 Free E Tank.
##### RNG Table| **Single Pattern** | |||
| **Pattern** | **Odds in %** | ||
| 1 | 12,5% | ||
| 2 | 37,5% | ||
| 3 | 50% | ||
| **Possible patterns** | |||
| **Pattern** | **Odds in %** | ||
| 1 - 1 | 1,56% | ||
| 1 - 2 | 9,38% | ||
| 1 - 3 | 12,50% | ||
| 2 - 2 | 14,06% | ||
| 2 - 3 | 37,50% | ||
| 3 - 3 | 25,00% | ||