Cossack 3
Autoscrollers
Room 1 - First half
Cossack 3 is an autoscroller, so there isn't much to explain that isn't in the videos. There are a few notes though.
First, very simply, the screen does not begin scrolling until you move to the right past the spawn point. (?)
Lag reduction strats
One thing to note, is to shoot the 4 turrets when they spawn to avoid lag-generating bullets. After the destroying the fourth turret, you can switch to a weapon to refill, and then (if necessary) to Ring before the next screen.
To be optimal, you want to kill the turrets as soon as possible. You can sort of light mash to make it easier
Turret 1

Turret 2

Turret 3

You can reduce lag even further by standing still until the 2 spark balls on the left side despawns
While possible, you could avoid killing the Turret for the drop on top, but you don't gain any advantage doing so as you should be fine on ammo for most weapons.
Turret 4

Refill

Switch to Ring Boomerang and pickup this refill.
If you didnt missed any Ring shots on Mothraya in Cossack 1. You can skip this drop and pick the one later in the second half, you'll save a few frames of weapon refills.
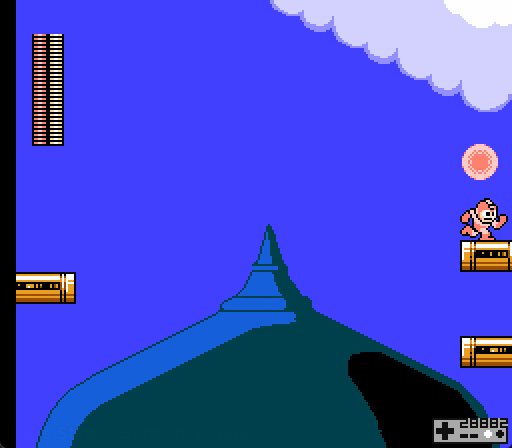
Jumbig
You'll find a jumbig at the end of this room. People usually tend to stand of the far right edge of the cloud as a visual cue for the slide.

You then need to react to when he jumps. You'll be fine if he jumps high, however low jump can be a bit tricky to time, not a huge deal if you miss it, but you'll loose a bit as you wont able to grab the ladder as early as possible
Low jump example

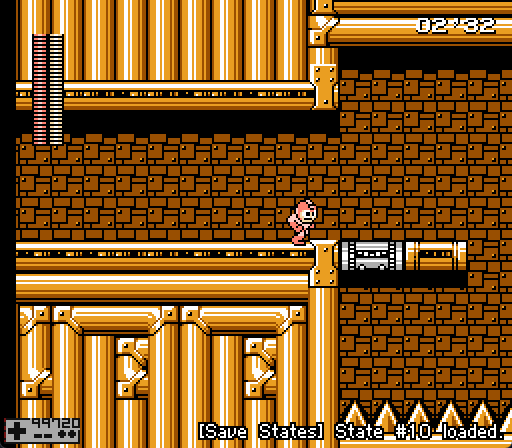
Room 2 - Transition Room
Fairly easy room, 2 saws to kill one ladder to grab.

Potential mistakes
This room can be tricky if you try to optimize it because drops could alter your timings.

You need to be extra careful, to play it fairly safe you could walk on the first one to give yourself more time to react in case the second saw drops something that could alter your movement.
You won't die if you fall off here, but its still a significant timeloss you want to avoid
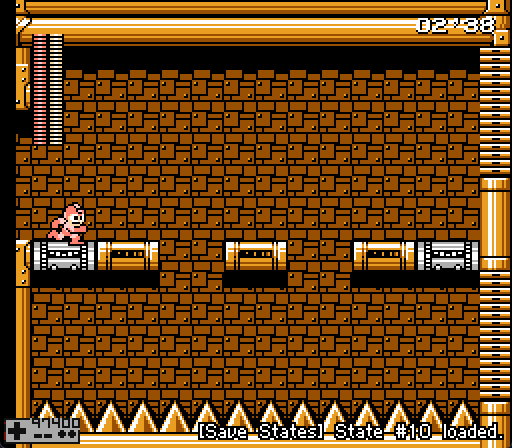
Second Half
Still autoscrolling. Slide across the screen to trigger it.
You want to spend as little time as possible on the floating platforms that sink when you stand on them - they generate lag.
After the ring refill partway through the screen, switch to Pharaoh and hold a full charge over Mega Man's head for the rest of the stage. Use this to destroy the saturn enemies for free.

Be careful with the very last platform - if it and Mega Man are at the top row of tiles at the same time, it's possible for it to push Mega Man to the left.
Advanced lag reductions
You can kill the saturns even earlier than usual by killing them as soon as they spawn.
First saturn
This one is really easy, go fairly early on the right side of the second platform, guaranteed optimal kill

Second saturn
Things start
For the second saturn, you need this platform to be fully visible on screen

You then proceed to do 2 full jumps and jump ahead. If you are too early, you die. You better be late as you only take damage and most likely will be still living.
Third saturn
Relatively the same as the first one, but you gotta be slightly faster

Damage boosting is a possibility as well for all the saturns, although you could loose some time due to refills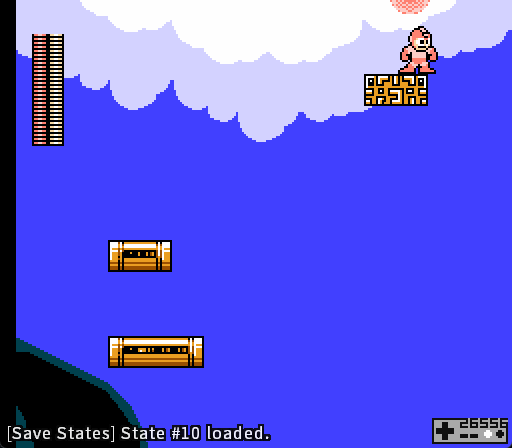
The E-Tank at the end requires Balloon. It's not required for anything and there are multiple E-Tanks in the next stage. We suggest skipping this unless it is a specific goal to collect this E-Tank.
Boss - Cockroach Twins
This fight assumes holding a full charge with Pharaoh when you enter the room.
Moonwalk
Hold left when Mega Man enters, even in the air. This is for fun.
Strategy
The twins are weak to Pharaoh shot. The second spawns at the bottom of the screen when the first one is destroyed. As such, part of the strategy here is to get a "Double Hit" with one shot striking both twins, saving ammo.
First Twin
As soon as the fight start, jump and release the Pharaoh Shot at the twin, and immediately begin charging again. Make sure you land on the platform to not hit until the shot is charged.
Once the shot is charged, jump under the twin to hit it with the overhead charge, then hit it again once the i-Frames run out.
Quickly do this again. However, releasing this charge should finish the twin. You want to be on the left side for this shot and angle the shot down towards the lower right gate...
Second Twin
...if you did it right, the angled shot will strike the second twin when it spawns.
Other than this, simply strike the twin with Charge shots as you are able. Remember the twin is only overhead sometimes, so you will probably only get one "double hit" from one charge.
Also note that the second twin unlike the first DOES have some RNG to it, it either will shoot a big bullet or 4 small bullets. Here are example of full complete fights with both patterns
4 bullet pattern
Make sure to advance close to the ledge as you damage boost (like the example) or else your shot will get caught before its fully charged, which will loose time and ammo!
This pattern looses about 1 second due to the lag it creates over the big bullet
Big bullet pattern
Note that the damage on second last shot is optional but comfortable for positionning on the last shot
Race Backups
The twins take damage from Dive, Drill, and Ring. Dive could be a race bailout if the lower twin has only a few HP left and you are low or out of Pharoah.