If you need the weapon refill (presumably for Pharaoh), switch to the weapon and hold right against the wall at the screen transition. While the record route does not need this refill, it is highly recommended for beginning runners and all racers to collect this weapon drop for Pharaoh until they are comfortable now needing Pharaoh refills.
### Screen 2 If you need the weapon refill for Pharaoh, hold right during the fall to collect it. Otherwise, just fall through and slide to the right.If you dont plan on taking the E-Tank Switch to your desired weapon for the next screen - Balloon is optimal, Coil is backup/safer strat.
### Screen 3 Jump and tap right to back-boost through the cannon. Continue sliding to the left to fall down.If you want the E-Tank, just hold right during the fall. This requires an extra weapon swap to Drill to break the wall, but otherwise does not impact the route.
[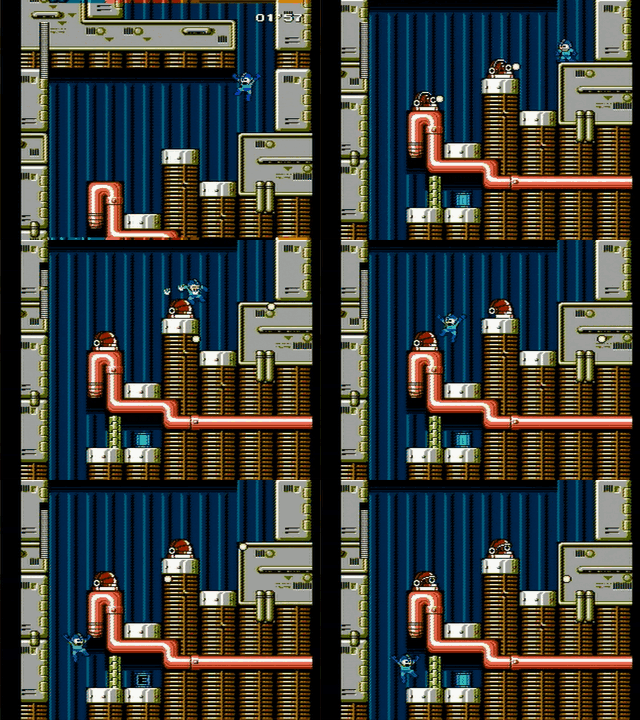](https://goodboyrush.net/uploads/images/gallery/2024-07/mm4-cossak4-screen3.gif) ### Screen 4 Slide to the right. The stomper or Jumbig, as 2 jump patterns variant. The low jump is the bad one has it will stay on screen as you damage boost through it. The high jump is the best one, as you can despawn it quicker and reduce lag by extension. There's various strats you can do for the high pattern. ##### Slide below him [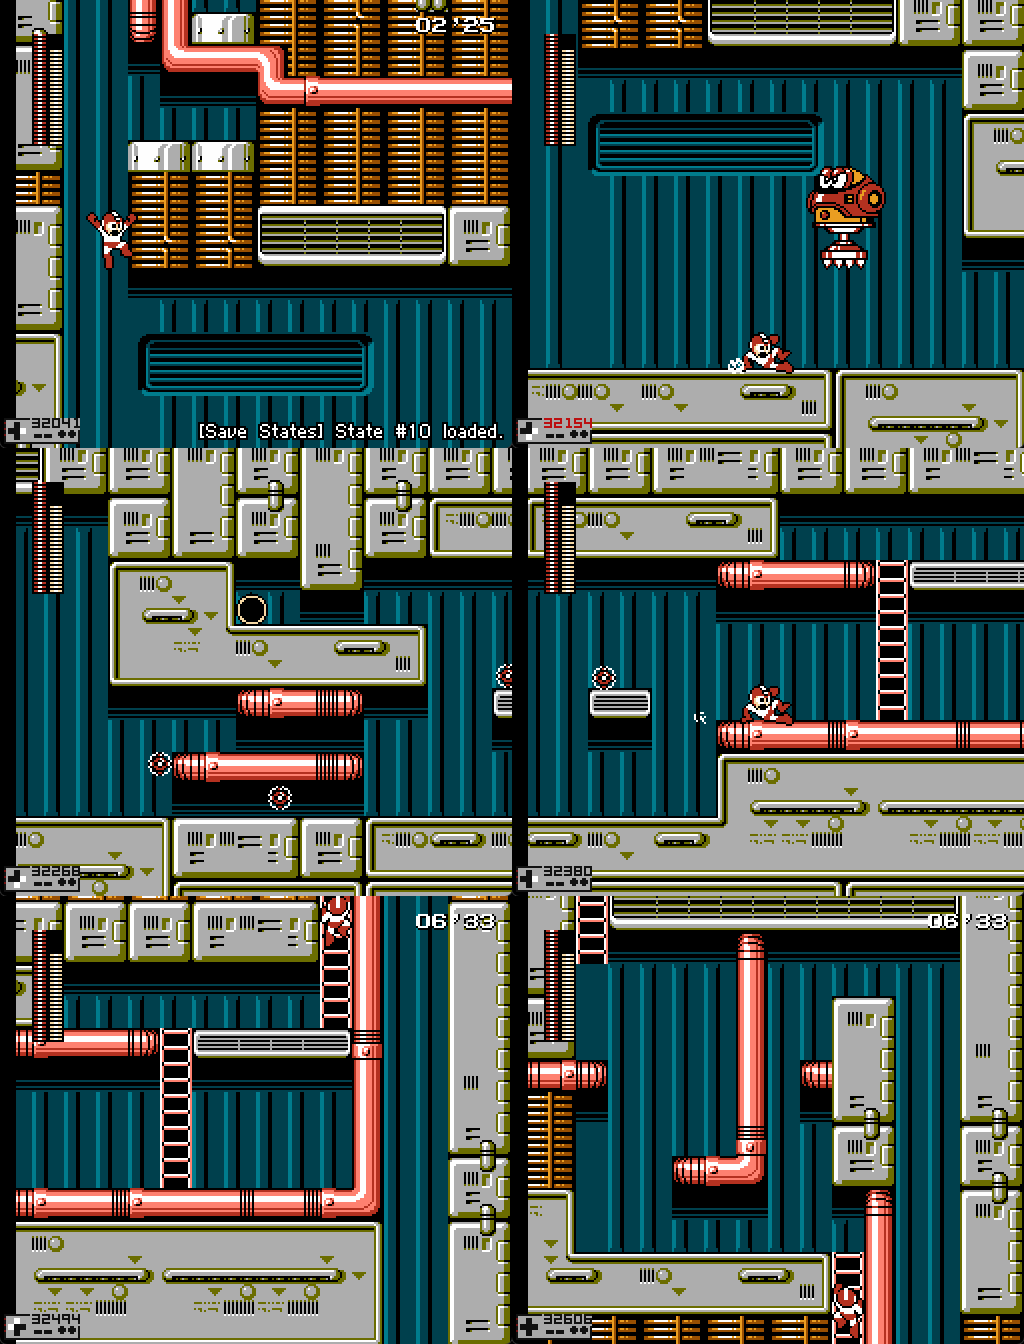](https://goodboyrush.net/uploads/images/gallery/2025-09/mesen-rueufuscrk.gif)This strat is not easy as you need fairly precise movement to not get hit, getting hit result in getting another hit from the spark ball loosing a bit of time and health
[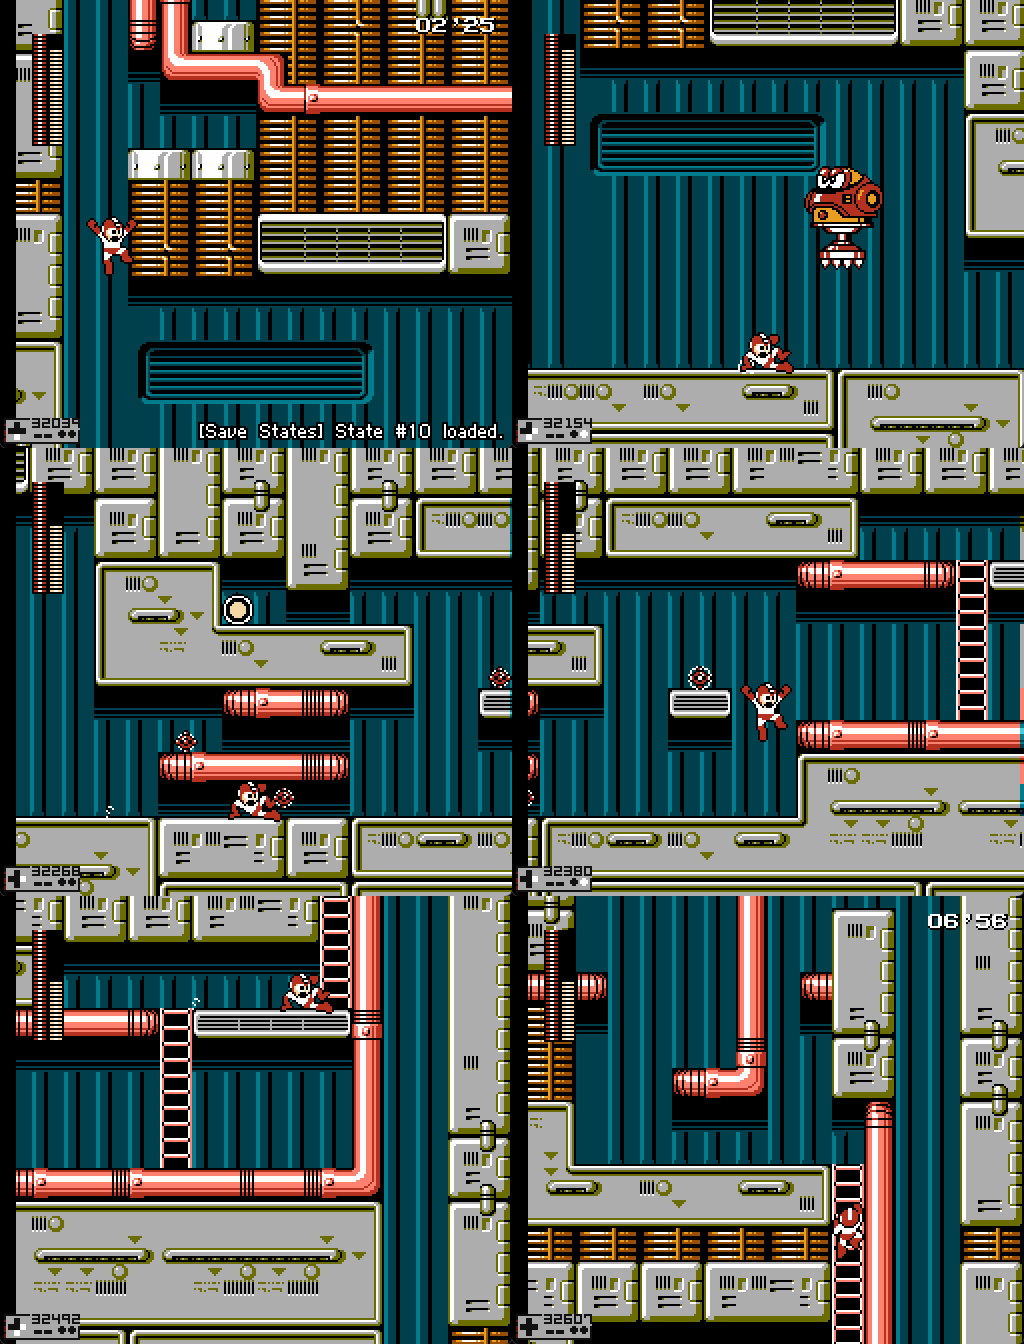](https://goodboyrush.net/uploads/images/gallery/2025-09/ysfmesen-refaydvctl.gif) ##### Early damage boost This strat is supposedly ever so slightly faster or tied to the one up there, but it is much easier to execute [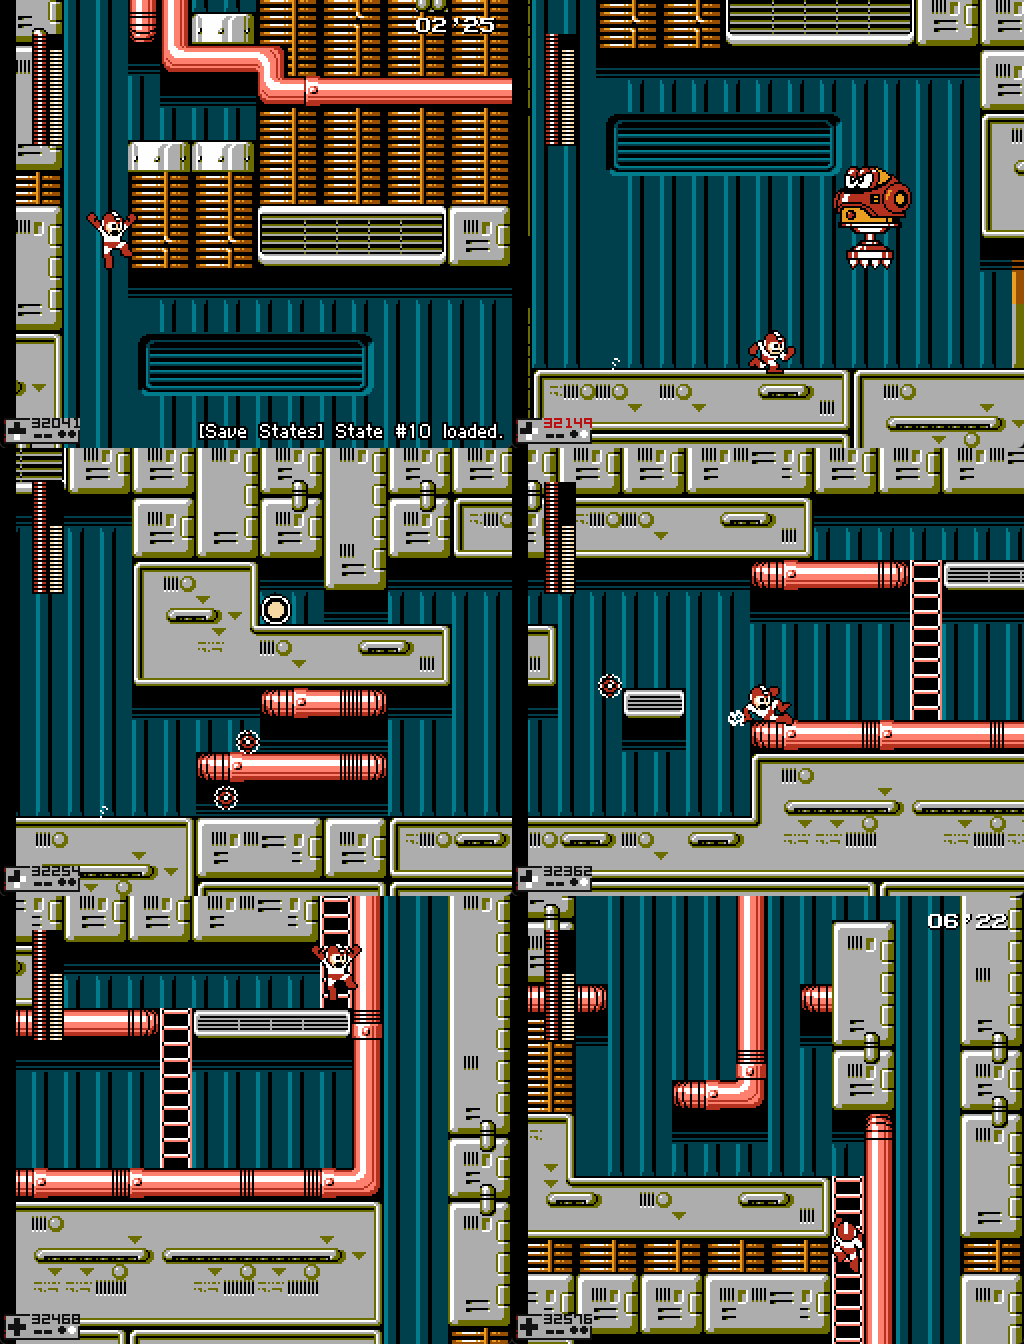](https://goodboyrush.net/uploads/images/gallery/2025-09/mesen-wl9trvf6wz.gif) Notice that you wanna take the damage boost before passing this line [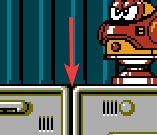](https://goodboyrush.net/uploads/images/gallery/2025-09/mesen-wynd5mpkft.png) Else, the spark ball will spawn early and you wont be able to make it without taking an extra damageYou can technically (in case you messed up) dodge the spark ball. Though note that wiggling can be quite laggy or slow, the difference isnt all that massive so if you are scared of health in this stage, do that.
You can't jump out of a slide in front of a ladder. Yes! you are not crazy if you think it eats your jump sometimes! Thats why if your movement is ever so slightly suboptimal, you may want to take a step before jumping.
# Screen 5 - The Shortcut There are two paths through this screen. Going to the top right is faster. ### Balloon There is a tight space to get a balloon jump and not bonk on the platform above. This is the fastest method as it does not have Rush's pause animation, but it can be tricky. There's also 2 ways to place it. ##### High placement This one involves doing a small right release to do a straight jump to place it higher. [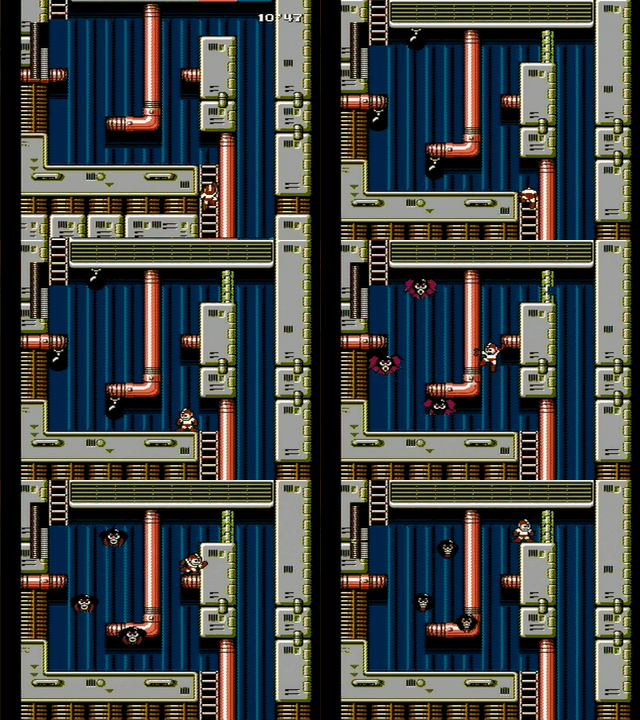](https://goodboyrush.net/uploads/images/gallery/2024-07/mm4-cossak4-screen5-balloon.gif) You can then proceed to menu and get rid of the wall as you start falling [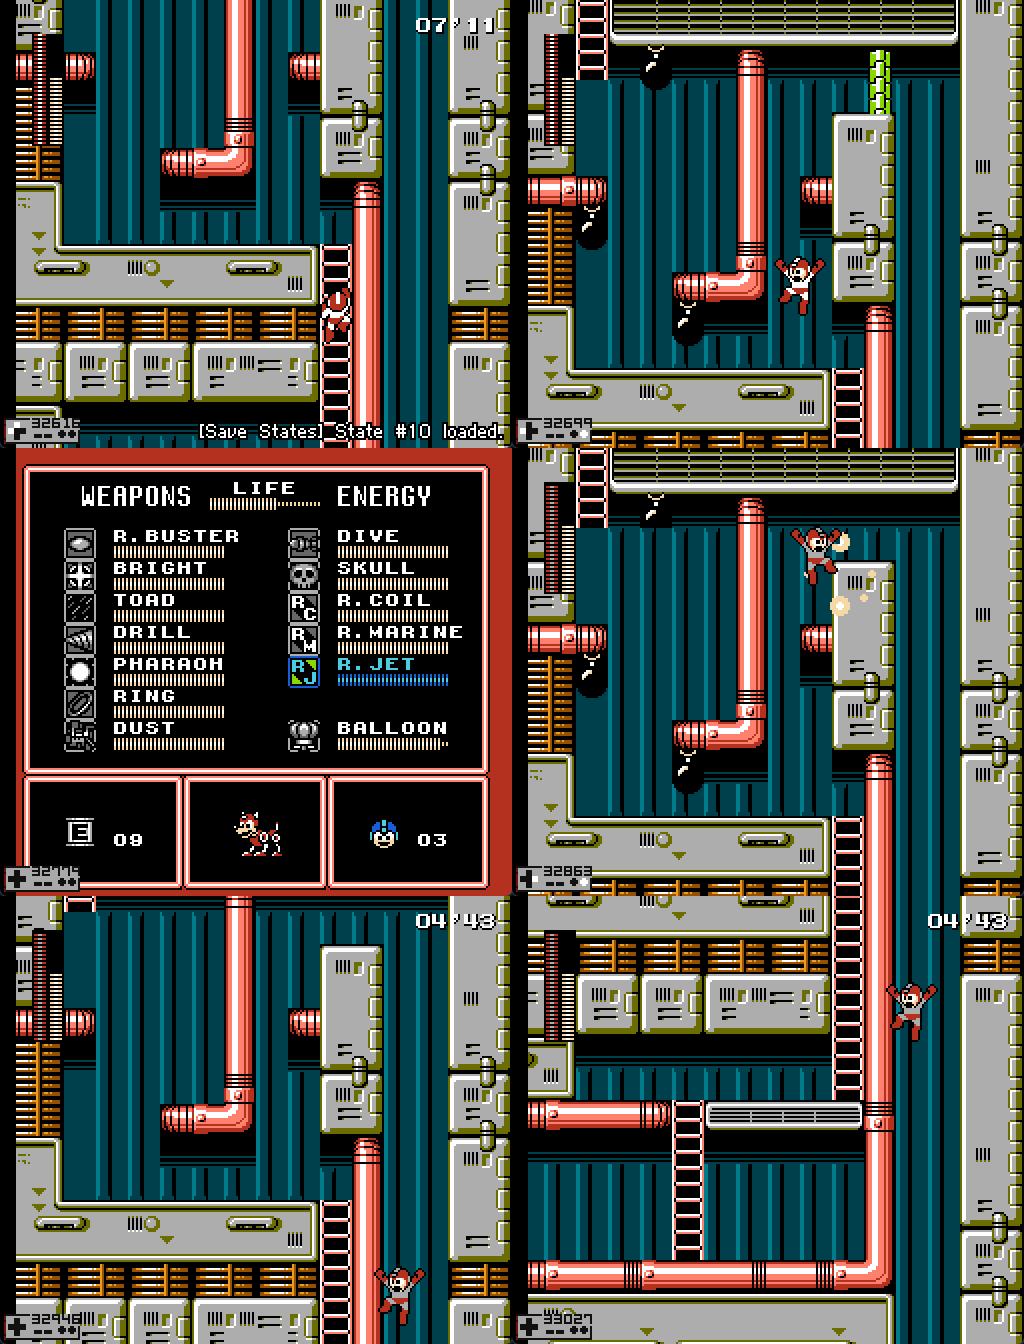](https://goodboyrush.net/uploads/images/gallery/2025-09/mesen-l2crurmkdi.gif) ##### Low placement This one can be either easier or harder depending of how you feel with the game. There's severals advantages this can give you. 1. Don't need to right release for the placement 2. Gives you near perfect height with a max height jump to land immediately on the small ledge (no need to adjust like the heigher placement) [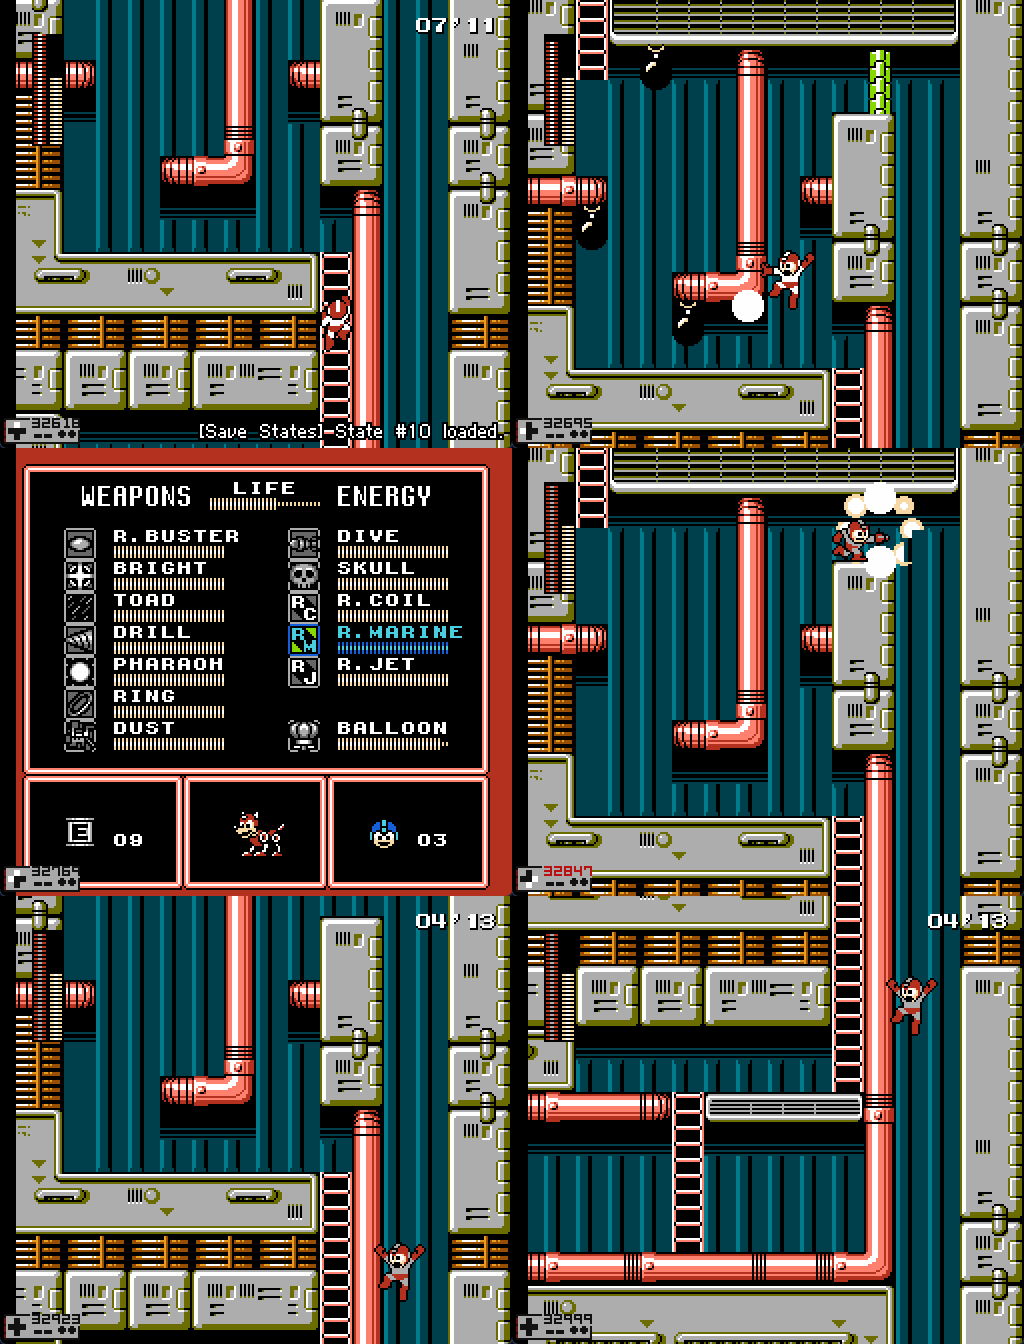](https://goodboyrush.net/uploads/images/gallery/2025-09/mesen-9snf72plct.gif) ### Rush Coil Simply summon as you grab, and jump on top of it to reach the top [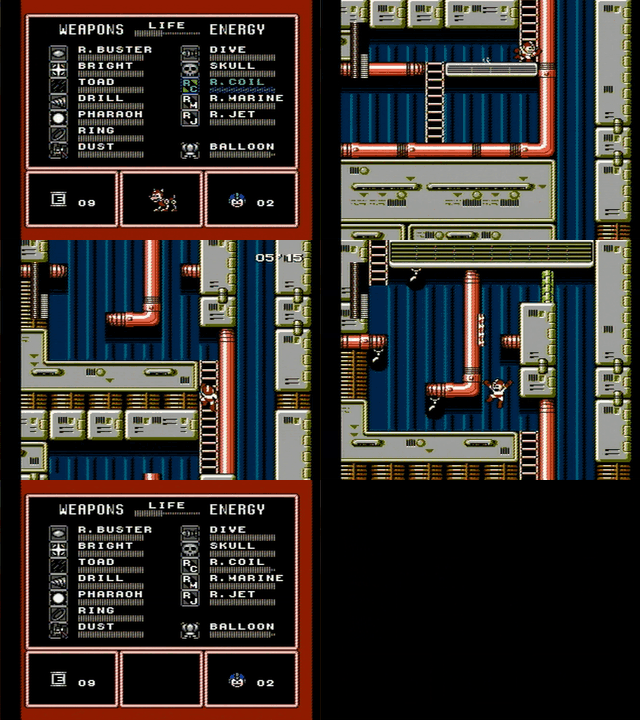](https://goodboyrush.net/uploads/images/gallery/2024-07/mm4-cossak4-screen5-coil.gif) You can optimize the jump by letting Rush boost you instead of jumping on him, this gives you less height so you land quicker on the top ledge. [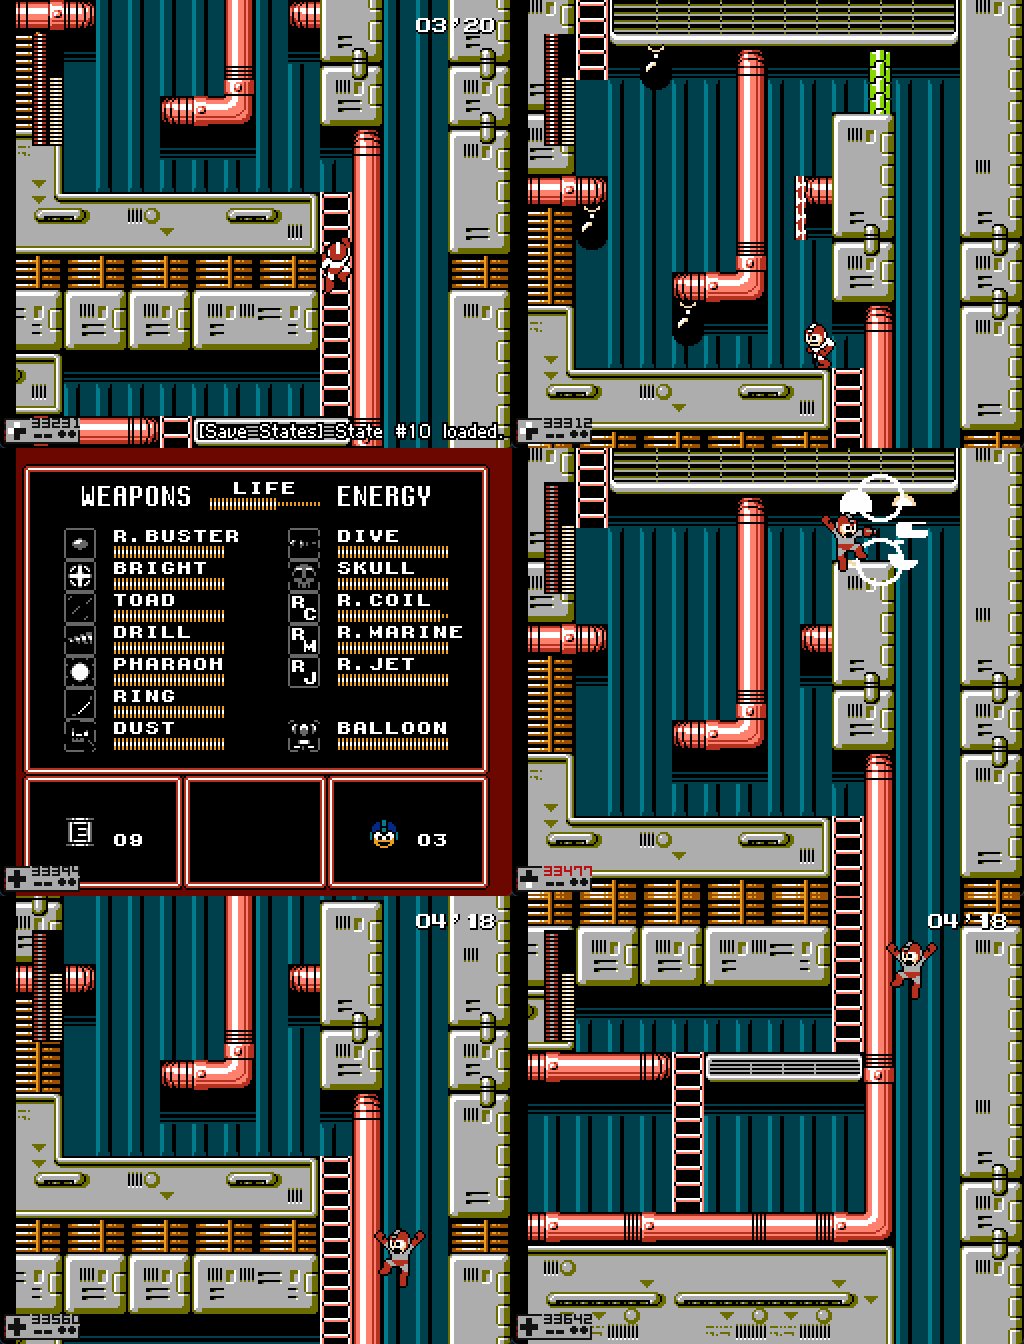](https://goodboyrush.net/uploads/images/gallery/2025-09/mesen-azdim9srcm.gif)This is slightly slower due to the Rush Coil animation in the menu. It is however easier to execute, since you can jump against the wall then fall straight down onto Rush.
### Next Steps Use drill to break the wall. Then fall down with Drill still equipped.There is a potential E-Tank at the bottom of the fall if you still have Drill equipped. This is a useful backup item, but not needed for WR attempts.
# Screen 7 - Slinkies Collect the E-Tank if desired, then drop down. Slide to the right, and use drill on the slinkies. Switch to buster at the end and proceed. ### 4 jump strat / Safe strat Simple, one jump, shot, jump then repeat. [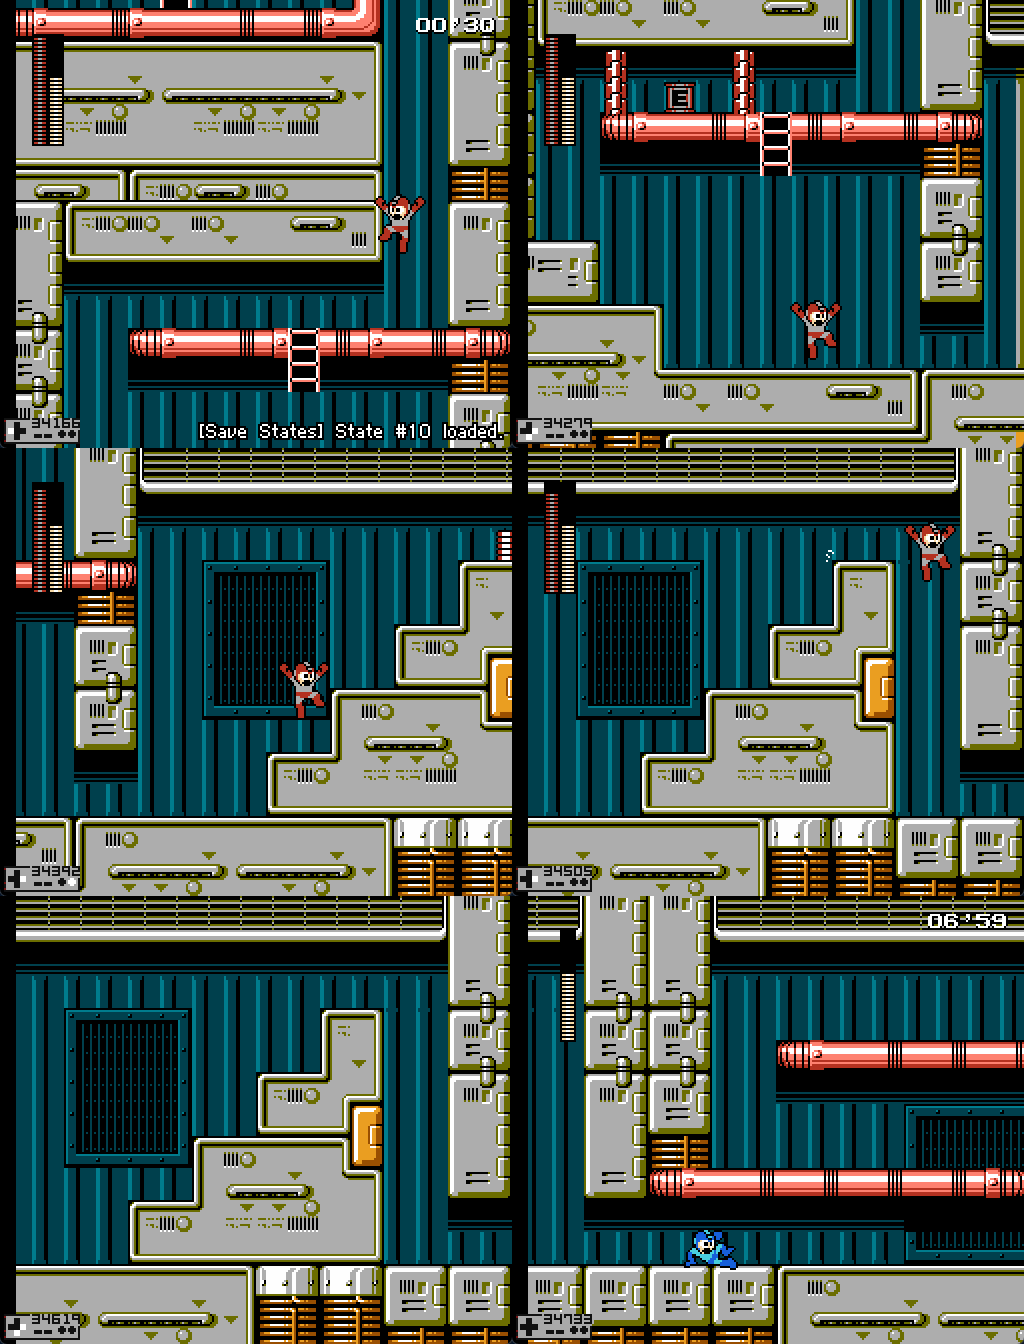](https://goodboyrush.net/uploads/images/gallery/2025-09/mesen-8wbryganio.gif) ### Faster strat This time we try to kill the slinkies in one single jump. You need to shoot fairly early or else you will get it (most likely on the 2nd one if you are too slow or too far) [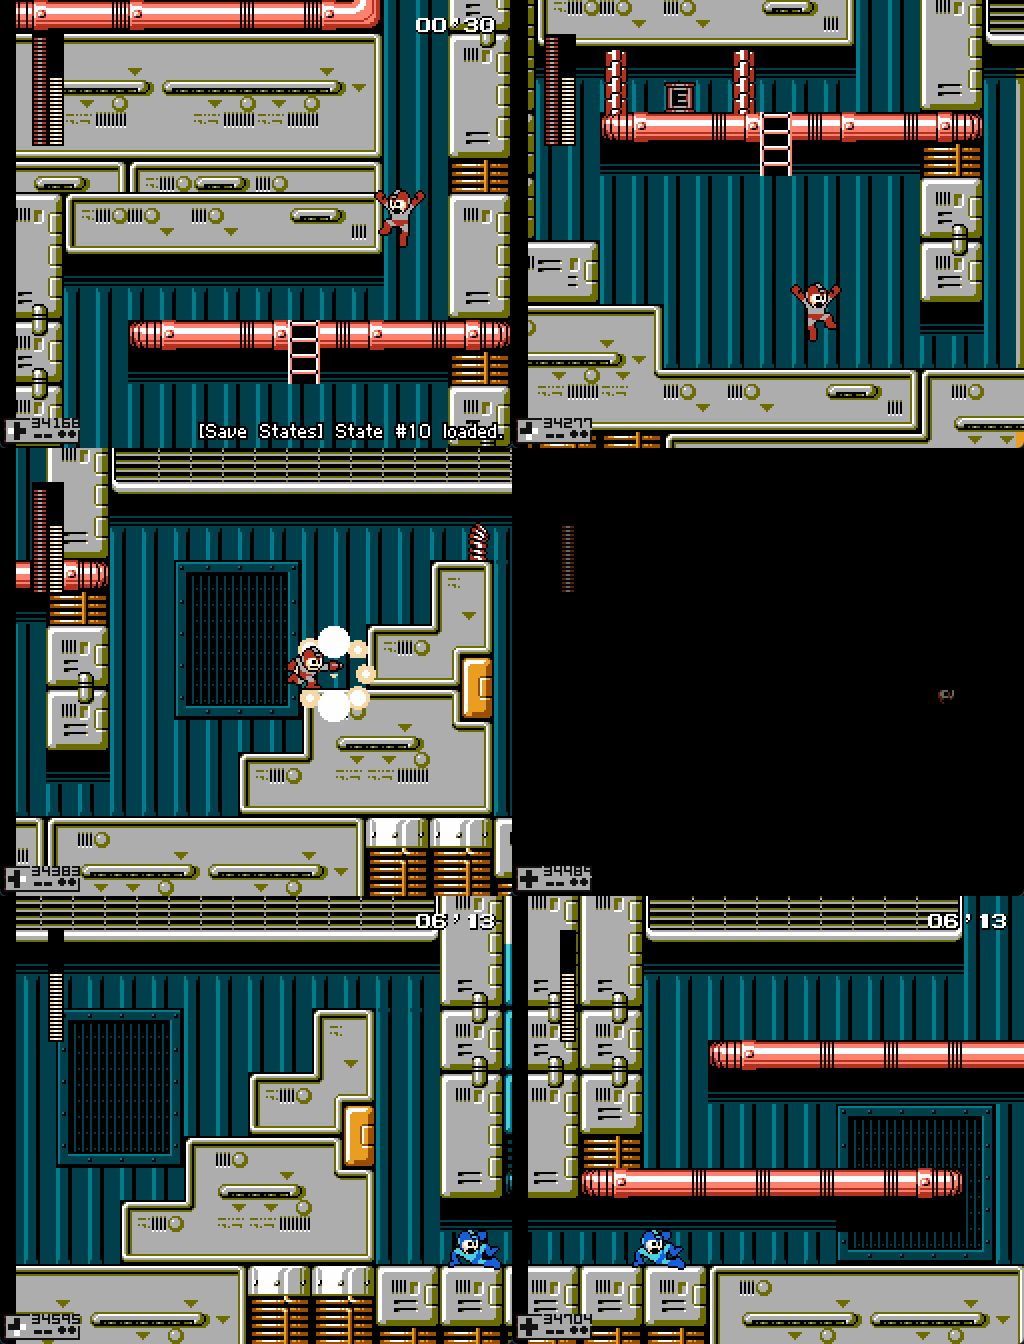](https://goodboyrush.net/uploads/images/gallery/2025-09/mesen-mgd36eatyz.gif) ### Stored Charge Mechanic You can hold a full charged buster, switch to another weapon and once you go back to Buster get an instantaneous full charge. Exactly like this example right here: [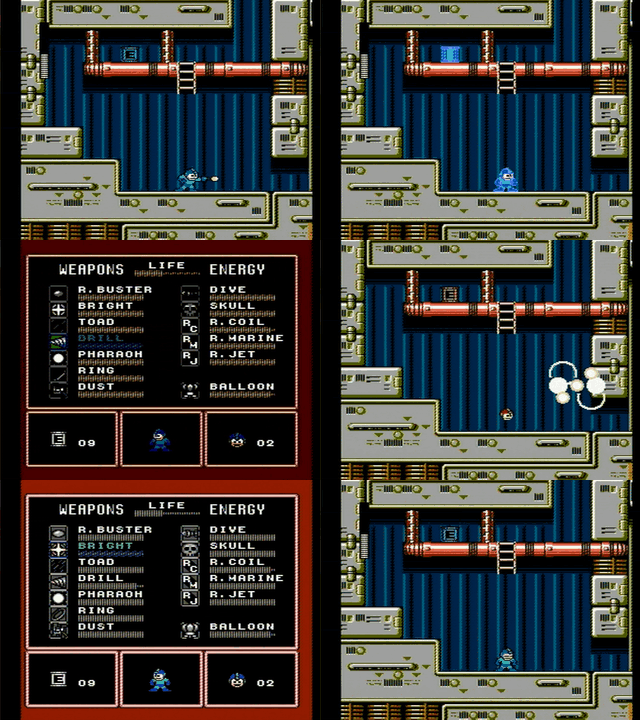](https://goodboyrush.net/uploads/images/gallery/2024-07/mm4-cossak4-storedcharge-demo.gif) You can use the stored charge technique on the slinkies here. Technically the slinkies take two hits from the drill bombs, one from the contact and a second from the explosion. You can switch back to buster after the contact damage on the second slinky to save a small number of lag frames and start your slide ever so slightly earlier [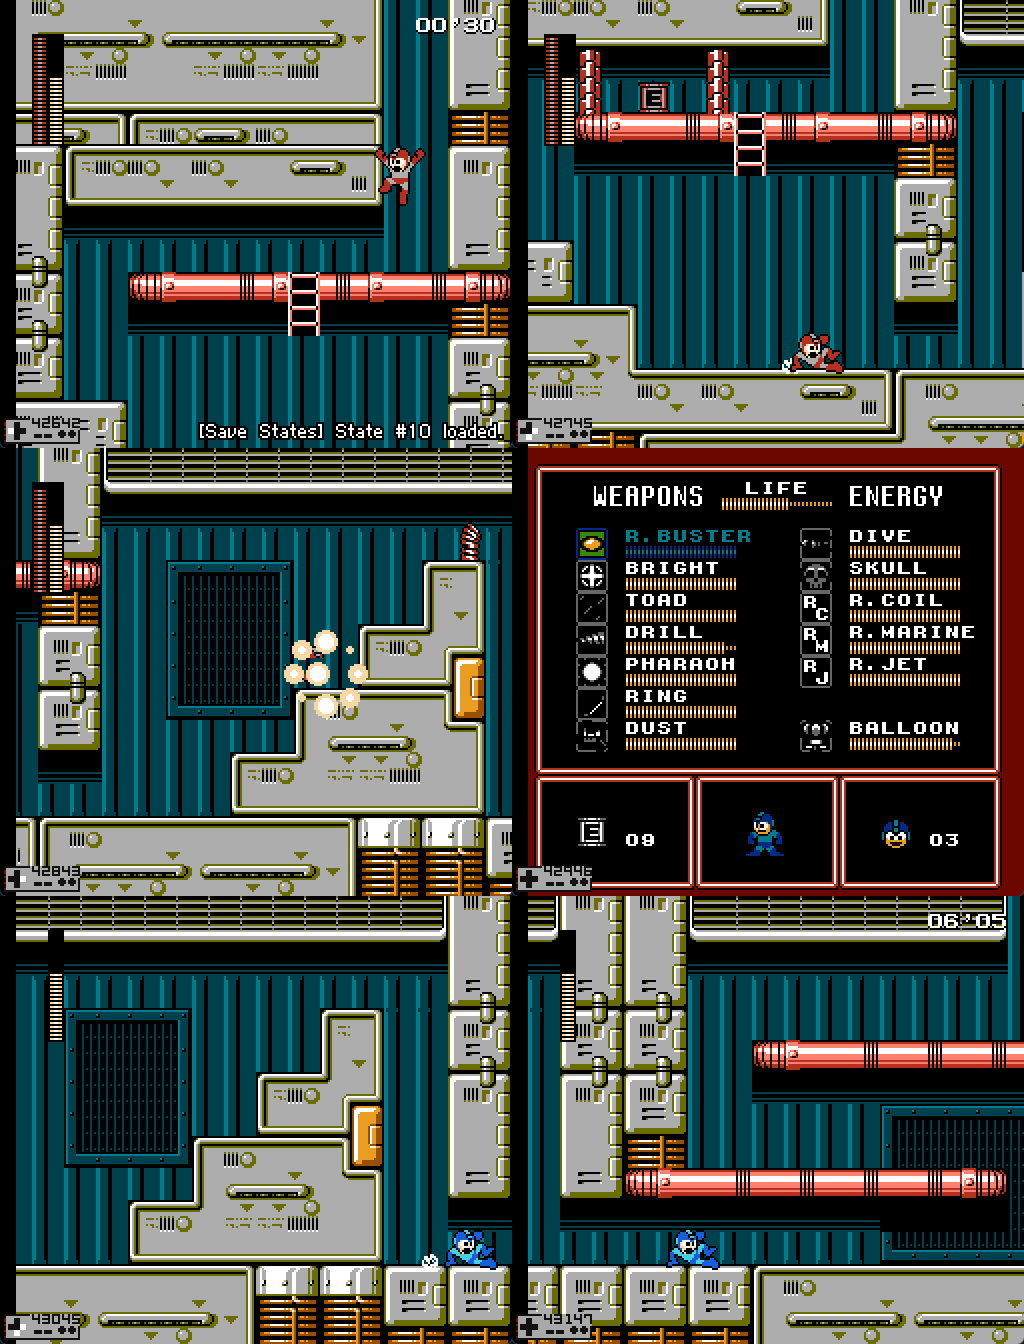](https://goodboyrush.net/uploads/images/gallery/2025-09/mesen-j34djp7paz.gif) You can also use it with the safe strat! [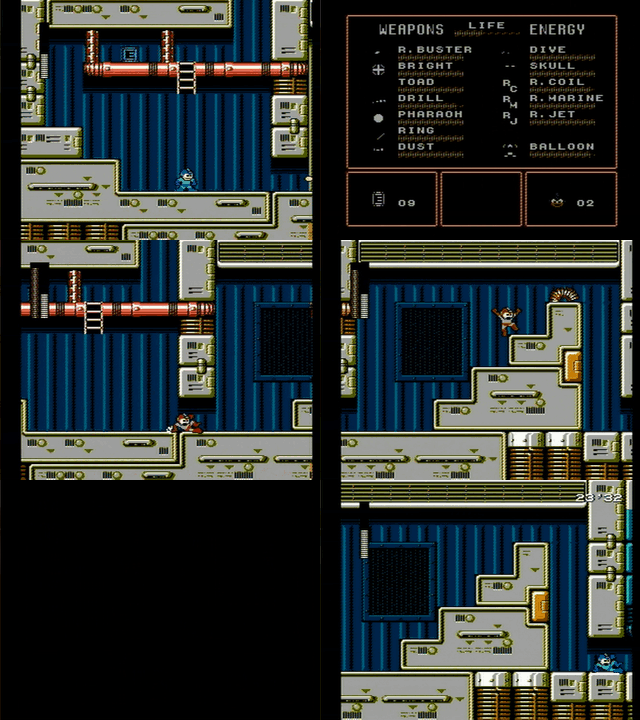](https://goodboyrush.net/uploads/images/gallery/2024-07/mm4-cossak4-storedcharge-execution.gif) # Dr. Cossack Himself - Cossack Catcher ### Damage Table| Buster | 1:1:3 |
| Dust Crusher | 2 |
| Wire | 1 |