You have to act fast as the first turret can shoot you out of the air and off the starting platform.
### Screen 2 Jump straight up and face right. Place a balloon in the air - not in the wall (don't despawn it). The fastest path involves getting hit by the turrets, so you will get knocked down onto the balloon after the hit, then jump through to continue on.  There are various ways you can speed up the process. They get progressively harder as we go, so you are free to pick the one you feel the most consistent with. The most obvious is to add an extra balloon to reach the top of the ladder faster [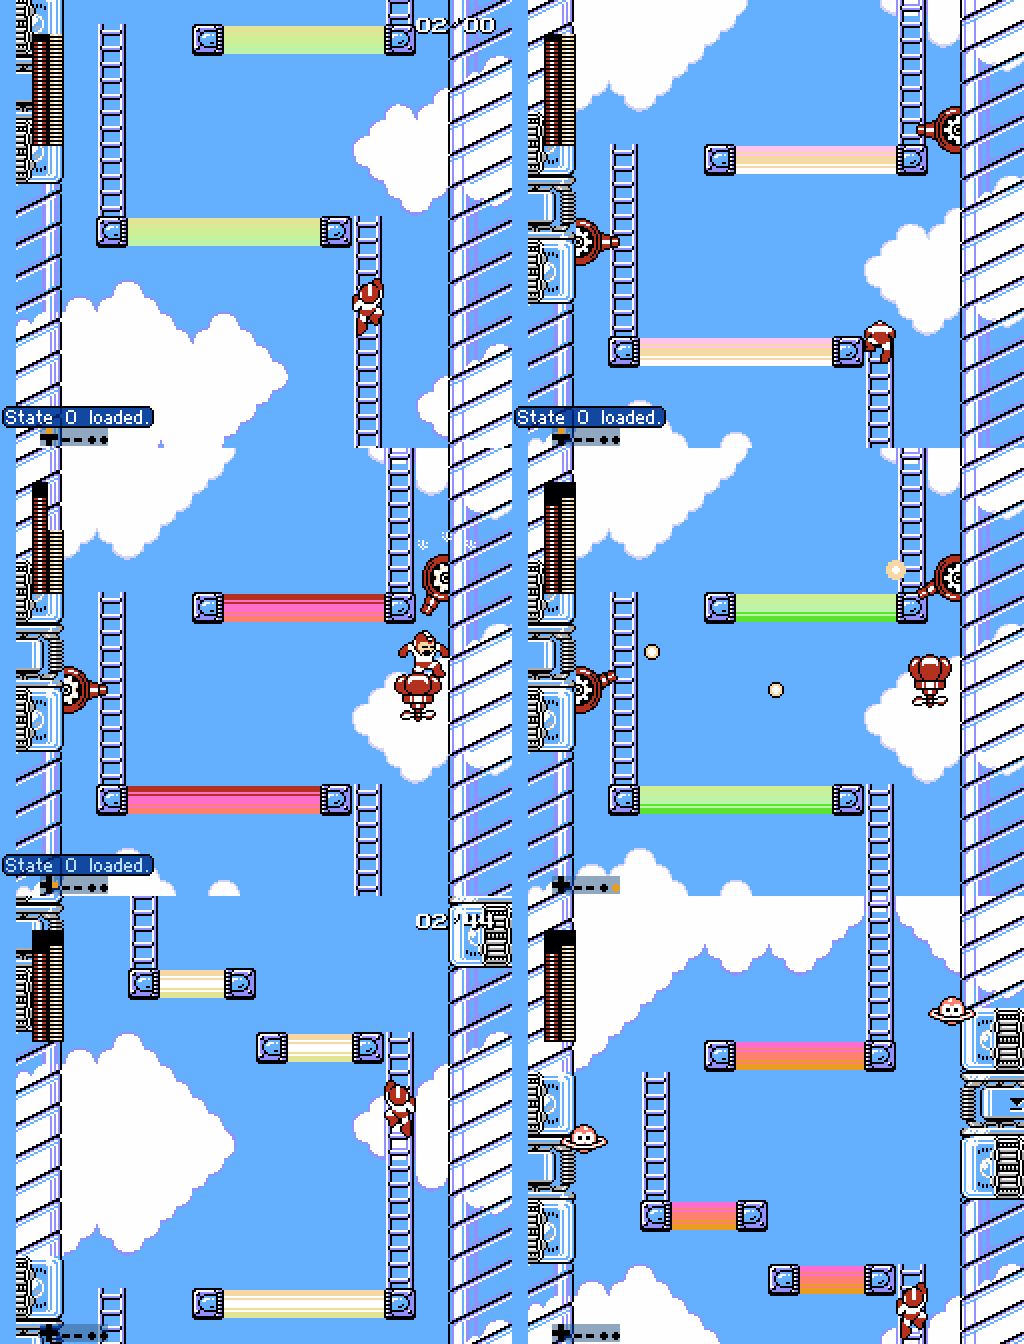](https://goodboyrush.net/uploads/images/gallery/2024-07/fceux-e9medosgwj.gif) To go even faster with the same method you can very quickly turnaround to the **left** as you are about to take damage just so you dont move backwards. This allows you to jump immediately to place the 2nd ballon and save some frames [](https://goodboyrush.net/uploads/images/gallery/2024-07/SiGfceux-wmzgehnavm.gif) The last most difficult way is to gamble for the turret to shoot you so you can damage boost while facing left very quickly to reach the right side of the screen. This specific turret has a **25% chance** to shoot. Therefore, you need to able to react very quickly in case the turret doesn't shoot. **Shot pattern** [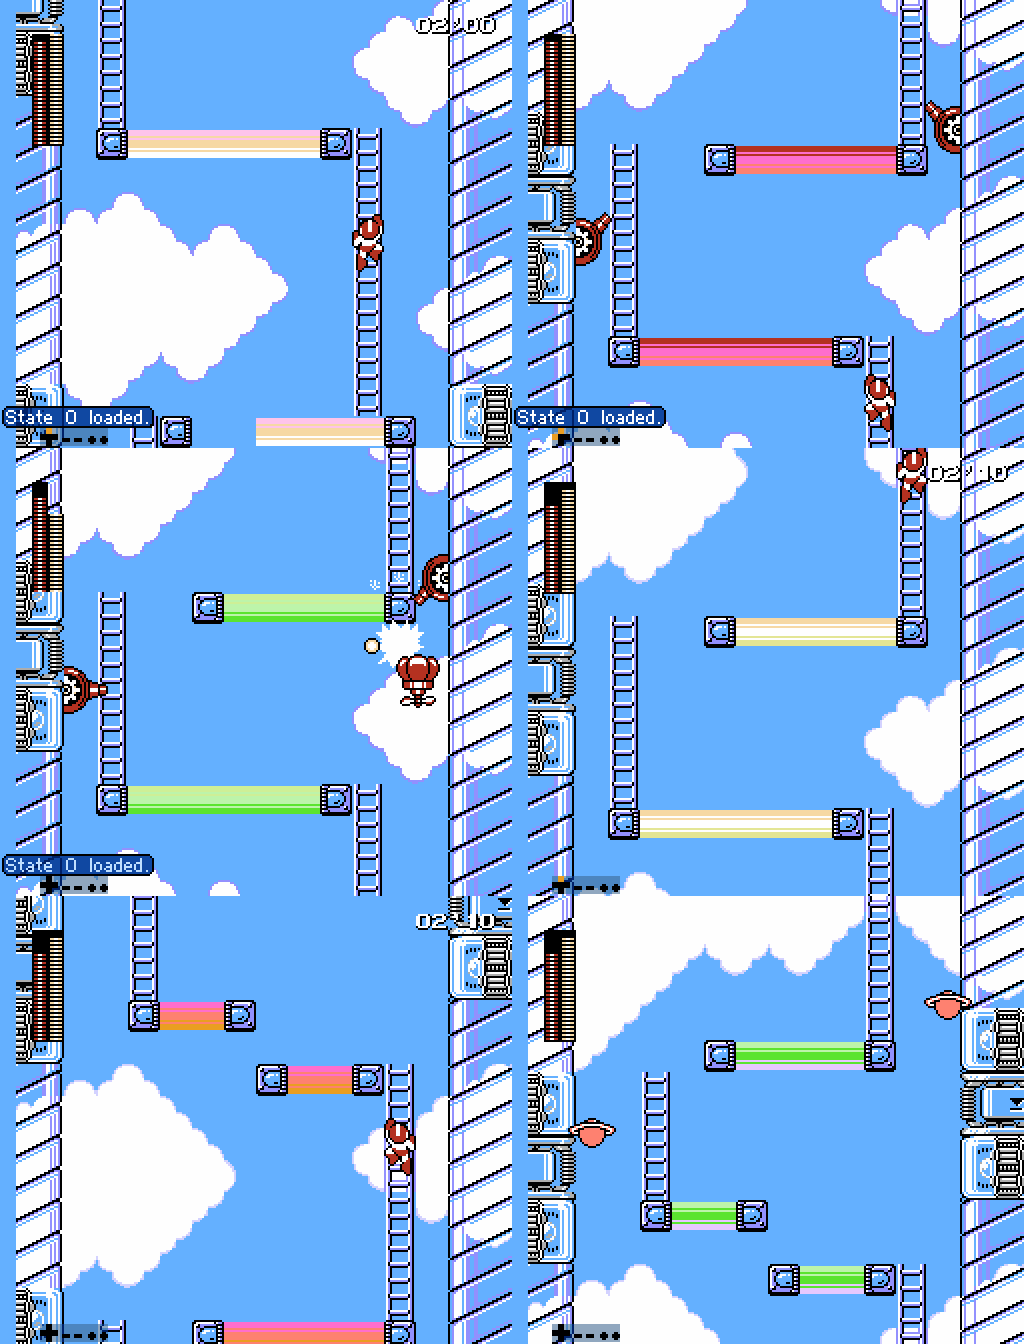](https://goodboyrush.net/uploads/images/gallery/2024-07/fceux-s7ep3sbmex.gif) **No-shot pattern** [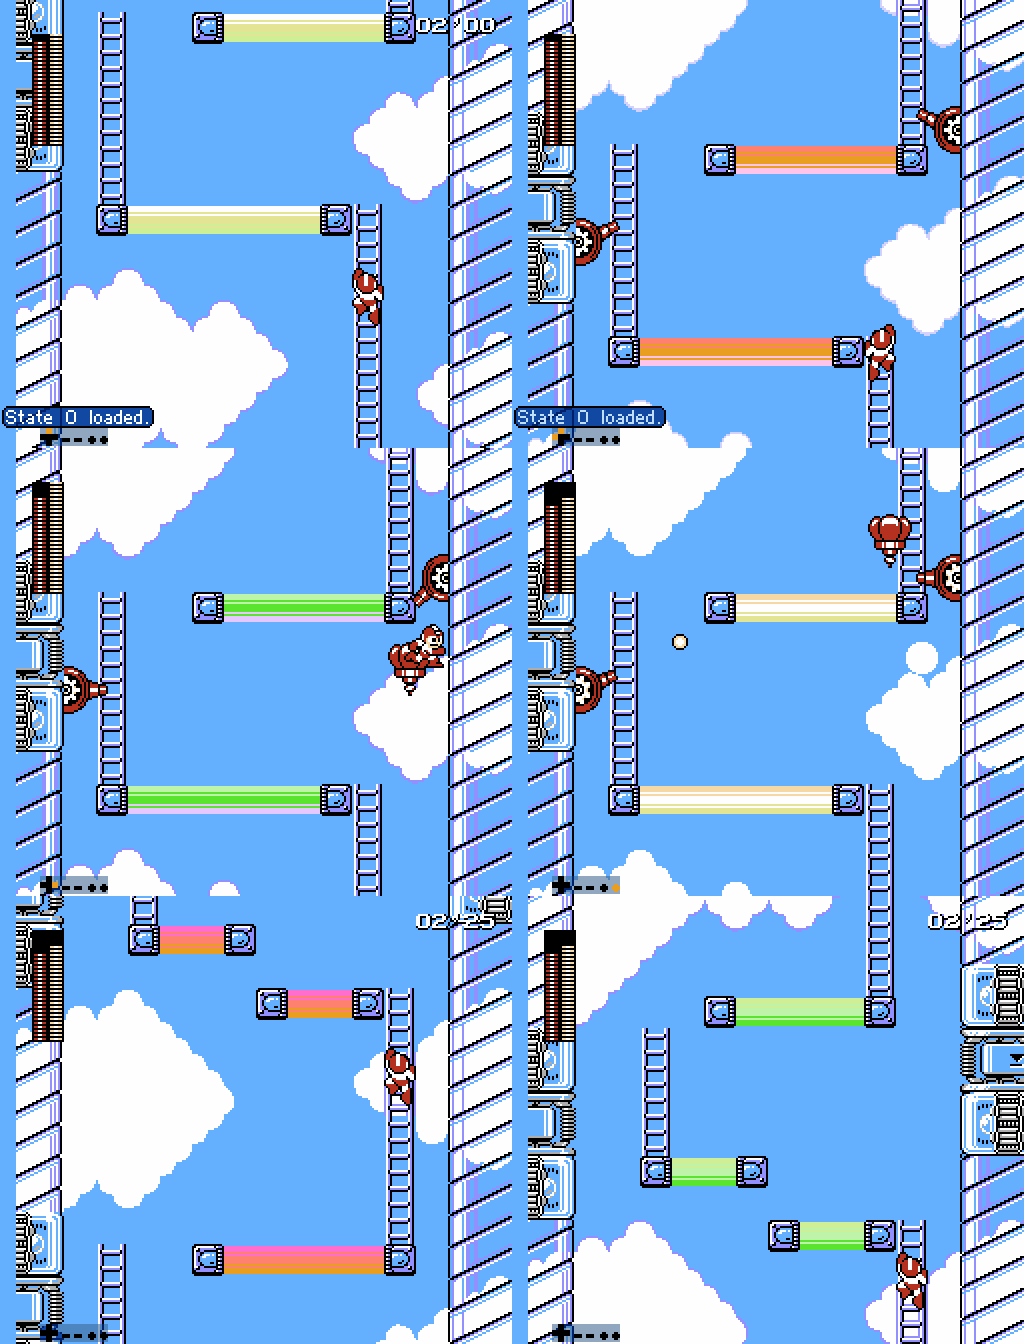](https://goodboyrush.net/uploads/images/gallery/2024-07/fceux-nuiadwae0t.gif)It's worth noting that we place this balloon slightly higher to make sure when we get the bad pattern, Mega Man gets boosted upwards, so he doesnt get any knockback to the left.
### Screen 3 - Balloon Despawn Jump You need to place a balloon high enough to jump to the platform above, and in the wall but still able to land on it for the **16 frames.** There is a bit of a rhythm to this, described in the balloon jump technique page.  Just like the previous screen, you can add an additional jump to grab the ladder quicker and save extra frames. [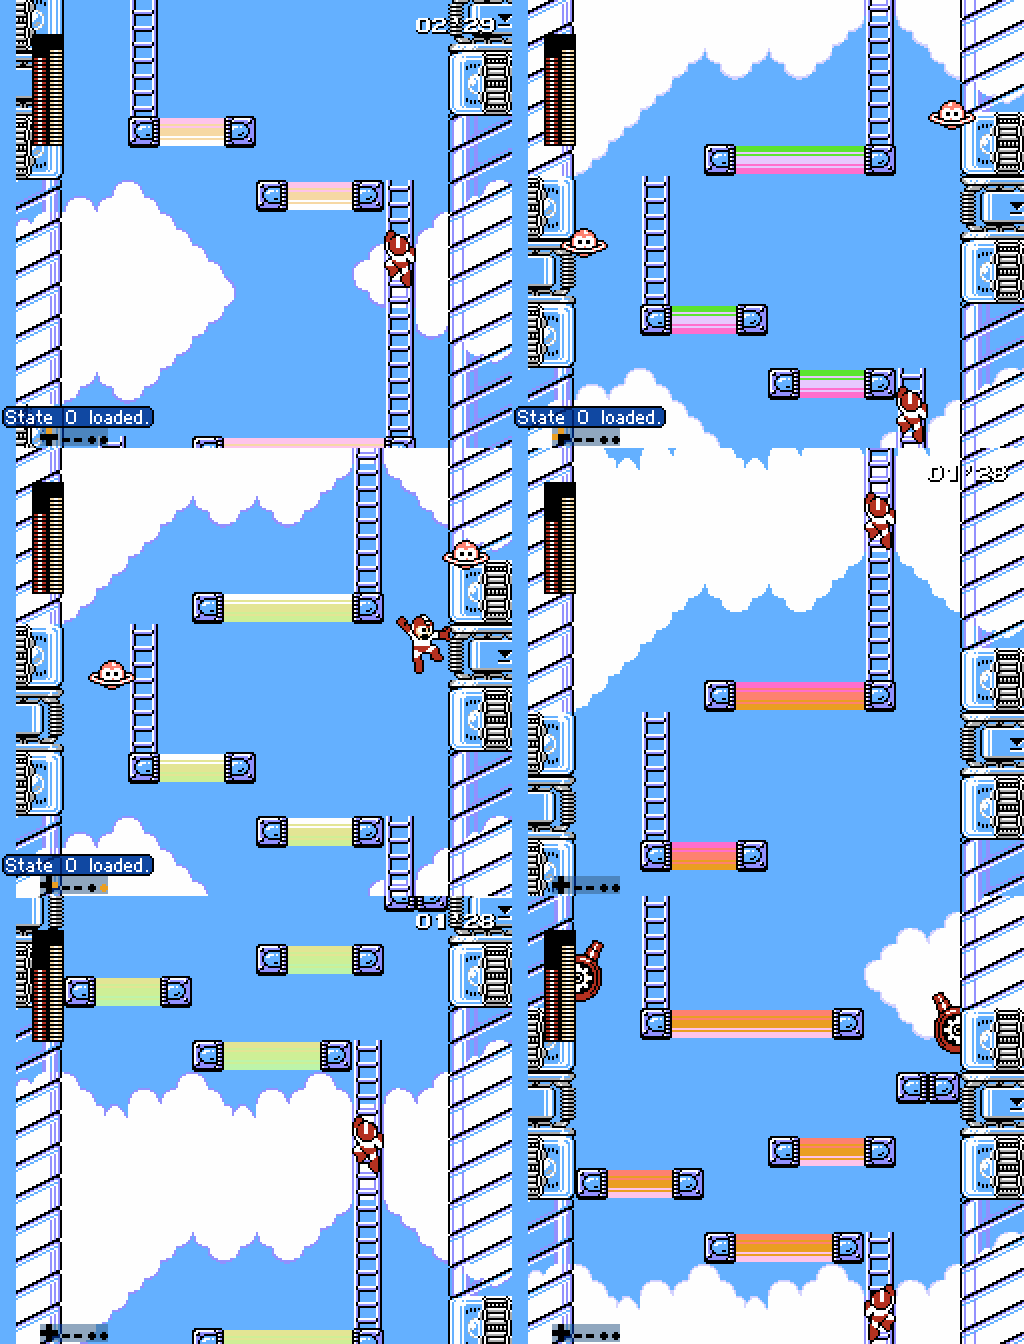](https://goodboyrush.net/uploads/images/gallery/2024-07/fceux-xjxlmvvvo4.gif) ### Screen 4 - Two Turrets Move as fast as you can to the top left under the turret. The turret can shot and the space to slip through can be tight, so unless it is actively firing you may want to just try your luck. Estimating the percentage on whenever the turrets can shot is quite difficult as depending of the pattern the will do they may call the RNG more than once. Here's a quick rundown on the RNG for the turrets| **25% chance of shooting bullets** | |
| Bullets | **Odds in %** |
| 1 | 12,5 |
| 2 | 25 |
| 3 | 75 |
Most top runners will always try to go for the gamba as the time difference isnt very massive.
### Screen 5 - Just go As you climb up the ladder menu to Pharaoh and just slide to the right. [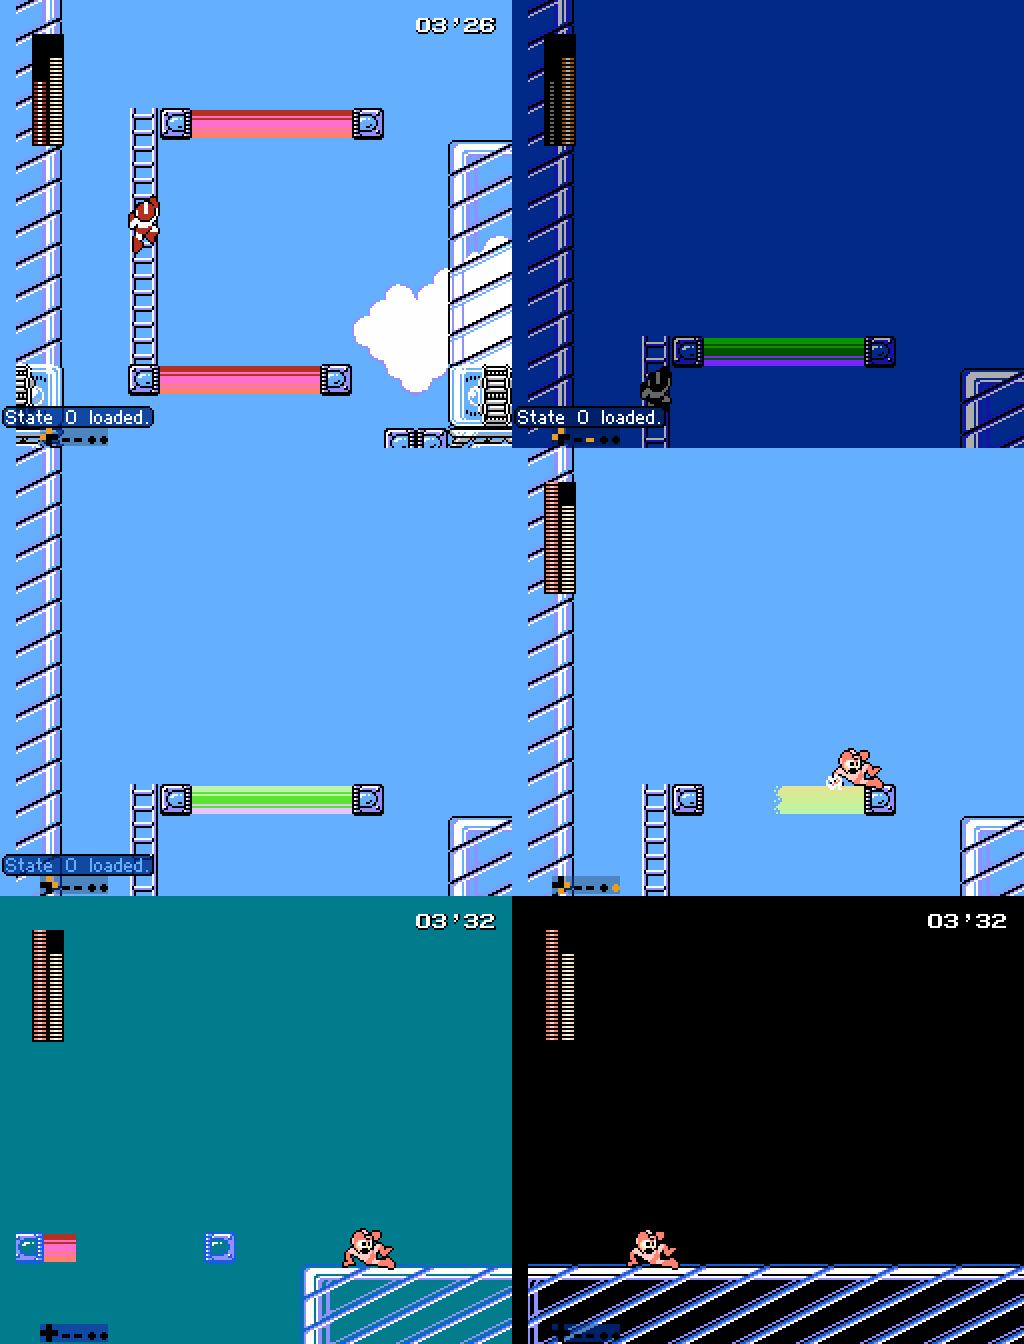](https://goodboyrush.net/uploads/images/gallery/2024-07/fceux-xjt4wgbsq6.gif)While it's possible to do the last part without the jump, it's extremely unreliable due to subpixels and the timesave is really not worth going for in RTA runs.
# Ring Man - Hippos Though the second hippo is later in the stage, the strategies are similar. ### Misc Hippo Notes The Hippo does not spawn until Mega Man is standing on the floor of the room. ### Pharaoh Skip Fire an uncharged shot at the Hippo's pillar, then slide up to the pillar. Then jump, fire another shot, then face left. Your goal is to destroy 3 chunks of the pillar - 1 with the first shot, 1 with the overhead part of the second shot (even without charging), and one with the actual second shot. Turning left knocks Mega Man back to the right, hopefully over the pillar. If Mega Man falls to the ground, just jump over the pillar. ### Balloon Skip Get under the hippo. Jump and fire one balloon, then jump into the hippo. You should land on the balloon. Proceed through the hippo. This is slightly slower than Pharaoh shot, and primarily useful as a way to conserve Pharaoh ammo. ### Pharaoh Kill The hippo can be killed with 2 full charge shots of Pharaoh plus 2 uncharged shots of pharaoh. The easiest way to do this is hold B entering the room to charge Pharaoh shot while the hippo rises. As soon as you gain control, approach the hippo and jump to connect with the overhead charge. Then position Mega Man to fire the full charge into the hippo (likely by firing diagonally). After that, jump slightly to the left of the hippo, and fire an uncharged Pharaoh shot up at it. Your goal is for both the uncharged overhead shot and the actual shot to damage the hippo, and not any missiles, destroying the hippo. This is slower than the other strategies and uses more Pharaoh ammo. However, killing the hippo means you do not take damage, so it is useful if you are low on health.Note that if you were low on health and accidently got a health drop from destroying a missile, all drops on the screen disappear when you kill the hippo, so collect drops you want first.
# Ring Screen 7 (After Hippo 1) If you haven't already, switch to Pharaoh. Note ammo usage is extremely tight for the rest of the stage.There is a large energy drop on this screen that can be collected between the platform spawning and regenerating, but you have to be quick. it is best to ignore this drop.
### Movement vs. Lag Reduction Most movement in this room looks simple - fire a Pharaoh Shot, then slide after it. There are only two Saturn-type enemies you must to defeat to go through the screen (and perhaps the final buzz saw). The rest are all for lag reduction (and thus optional for beginners, or saving ammo). Note that you want to hold B after shooting the third Saturn (the high one), so you can hold Down to release a fully charged shot at the final Buzz saw of the screen later. # Whopper There are two Whoppers in Ring Man's stage. The first MUST be destroyed to advance. The second (coincidently the final enemy in the stage before Ring Man himself) can be skipped. ### Fastest Strat - Pharaoh Boost The fastest Way of destroying the **first** Whopper is standing on the right edge of its platform, holding a Pharaoh Charge, looking right, and letting its shot damage boost you into it. Positioning is important - if you stand too far, you won't boost backwards fast or far enough to hit it. If you stand too close, the Pharaoh shot will "Dink" harmlessly off it, and you will need to use a backup. Besides the advantage of being the fastest strat, this also consumes zero Pharaoh ammo. #### Possible Backup If you lose the full charge to a dink, you can intentionally get damaged by the Whopper to fire the full charge from close range as soon as it opens. Not boosting early will have Mega Man get hit by the rings, and he may not recover fast enough to fire into the eyes. ### Normal Kill Use a full charge Pharaoh shot or 3 full charge buster shots (across 3 cycles). Stand far away and react to its shots to shoot it when it opens. ### Damage Information| Whopper's Body | 8 HP |
| Whopper's Rings | 4 HP |
Its worth noting that this strat can be done without the walk, you can slide once too if you feel uncomfortable. Though, you will probably loose time doing so.
#### Diagonal Shot strat This strat can be performed in 2 ways. Either damageless or with a damage boost. However, while the damage boost version is easier to perform, its quite unlikely that you will have enough health to take the Ring boomerang due to how much we damage boost through stuff in the stage. ##### Damageless [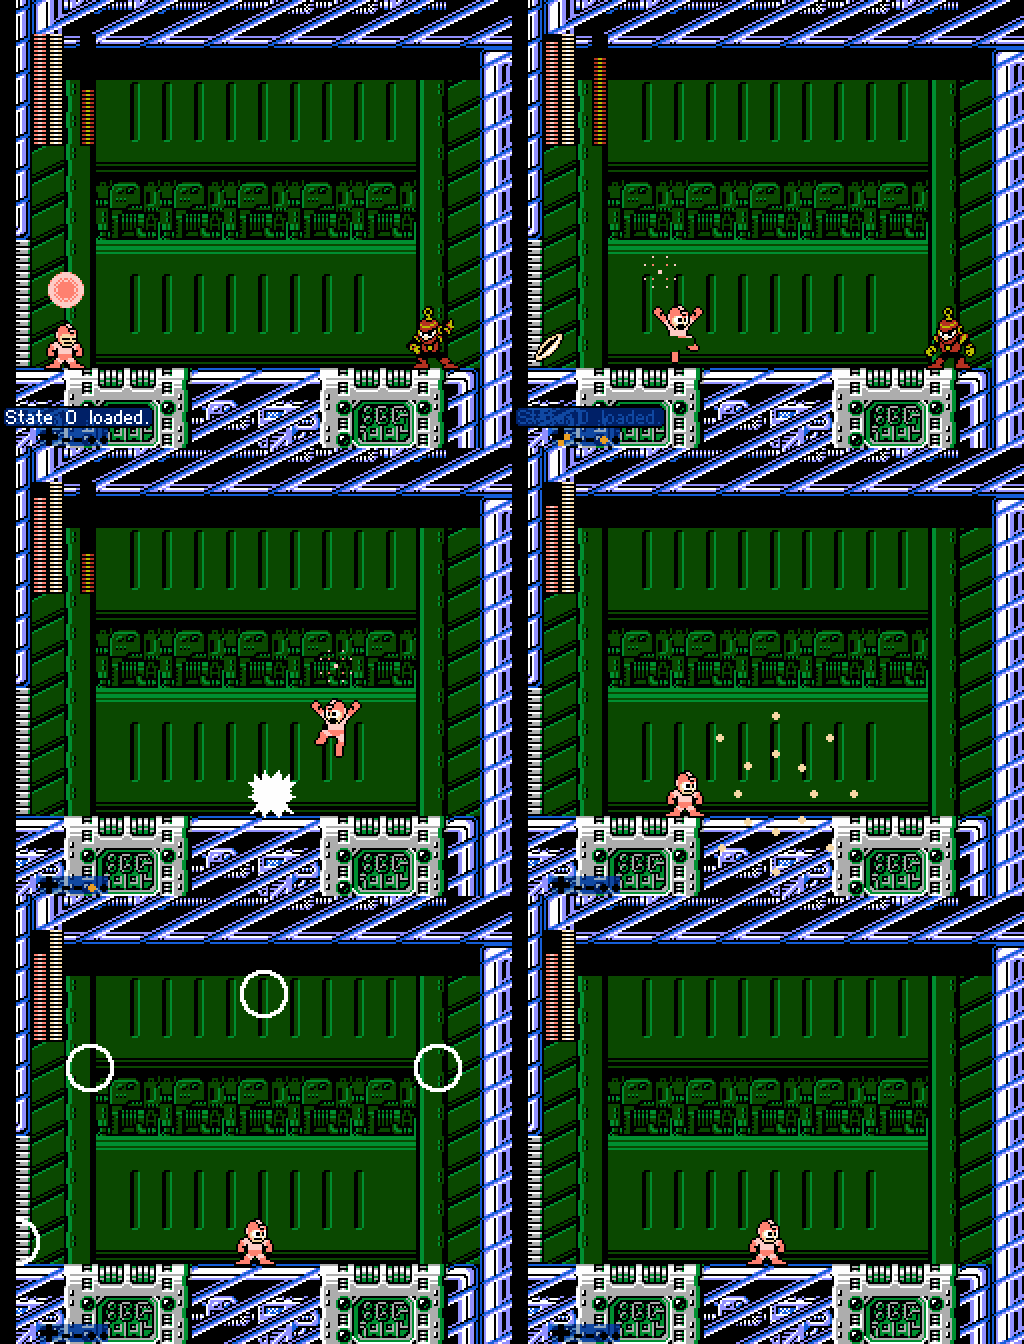](https://goodboyrush.net/uploads/images/gallery/2024-07/fceux-txgbnvq0dh.gif) ##### Damage boost [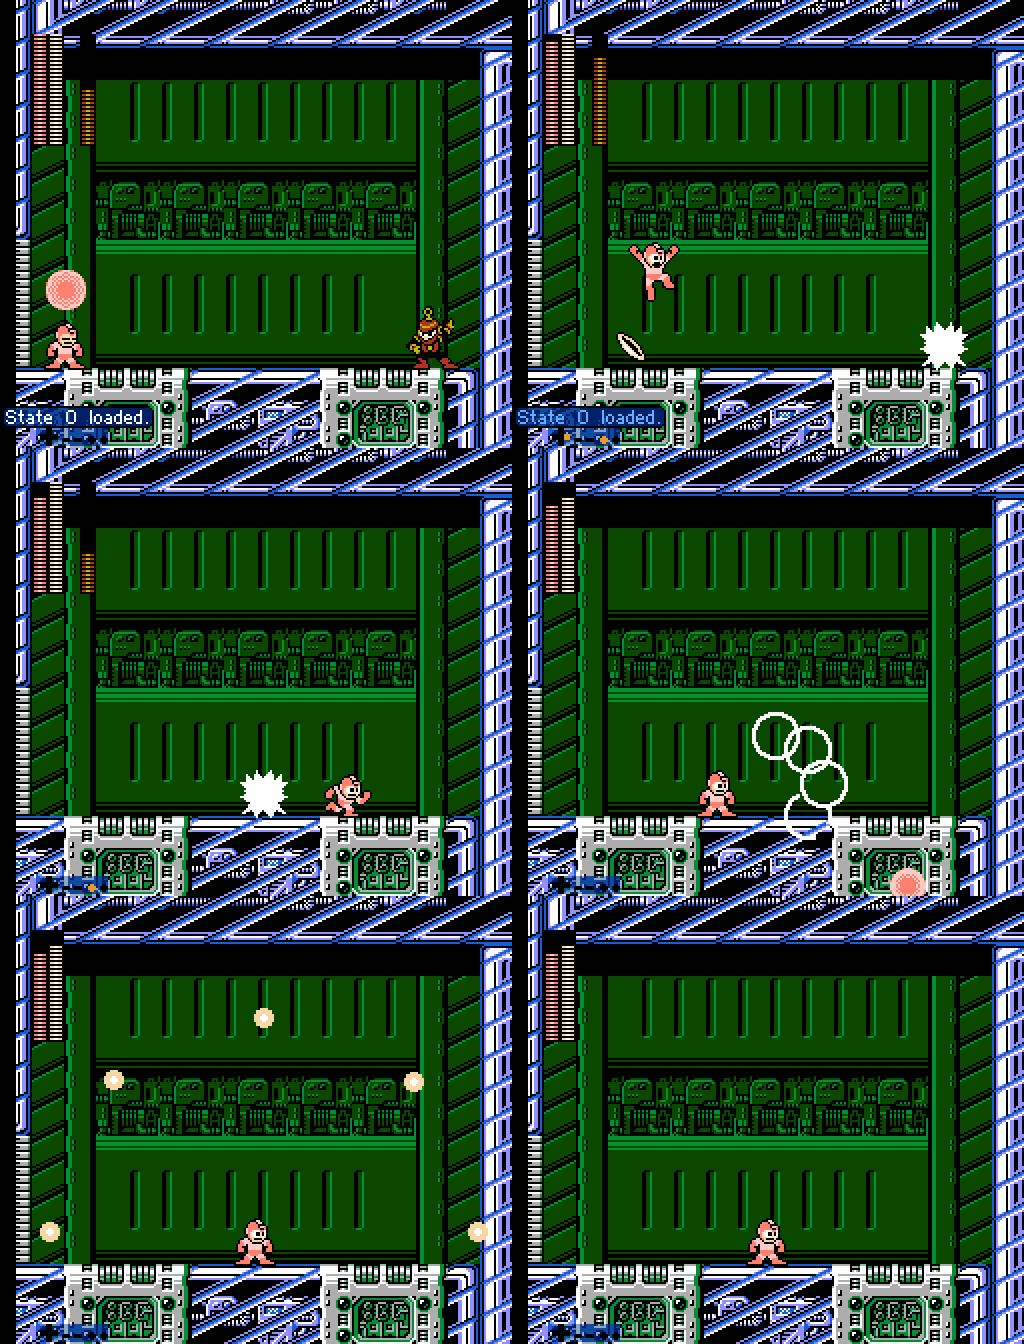](https://goodboyrush.net/uploads/images/gallery/2024-07/fceux-ke0jaqnjmj.gif)Note that the last shot is always a diagonal shot on ALL fights. The reason is very simple, while killing a boss the bubbles that appear from the explosion are causing a massive amount of lag for a short period of time, time which the pharaoh shot is still present, by shooting diagonally we despawn it quicker which reduce lag.
### Refight Notes You cannot enter the refight holding B for a charge. The opening charge is replaced by 2 uncharged Pharaoh shots but the end goal is slightly different from the stage. Just like all the other fights, we wanna kill Ring close to the teleporter, so here we can do various things. ##### Healthy fight This is mostly in case you wanna grab the health refill. [](https://goodboyrush.net/uploads/images/gallery/2024-07/fceux-s4rdpegz1p.gif) ##### Old strategy Now here the end goal is to make Ring pause right before the teleporter. Then all we gotta do is dodge the Ring and land the shot as we land to teleport immediately. [](https://goodboyrush.net/uploads/images/gallery/2024-07/fceux-d13vfluxlk.gif) ##### Optimal Kill Here, we are going to pick up the start of the diagonal shot fight. Except that we are going to go all the way to the right wall after landing that diagonal shot to fire an uncharged shot, this will allow us to charge another full shot that we are going to hold. We then slide beneath him, the full charge damage him and we have another one stored that will keep as we slide towards the teleporter. Simply release the stored shot and the fight is complete. [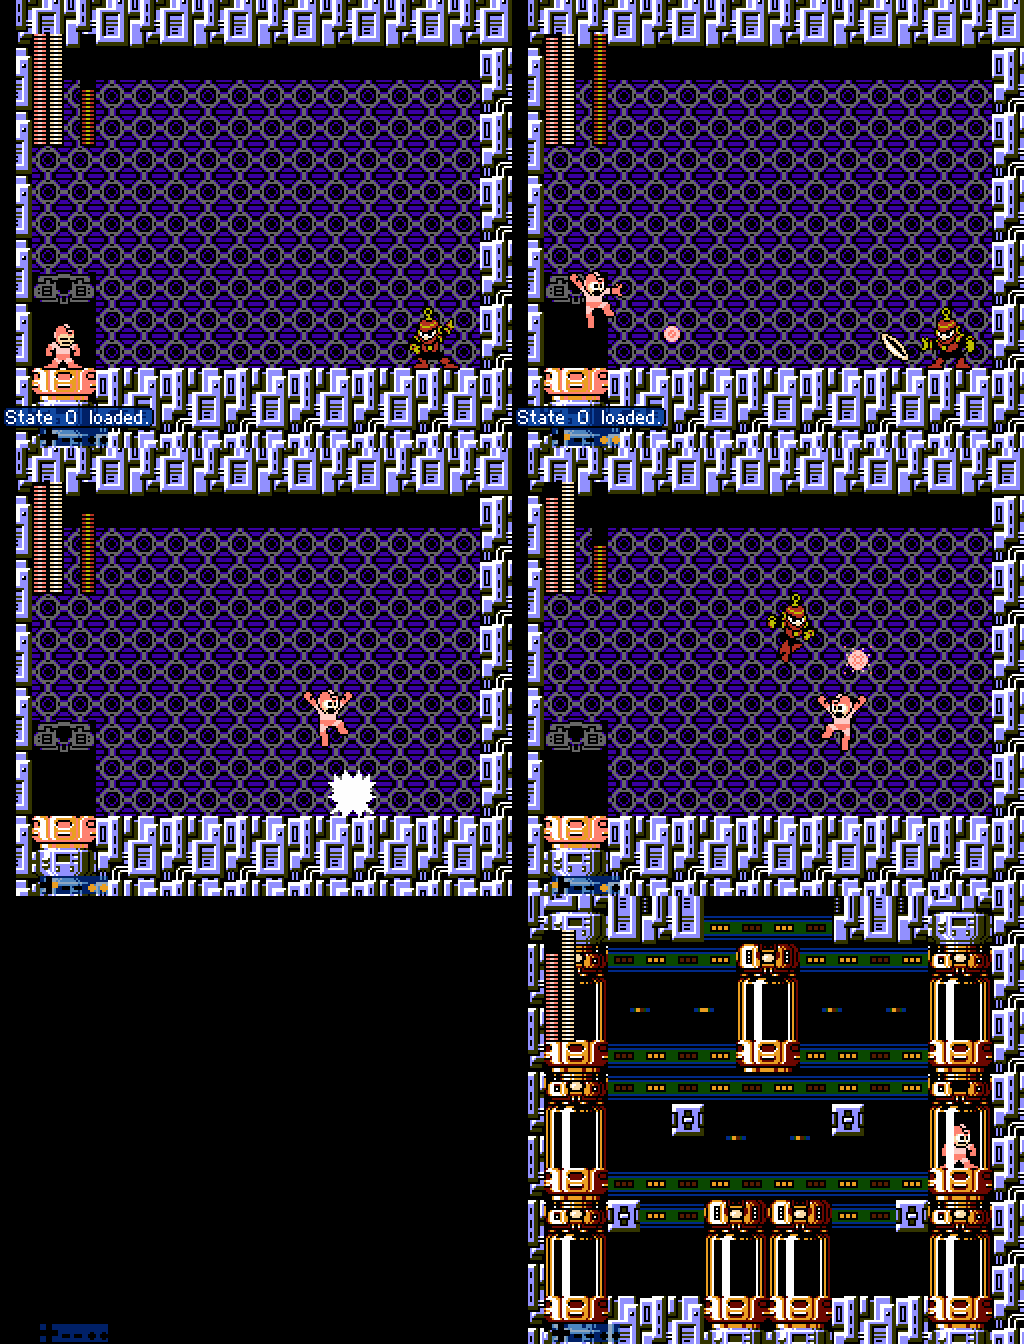](https://goodboyrush.net/uploads/images/gallery/2024-07/fceux-p8z0ygonxd.gif)You can backup this fight if you miss the uncharged Pharaoh shot by doing the same ending as the old strategy!