You may sometimes miss the jump of the slide on the last one. That usually happen when your movement isn't so good on your first slide or you may have jumped too high off the ladder.
### Room 2 - Single Stair Room Another fairly easy room, this room contains 2 mets. To take care of the first one, you simply **A + B** and **jump** off the ladder. For the second one, just **A then B** *(not A + B)* or else the shot will be too low. [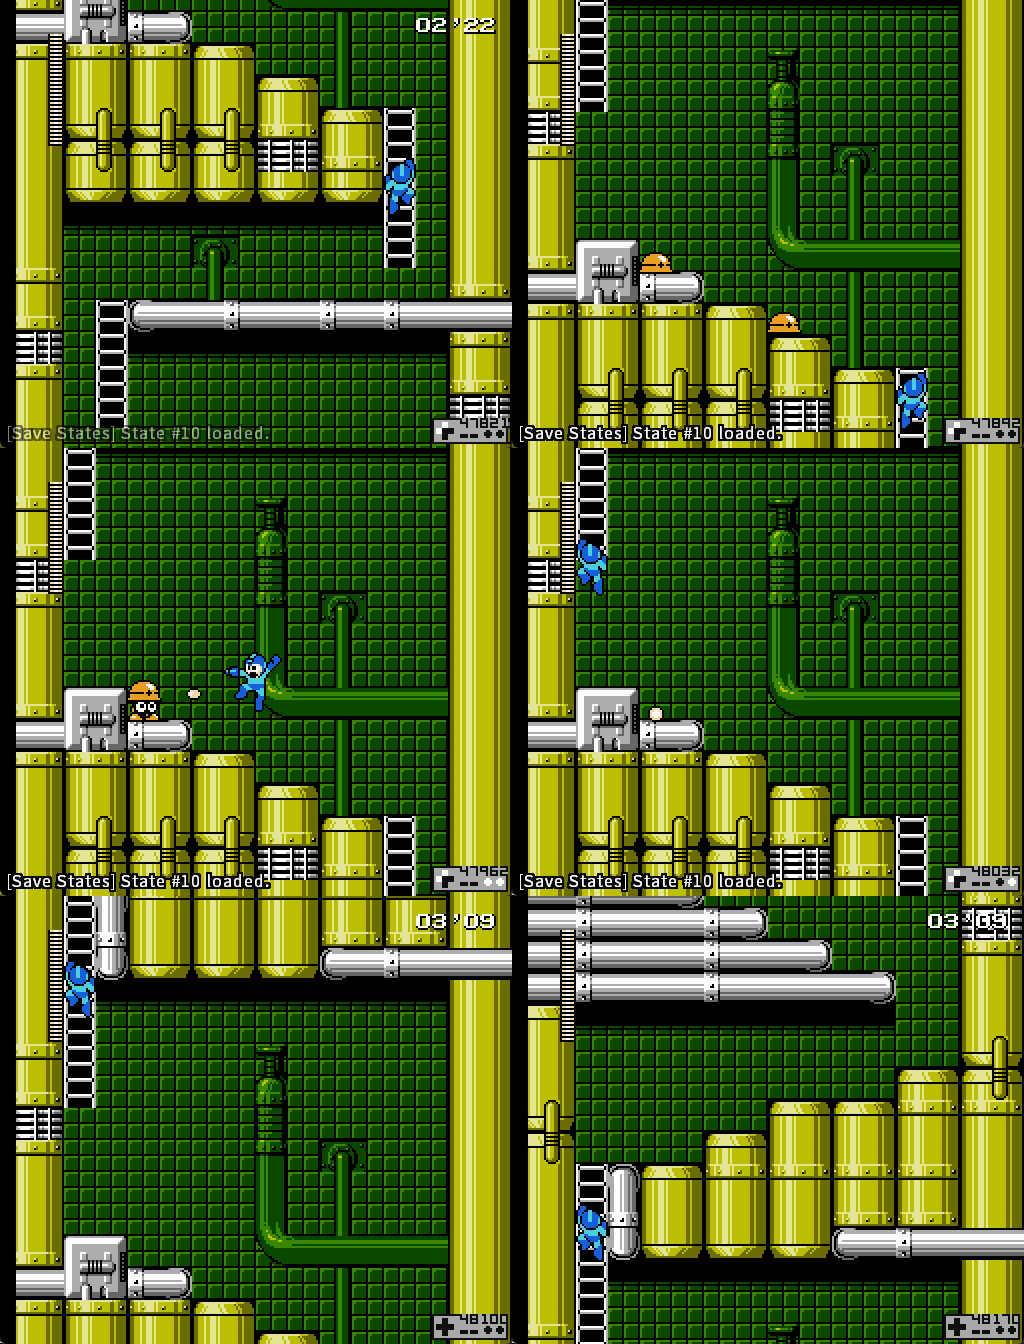](https://goodboyrush.net/uploads/images/gallery/2025-06/mesen-0b3rfqgipg.gif) If you want to optimize a bit more you can add extra slides to speed up the room. [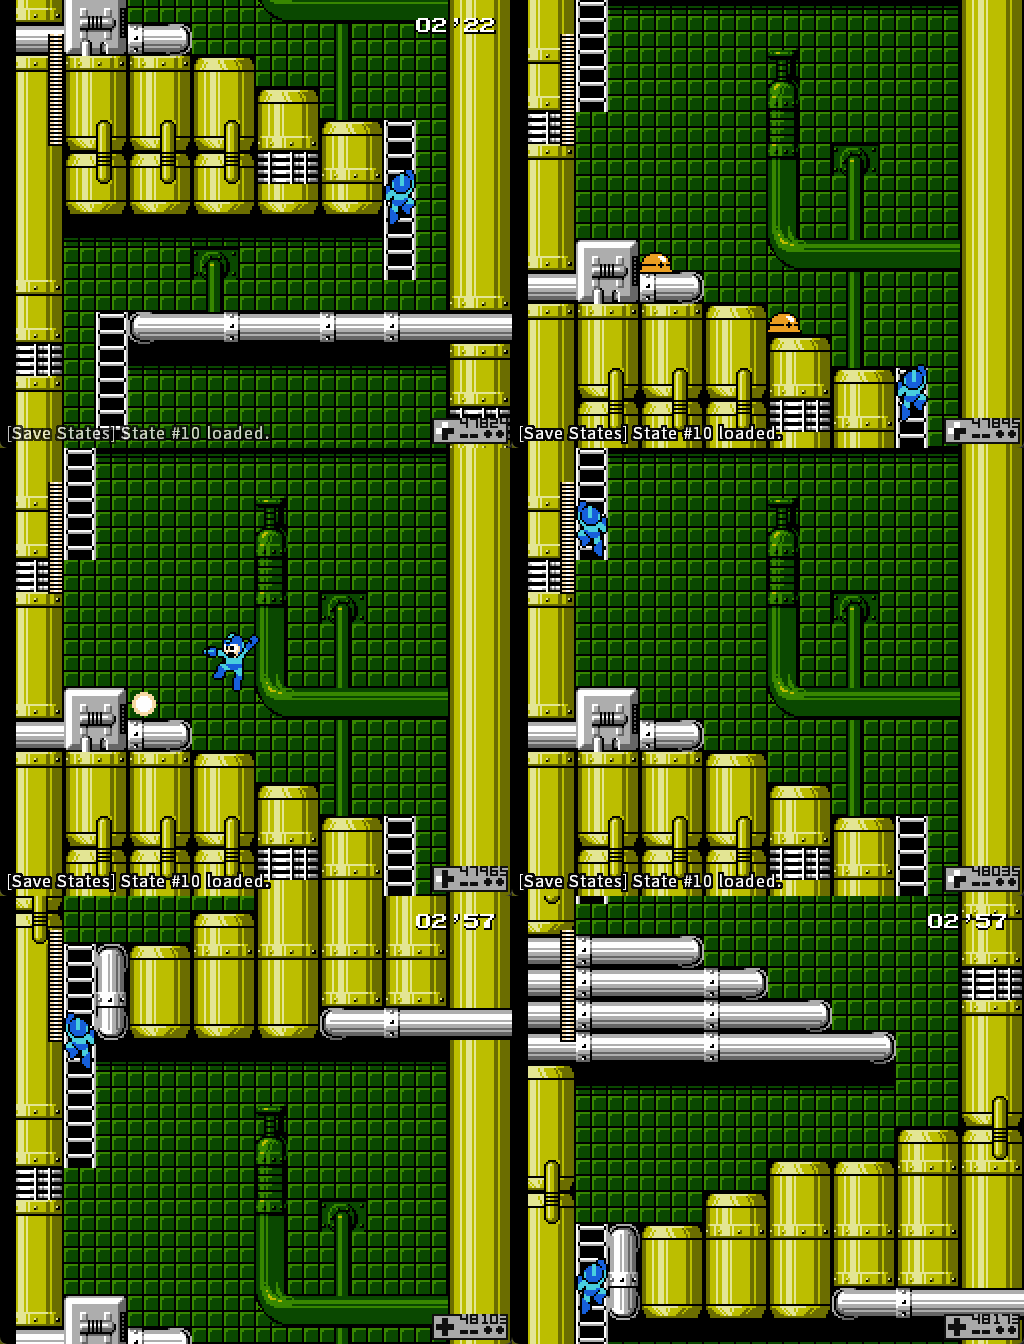](https://goodboyrush.net/uploads/images/gallery/2025-06/mesen-clol6ntyi2.gif)The second slide is actually harder to save time with as you may jump slide a bit too far. Making the ladder grab a bit slower.
### Room 3 - Double Stair Room This is the first tight room of the stage that can be tough to do without taking damage or just clean in general. There's several things to pay attention in it. #### First 2 Mets Like the previous room, the first Met can get taken care off with a simple **A + B** as you **jump off** the ladder The second met is a **THREE HP** met. There's various ways to handle it. ##### Just walk If your mash might be inconsistent or a bit on the slow side. You can jump spam A and B as you walk towards the met [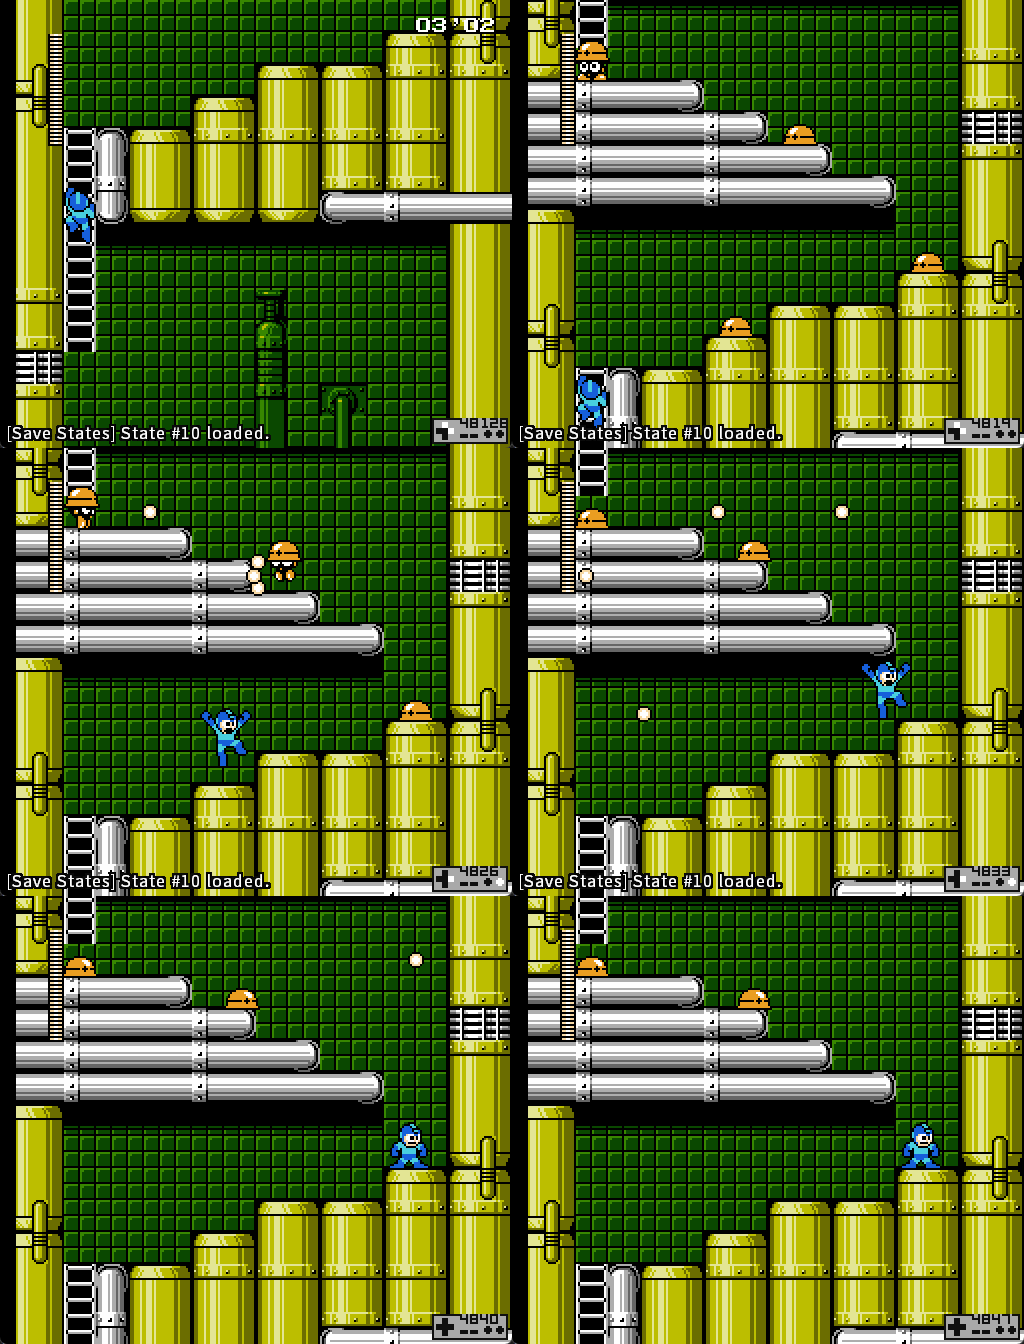](https://goodboyrush.net/uploads/images/gallery/2025-06/mesen-vegeejeuaa.gif)Any extra shot will create extra lag in this room
##### Back damage boost strat A bit harder but you can use the forward bullet to take a back boost off of it [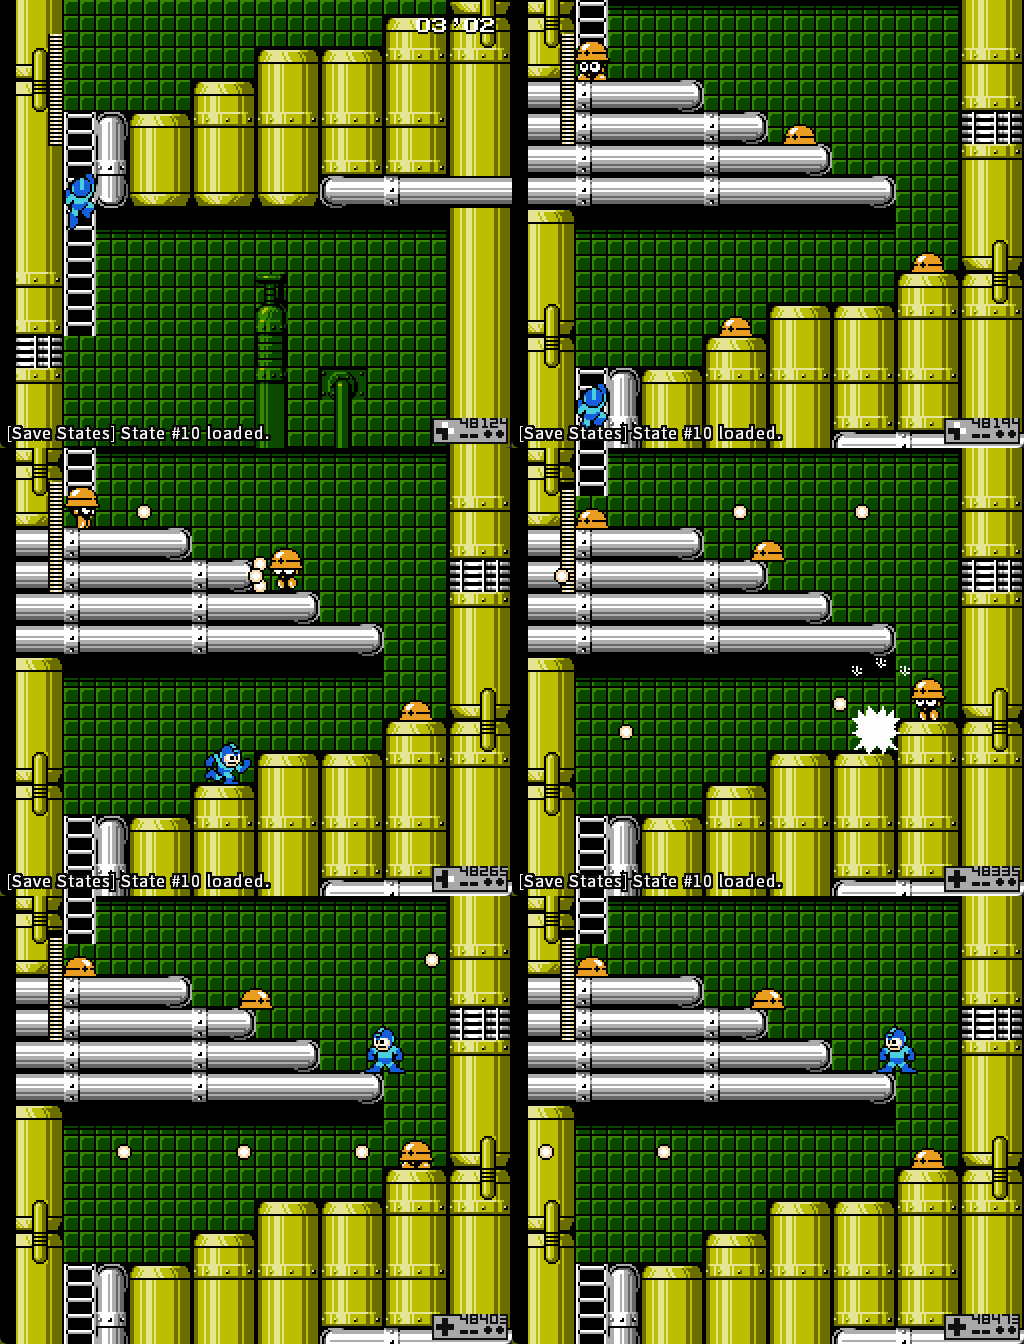](https://goodboyrush.net/uploads/images/gallery/2025-06/mesen-odhsbzumcz.gif) You can optimize this strat by making it to the stair the Met is standing on [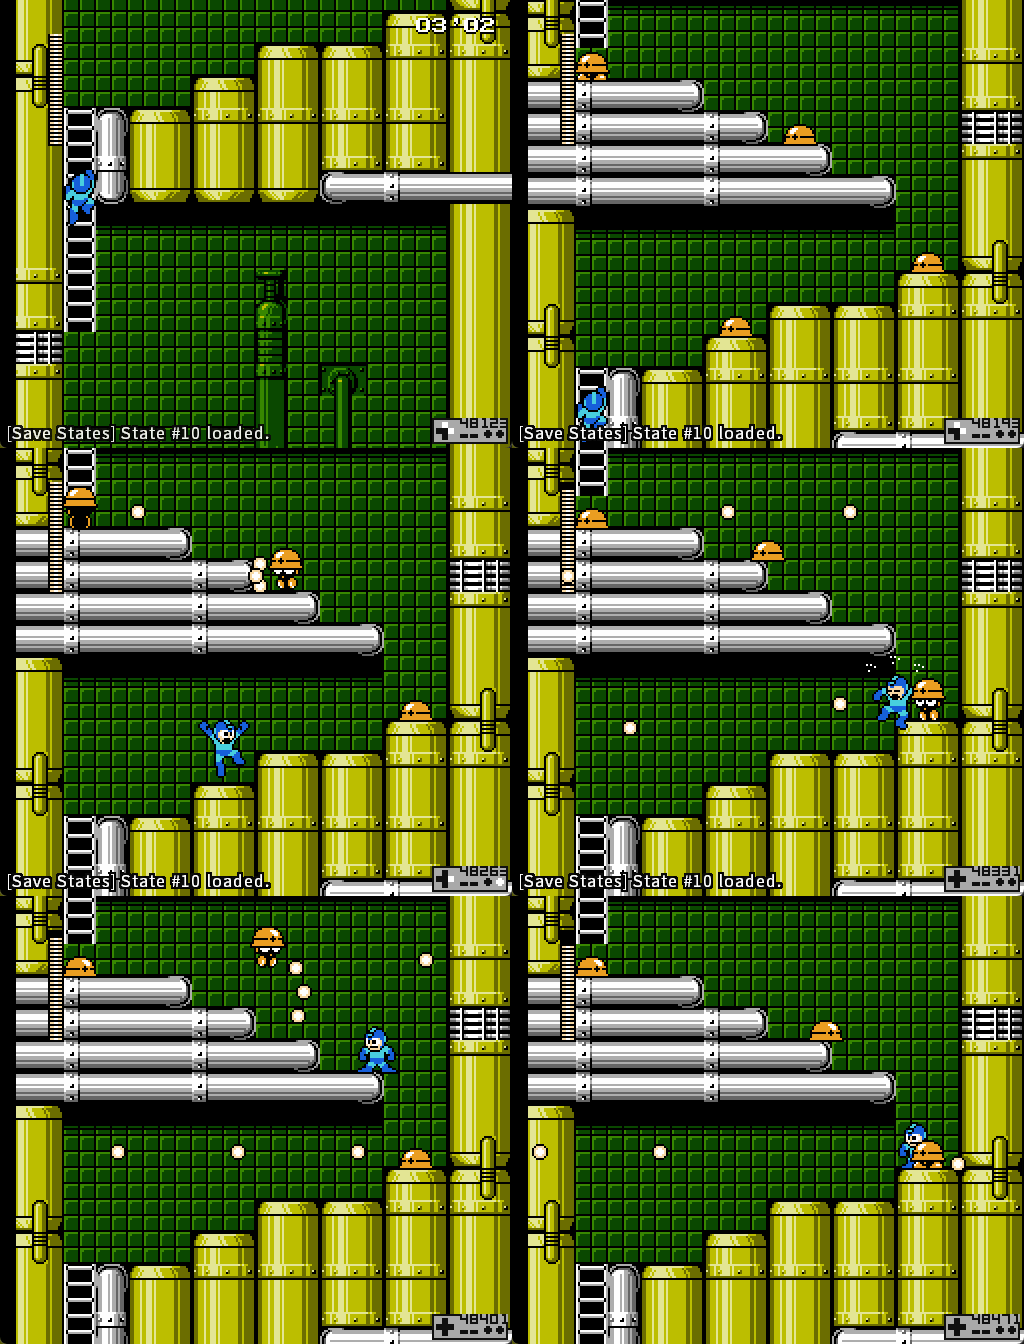](https://goodboyrush.net/uploads/images/gallery/2025-06/mesen-vj6uwfeoka.gif) ##### Slide + Mash The optimal strat, you slide towards the met but you jump out off it to get 3 shots very rapidly [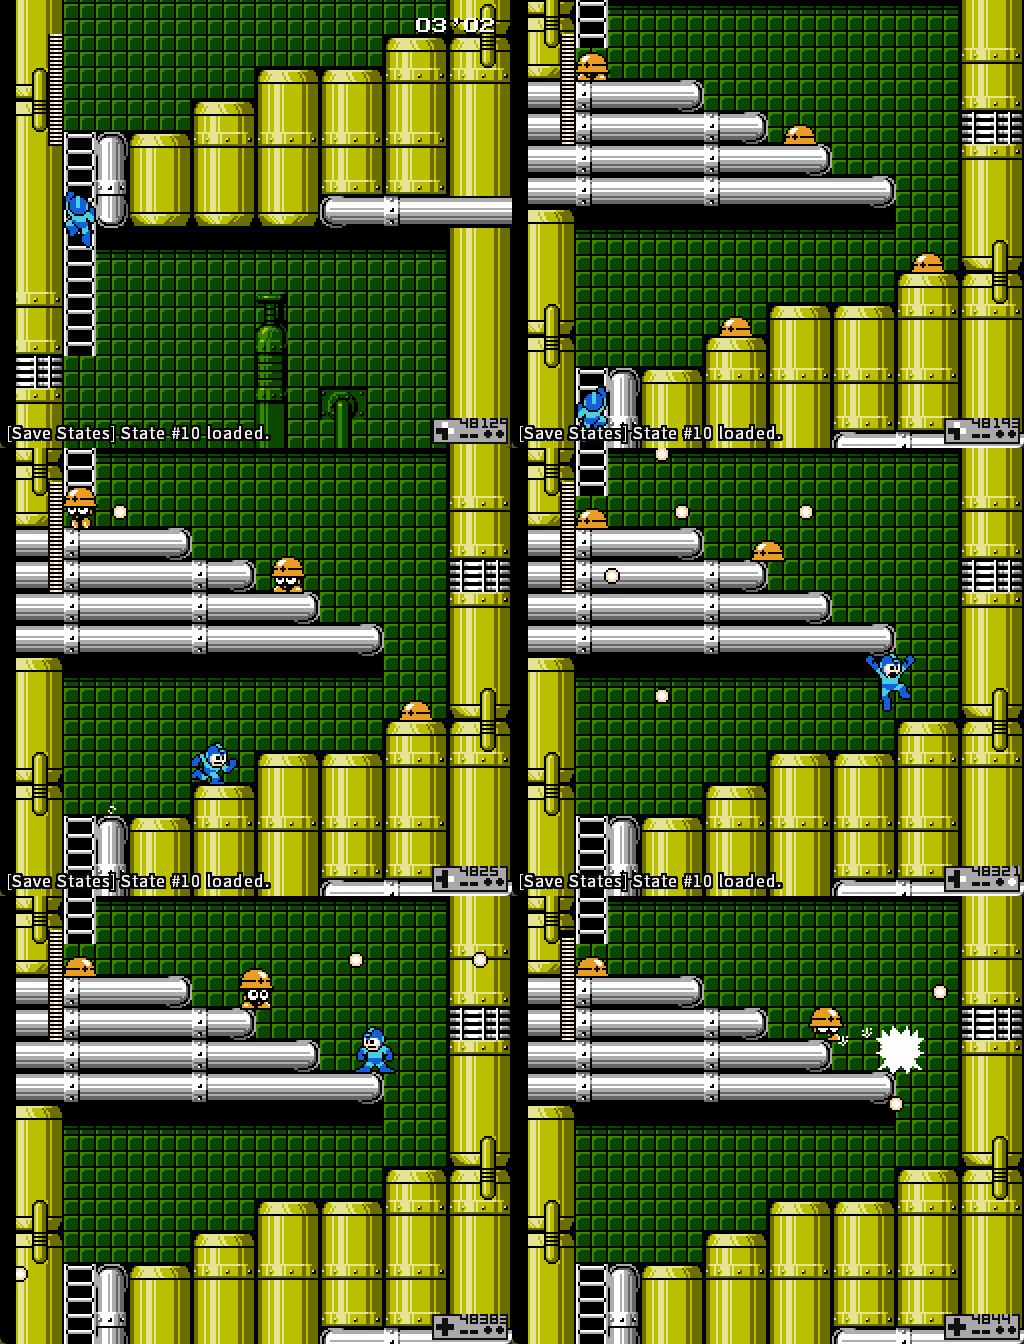](https://goodboyrush.net/uploads/images/gallery/2025-06/mesen-ciezbhseri.gif) #### Last 2 Mets You need to pay very close attention to where this met will jump. [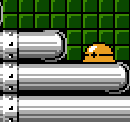](https://goodboyrush.net/uploads/images/gallery/2025-06/chrome-klt6ru8qrf.png) There's 2 differents jump height the met can do, a low or a high jump. As you execute you may not have the time to check whatever jump the met is doing but you can easily see it depending of where that Met lands ##### Fast Pattern - Low jump [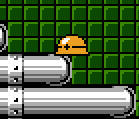](https://goodboyrush.net/uploads/images/gallery/2025-06/mesen-qvt7aida0k.png) If the Met lands here, it means it will open a bit quicker, meaning you need get ready to kill it as soon as you get through the first 2 mets. [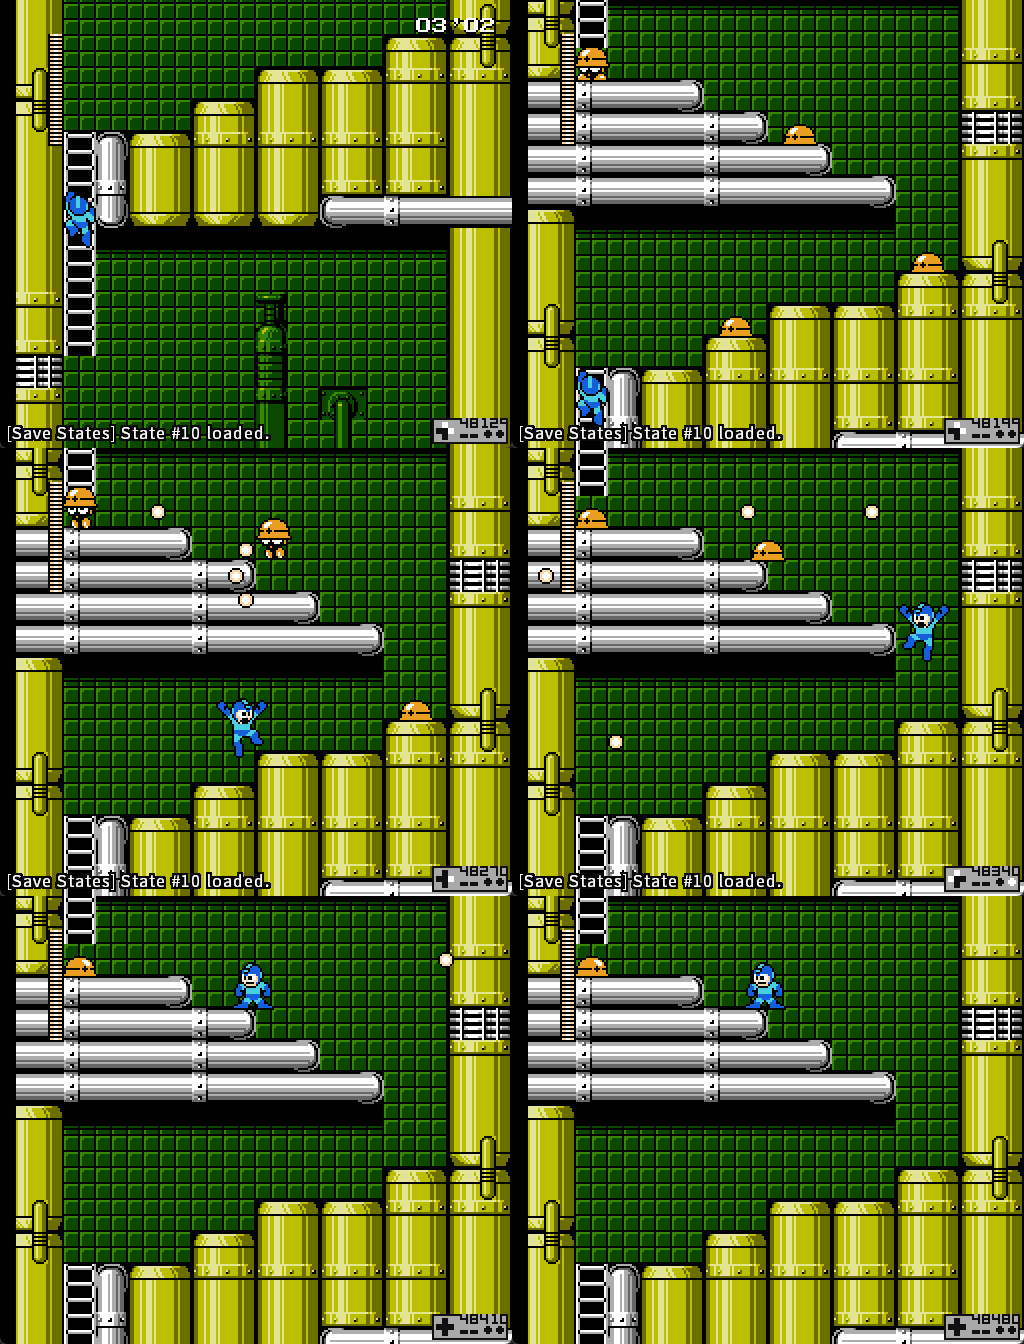](https://goodboyrush.net/uploads/images/gallery/2025-06/mesen-hlrxpfqgoa.gif)The small slide is optional, can make it harder or easier depending of how you play. You can cut it out if you dont like it [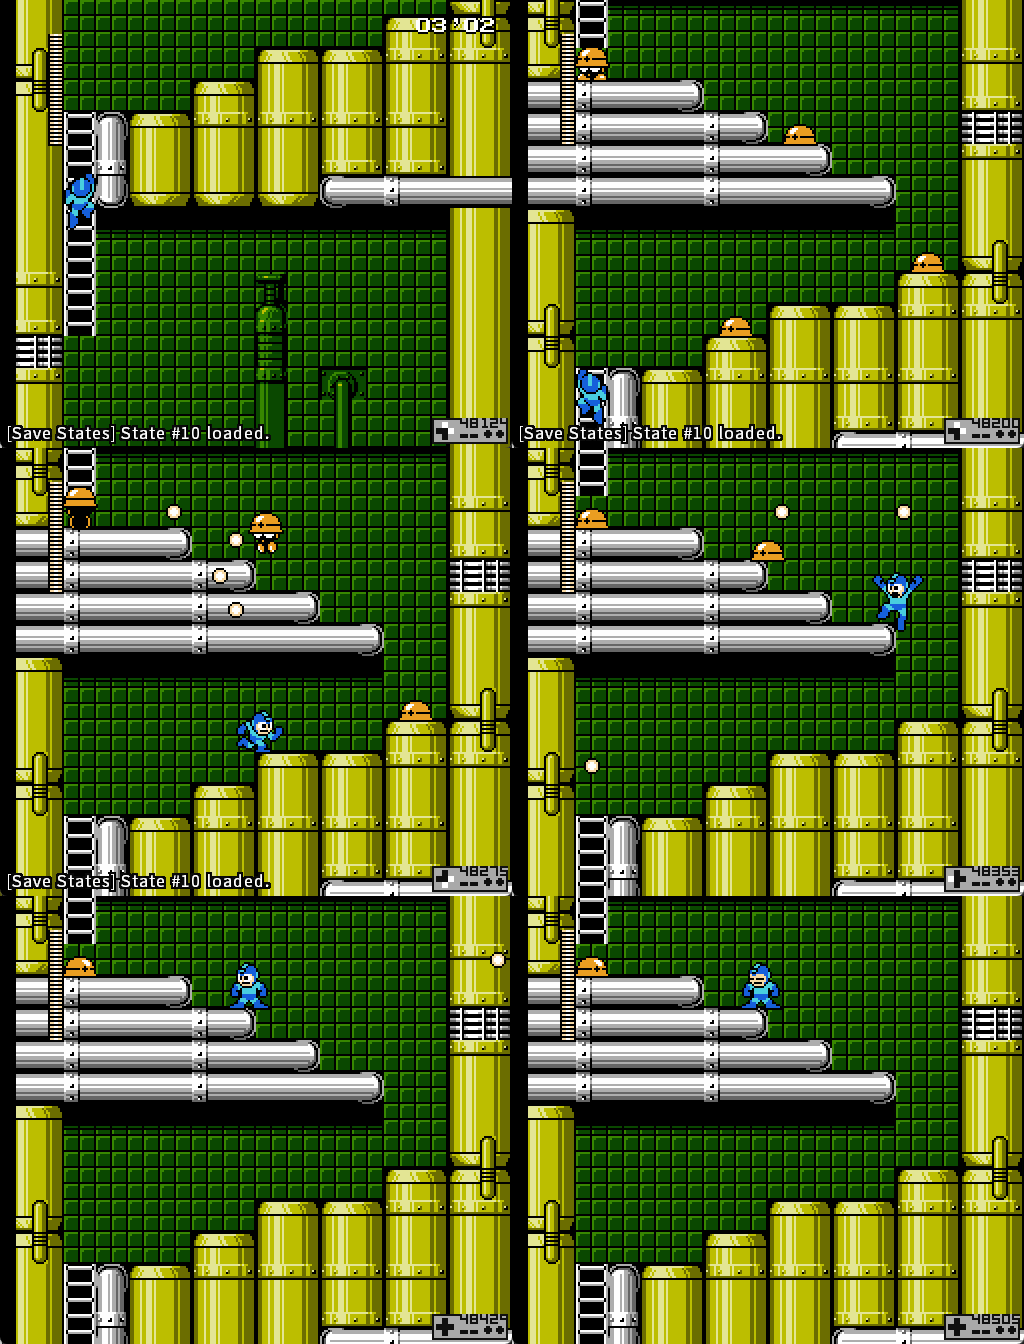](https://goodboyrush.net/uploads/images/gallery/2025-06/mesen-yxiscvm6zi.gif)
##### Slow Pattern - High jump  On the slow pattern the Met will delay its opening a bit, meaning you need to slow yourself down. You can do that by walking very close to the Met to the point of nearly bonking the stair he's on, and then a regular **A + B** [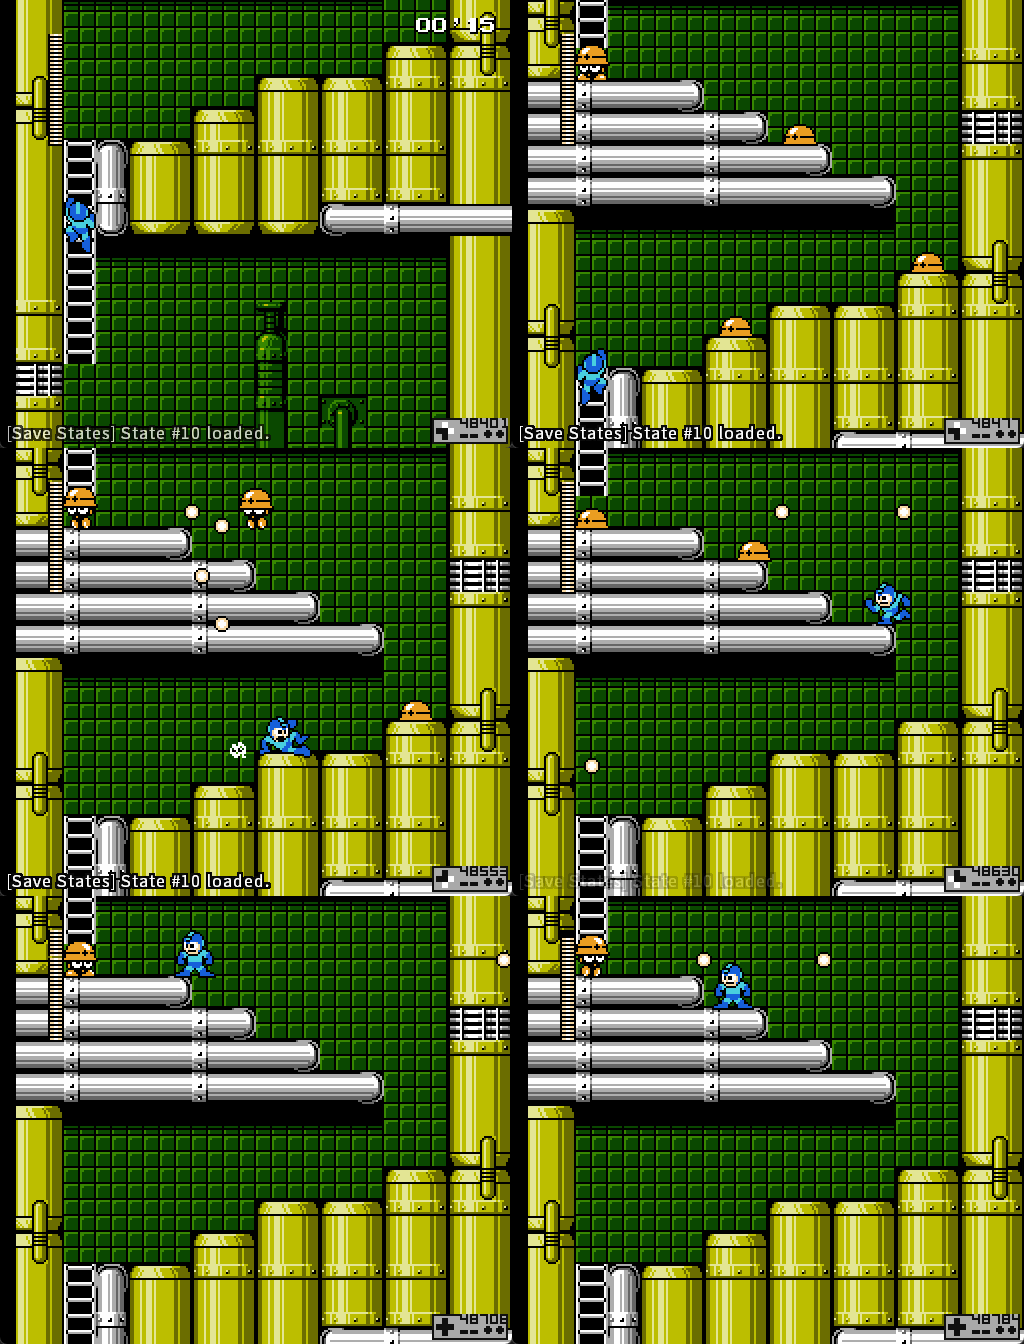](https://goodboyrush.net/uploads/images/gallery/2025-06/mesen-pgbplasnif.gif) ##### Reactions to mistakes Since these Mets are on a timer the moment you are in their range, you need to be careful in case you miss the 2nd Met (most common mistake) In that case, you need to prepare yourself to hit that Met **earlier** than usual. Here's a mistake case scenario for both patterns [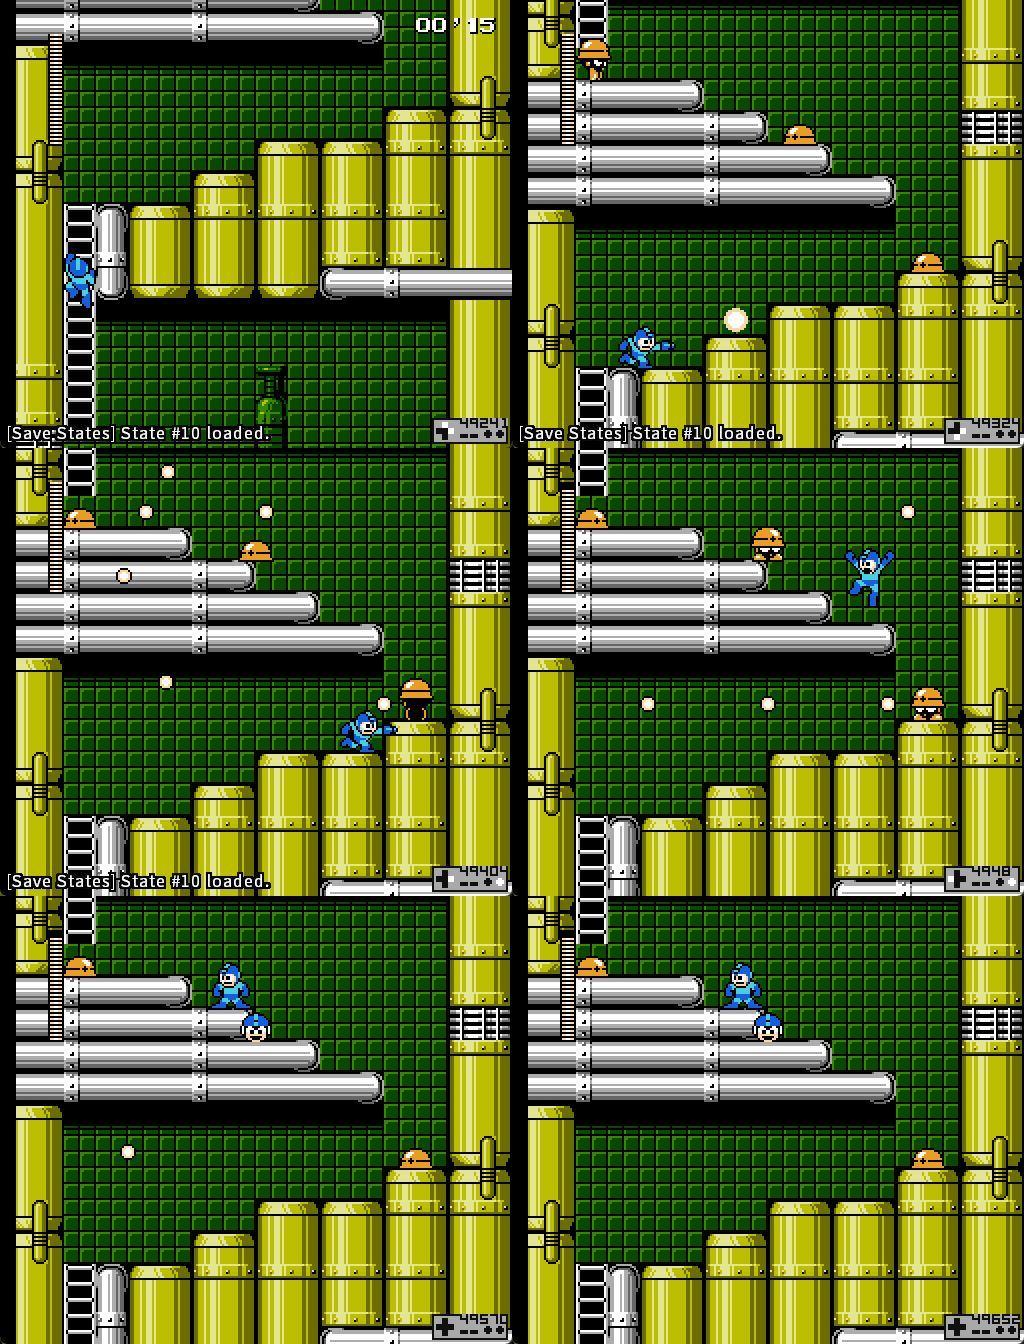](https://goodboyrush.net/uploads/images/gallery/2025-06/mesen-zgpo5a6dci.gif) [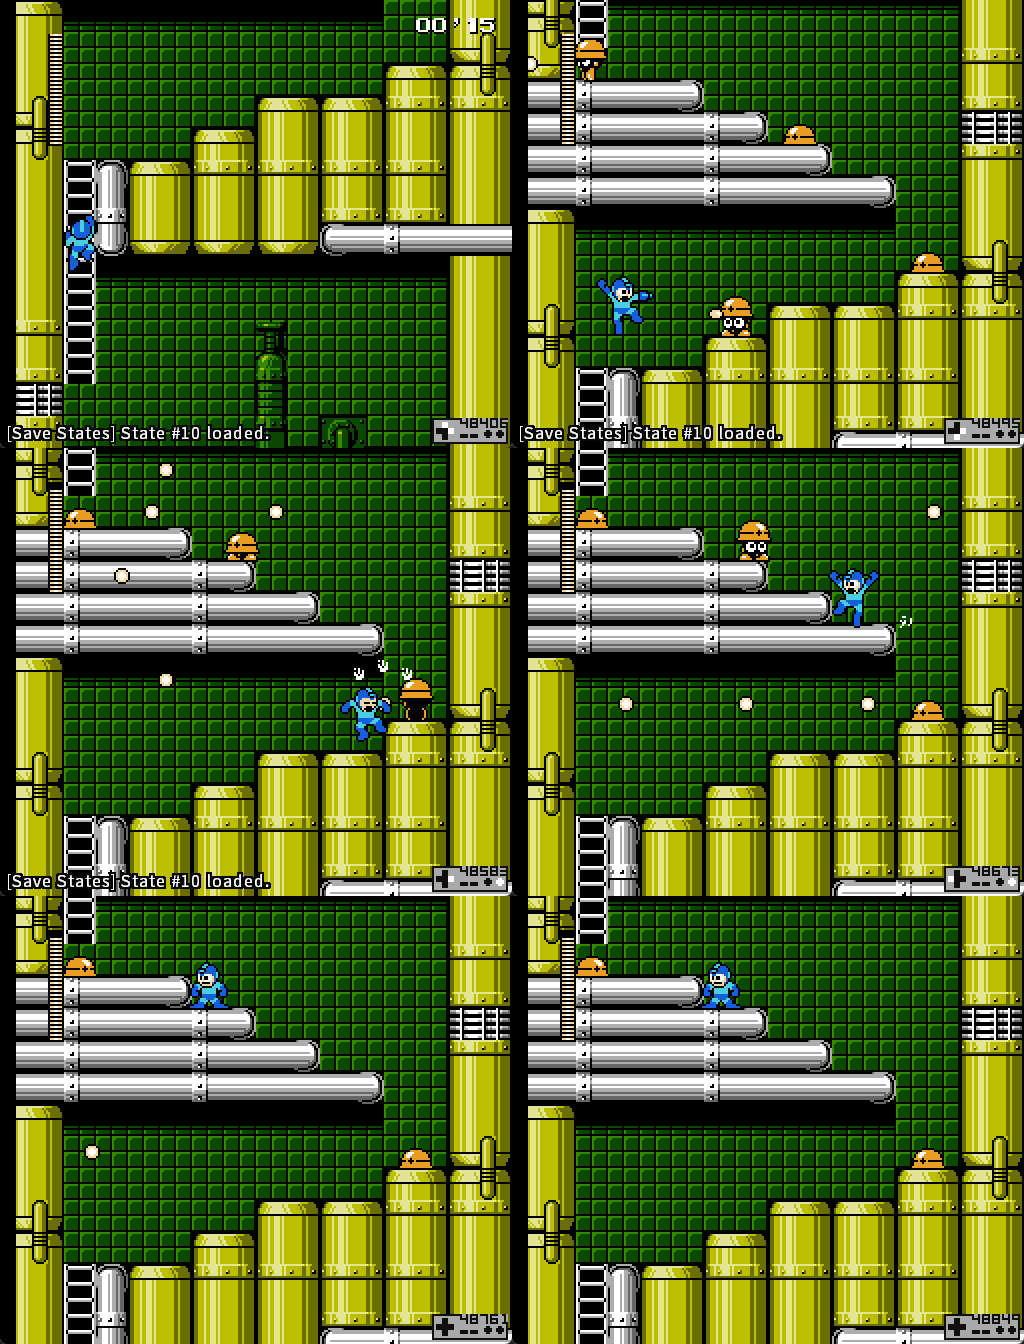](https://goodboyrush.net/uploads/images/gallery/2025-06/mesen-bxxbzr2lzp.gif) #### Full Room Examples + Ladder grab You dont wanna kill the last Met, its a waste of time. Jump to grab the ladder as you dodge the last Met's shot [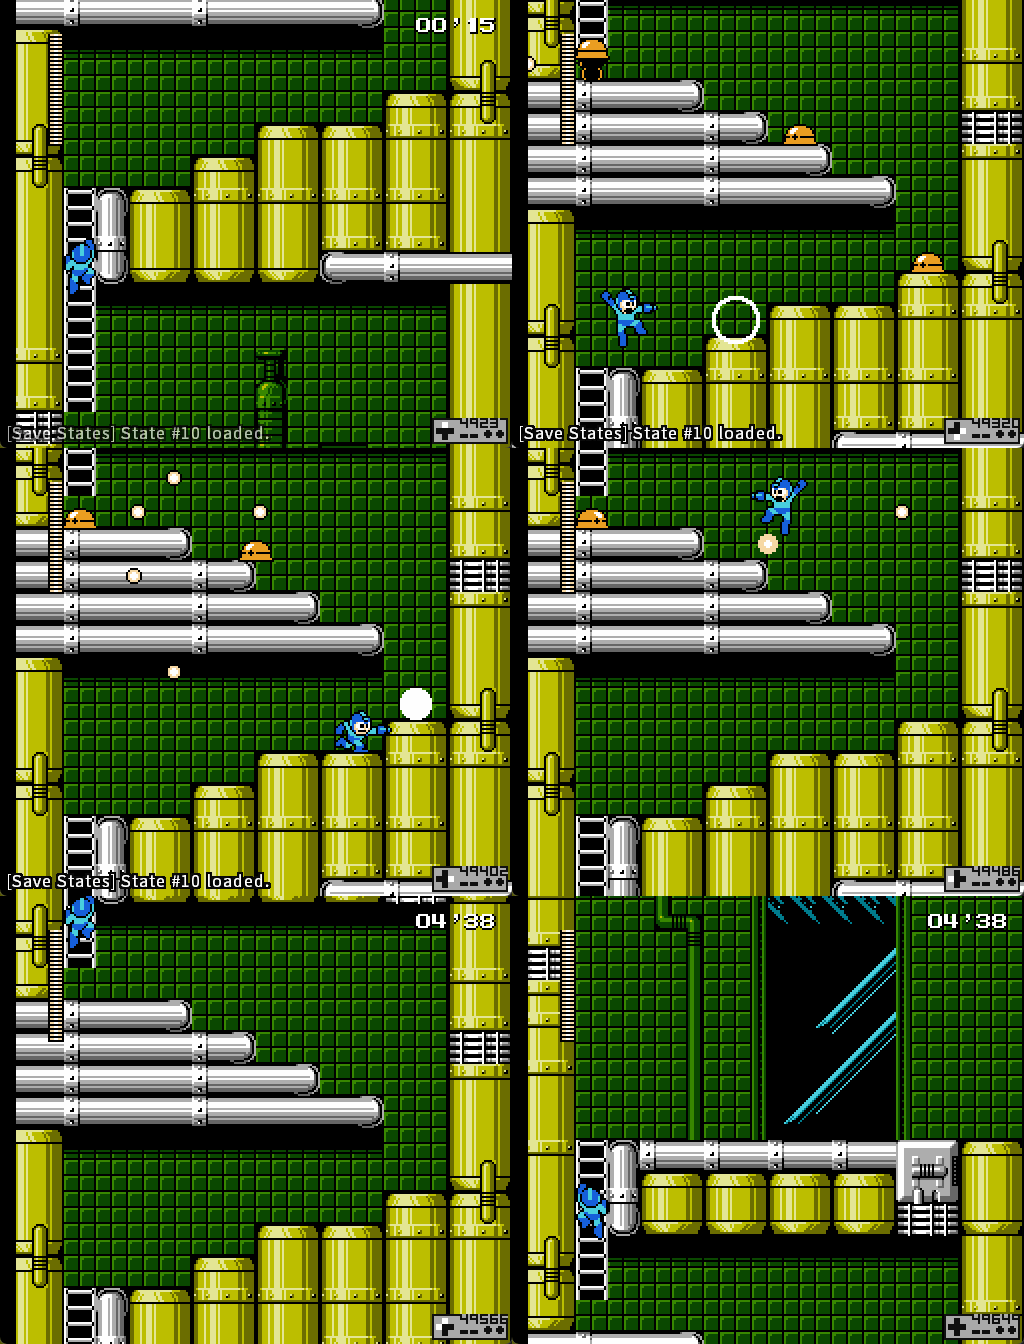](https://goodboyrush.net/uploads/images/gallery/2025-06/mesen-yaj4nchaix.gif) You can speed it up by sliding. [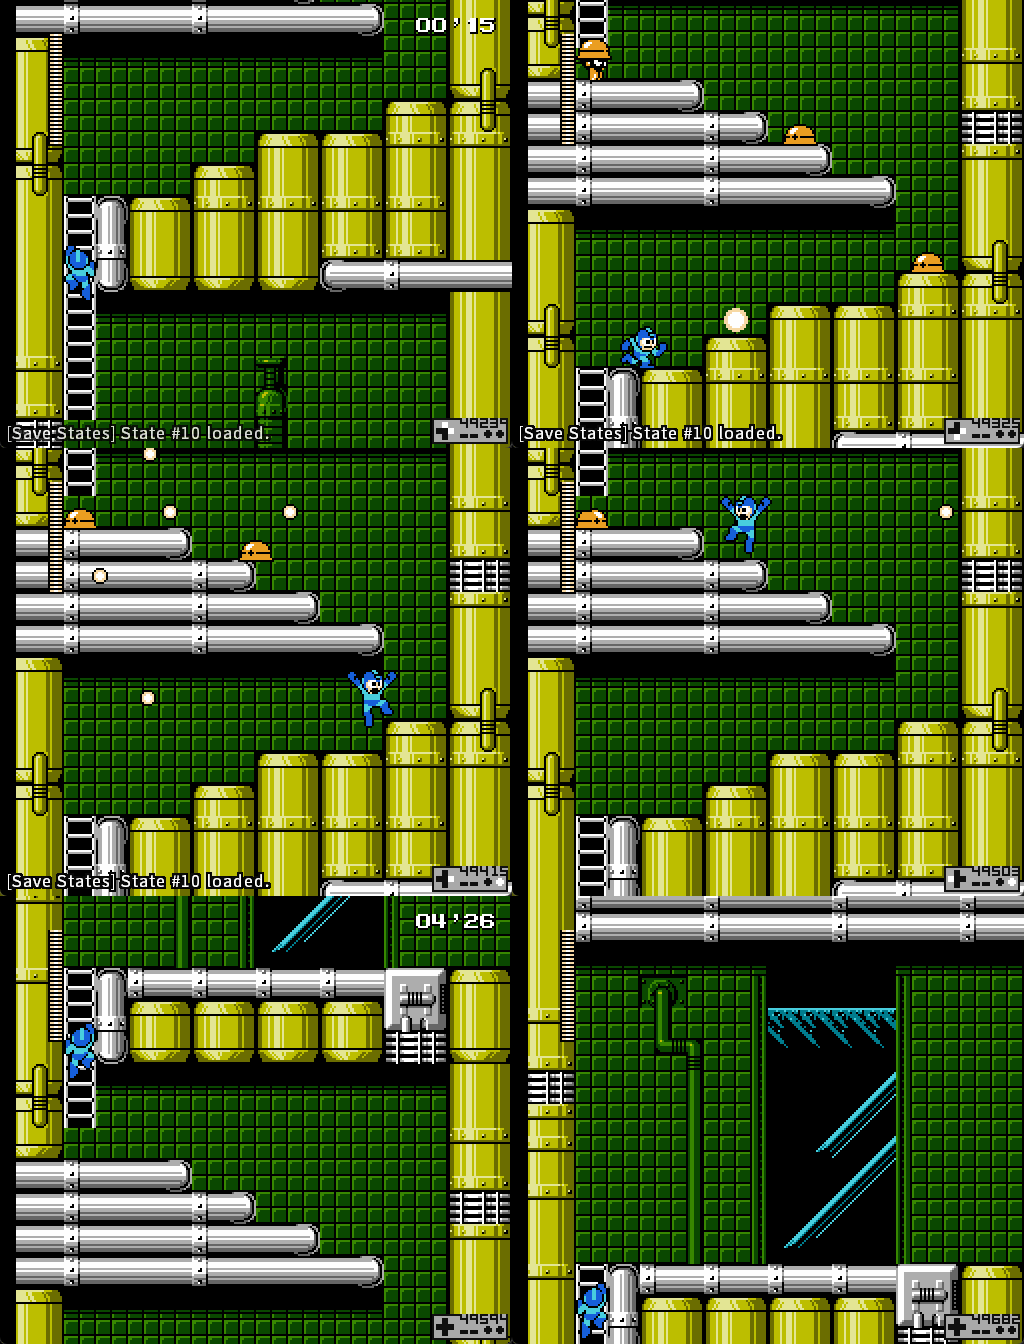](https://goodboyrush.net/uploads/images/gallery/2025-06/mesen-nh8lijyo7v.gif)The higher you jump, the slower you'll be, try a low jump. The reason being that unlike some Mega Man games, you are unable to grab ladder offscreen
# Screen 4 - Long Met Screen One of the most difficult screens in the game to execute properly. We will go through various ways to clear this screen without taking any damage. For all the strats the beginning will be the exact same. 3 regular slides, bullet slide, then slide. This is after this that the variances are starting ### First half #### Safe way - Jump shot then jump land The timing to get the top Mets in one jump is really tight. You can easily clear it by jumping earlier [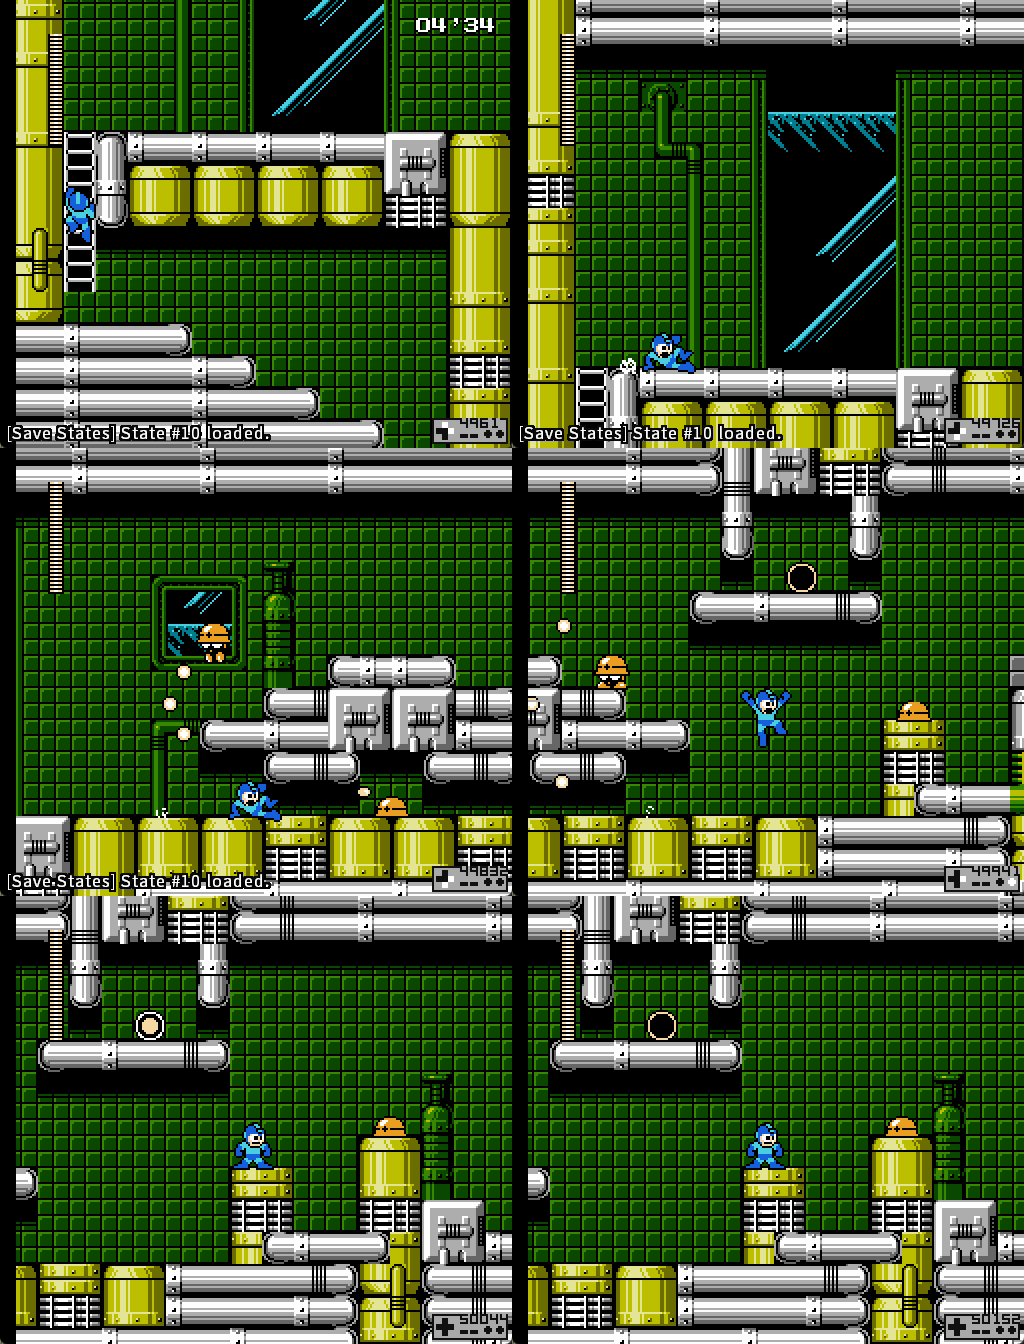](https://goodboyrush.net/uploads/images/gallery/2025-06/mesen-a0subzvwj4.gif)If possible you wanna avoid bonking the wall for a minimal timeloss like shown in the GIF
#### Hard way - Jump shot landing You need to shoot relatively early but you also need to do jump quite late to be able to land on the top ledge, making the window really tight. To be able to do this fairly consistently, you actually need to **delay** the slide out of the tunnel [](https://goodboyrush.net/uploads/images/gallery/2025-06/mesen-1mwm5b5ckz.png) You can **walk then slide** [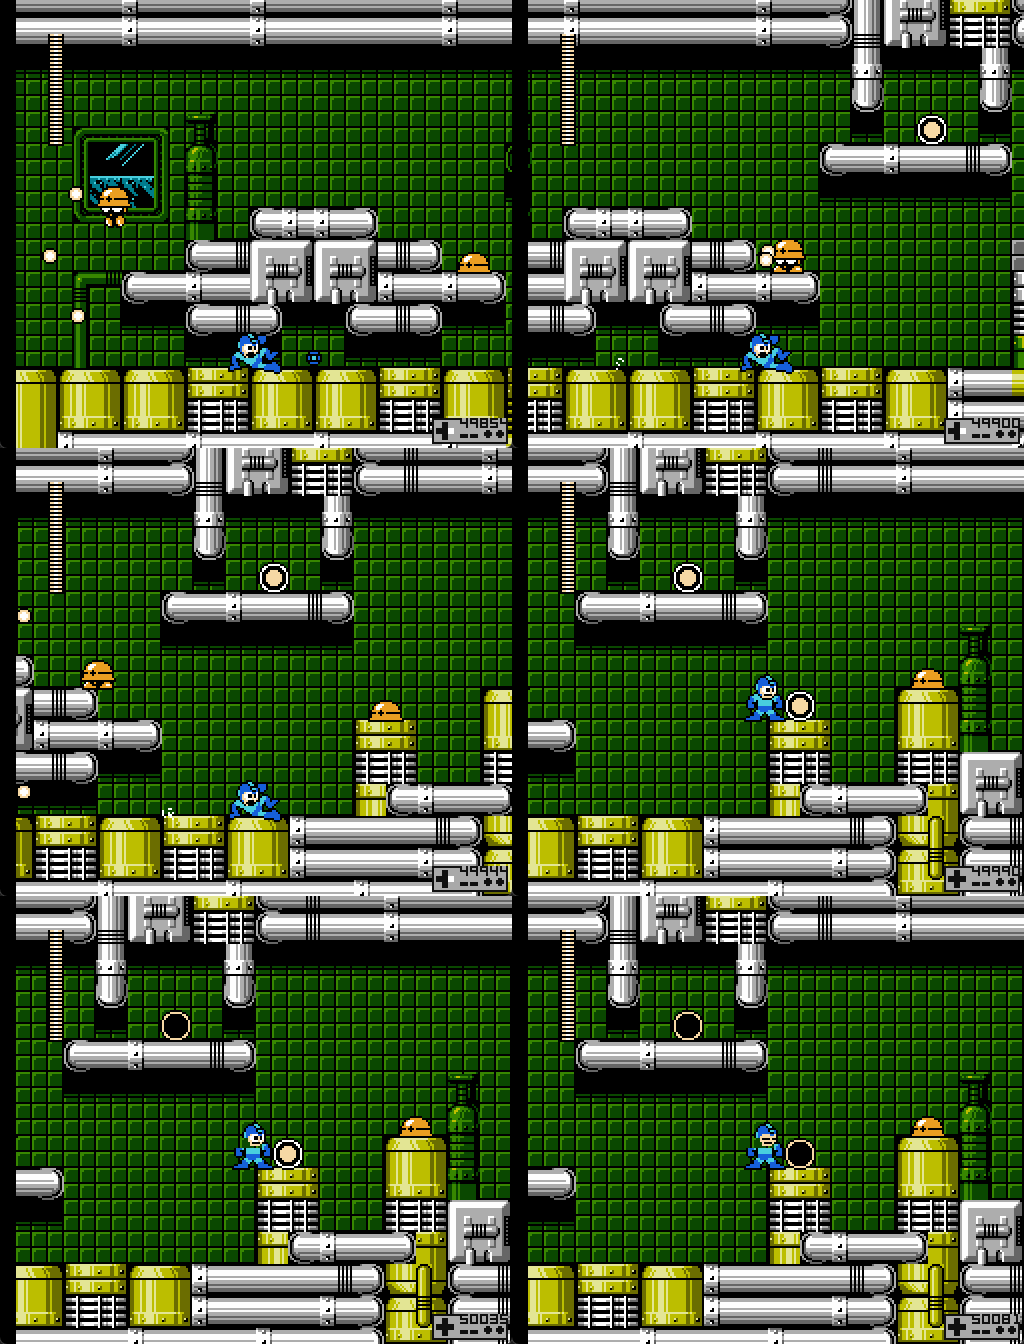](https://goodboyrush.net/uploads/images/gallery/2025-06/mesen-3qnuuuha3t.gif) You can **jump then slide** [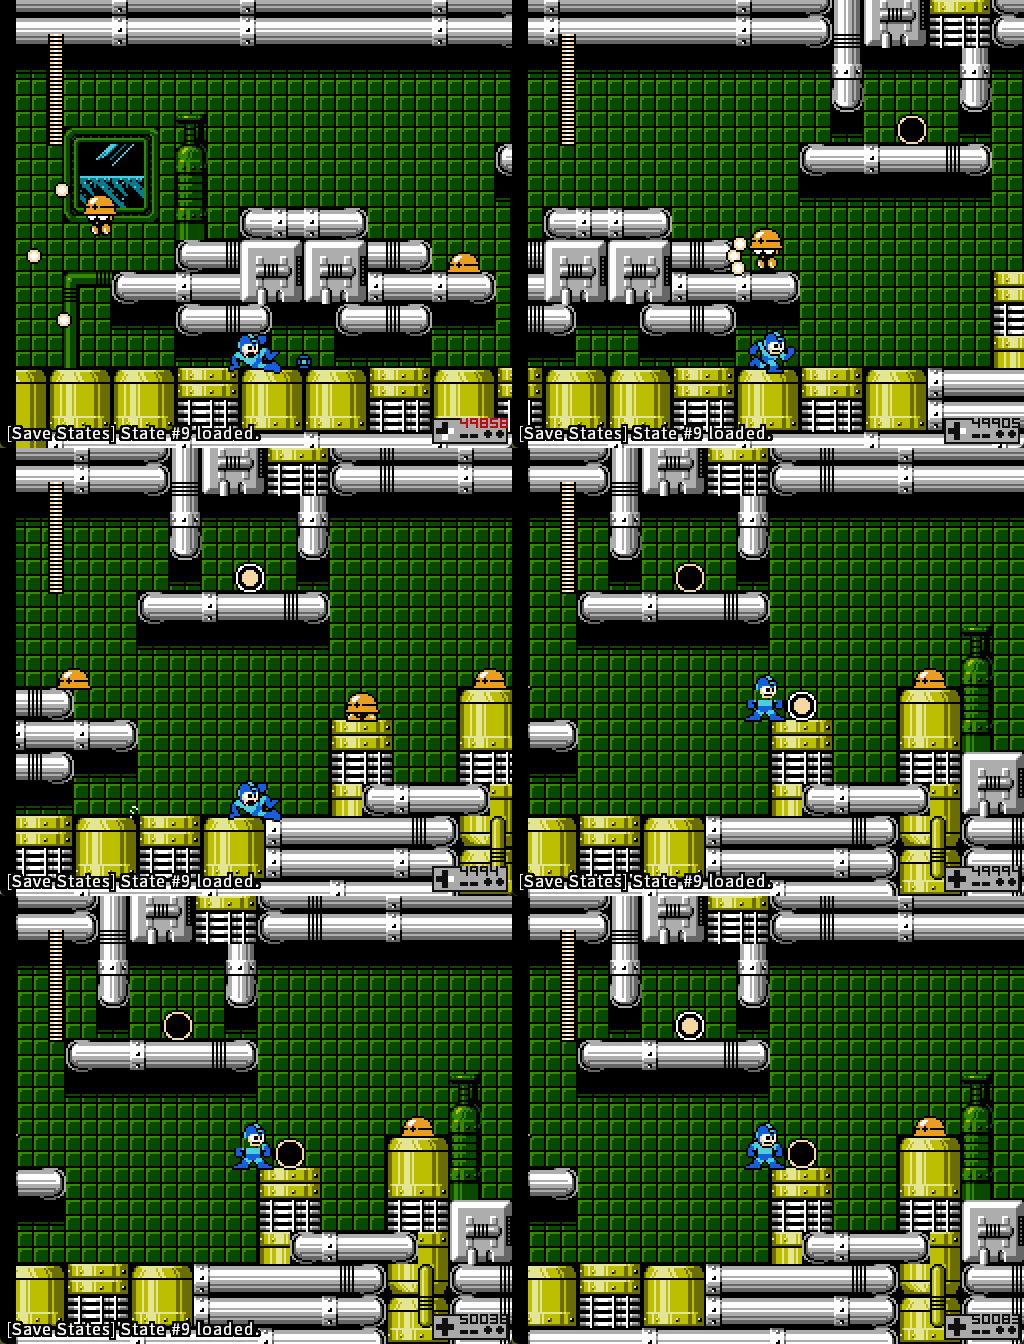](https://goodboyrush.net/uploads/images/gallery/2025-06/mesen-kro5zvj8rt.gif)Various other stuff probably works here, feel free to experiment on whatever you like better or simply works for you
Don't feel discouraged if you miss this, it is quite tight especially for new runners
### Second Half You can easily take care of the following Met with an **A + B.** Start charging right after to prepare for the upcoming next Met [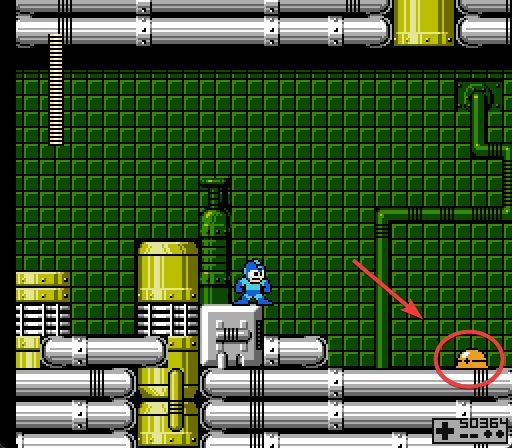](https://goodboyrush.net/uploads/images/gallery/2025-06/mesen-ozvbdd7cvr.png) ##### Regular way As you kill the 2nd Met, prepare a charge, walk until reach the last stair then slide and release as you are on the same Y position as the Met. [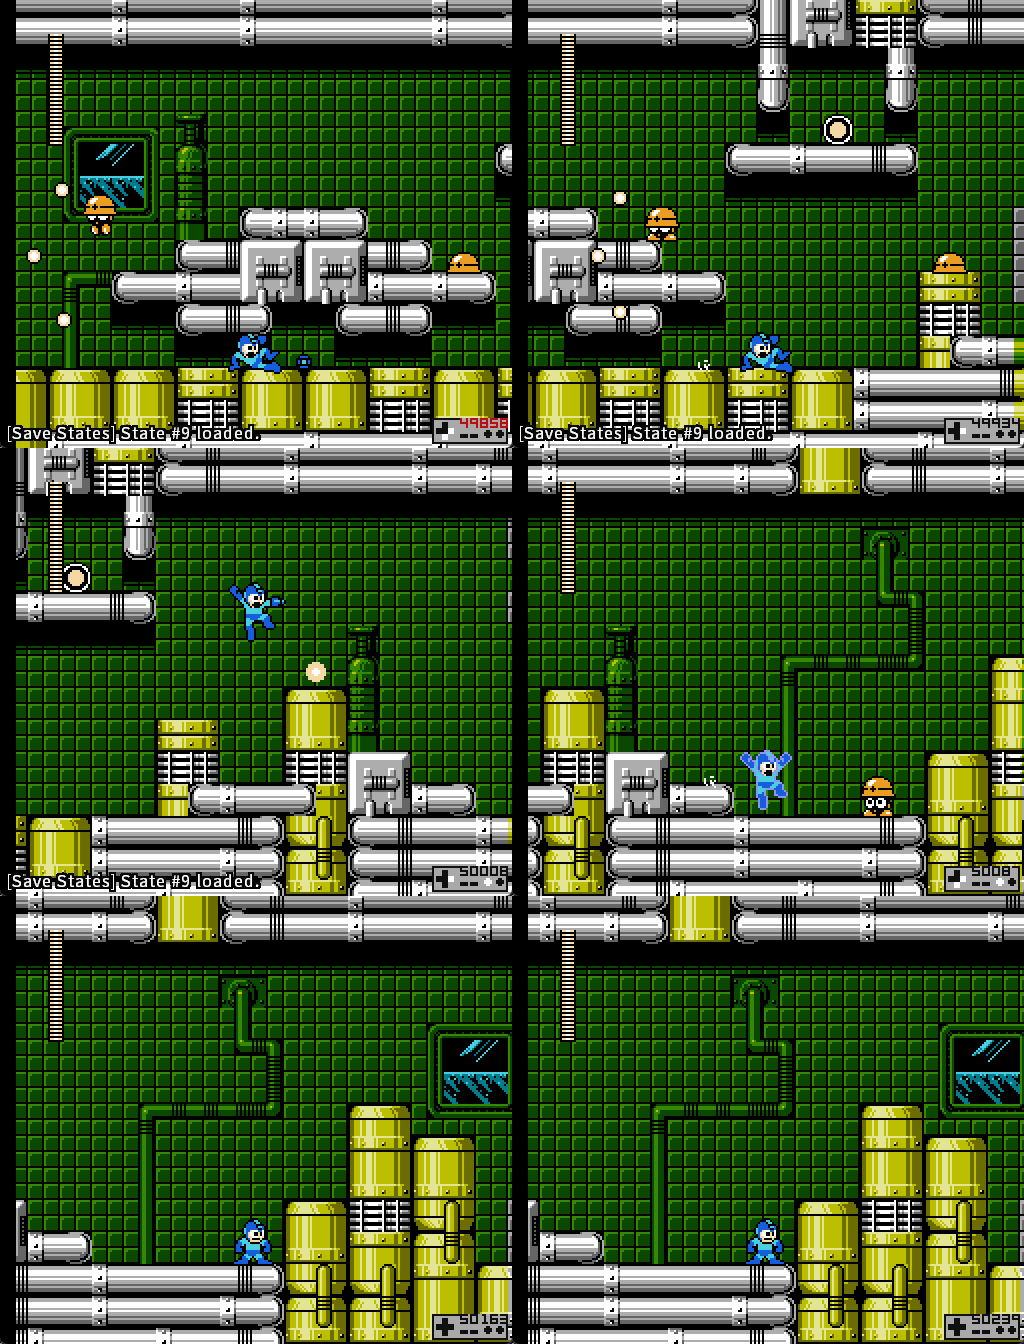](https://goodboyrush.net/uploads/images/gallery/2025-06/mesen-g4zj7qf44l.gif) ##### Harder way - World Record way As you kill the 1st Met, you can very quickly fire a second shot, that way you can start charging ever so slightly earlier allowing you to cut the walk and add the slides that were missing [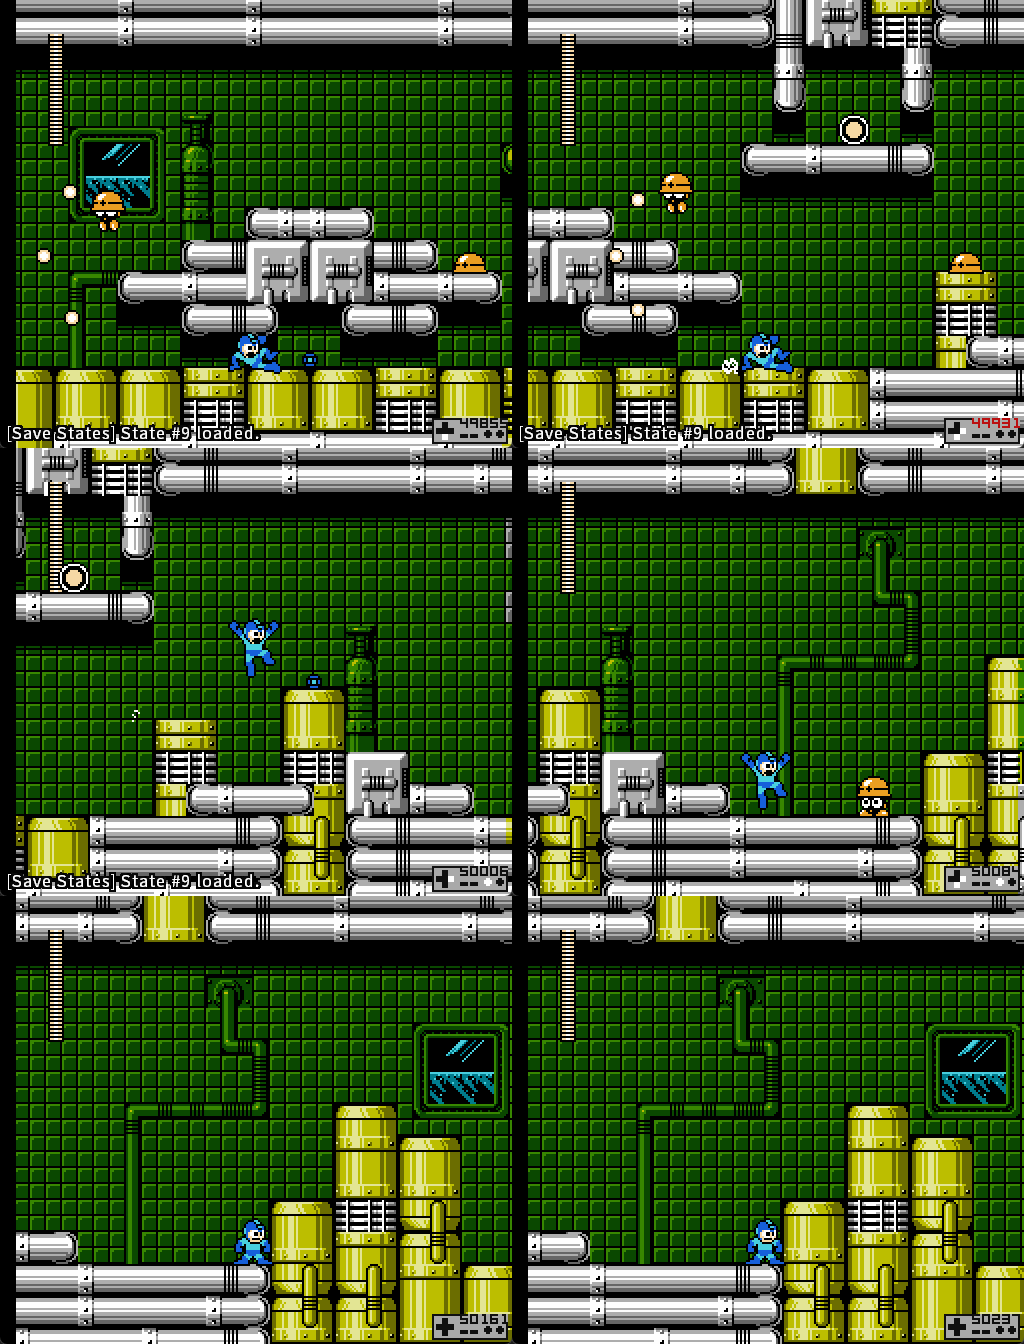](https://goodboyrush.net/uploads/images/gallery/2025-06/mesen-oe5qdv5tax.gif) ### Final part The last part follows the same type of jump shoot timing as the first jump shot you have to do. You can apply the same method. Either double jump to kill the Met or single jump [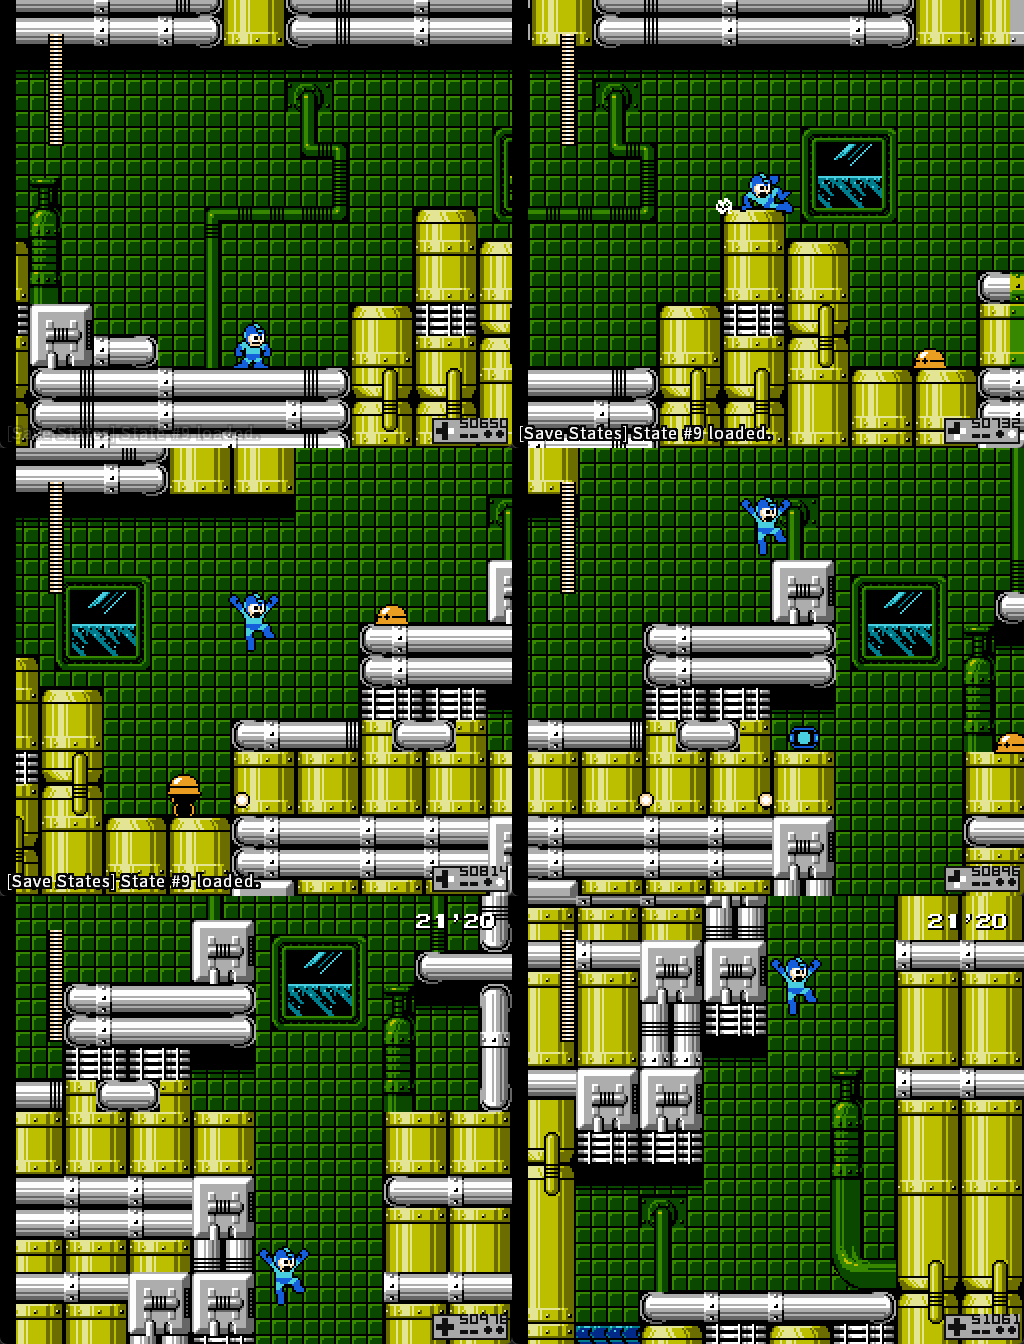](https://goodboyrush.net/uploads/images/gallery/2025-06/mesen-zsgha8yuxe.gif) To be able to jump shot in one go, you can make it "easier" with a very small jump slide on the edge, right here [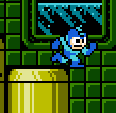](https://goodboyrush.net/uploads/images/gallery/2025-06/chrome-bqlivciamj.png) That way you'll land quicker on the next ledge making it jump in one a lot more doable. [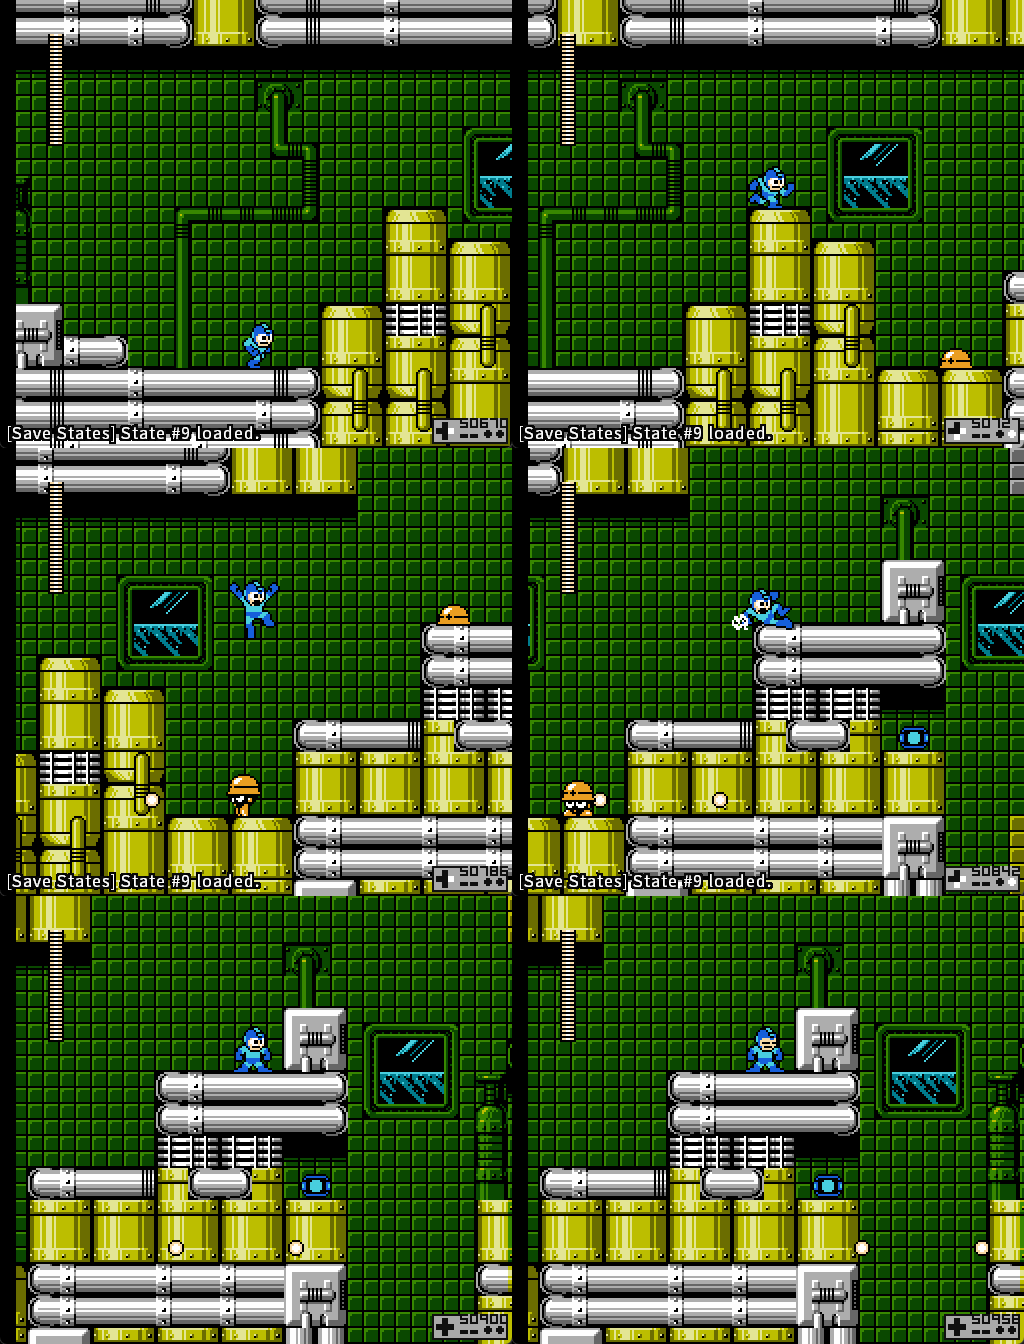](https://goodboyrush.net/uploads/images/gallery/2025-06/mesen-gk762bmn8o.gif) This slide isnt required, you can still make it without it, but the window will be ever so slightly worse which can make the difference in consistency [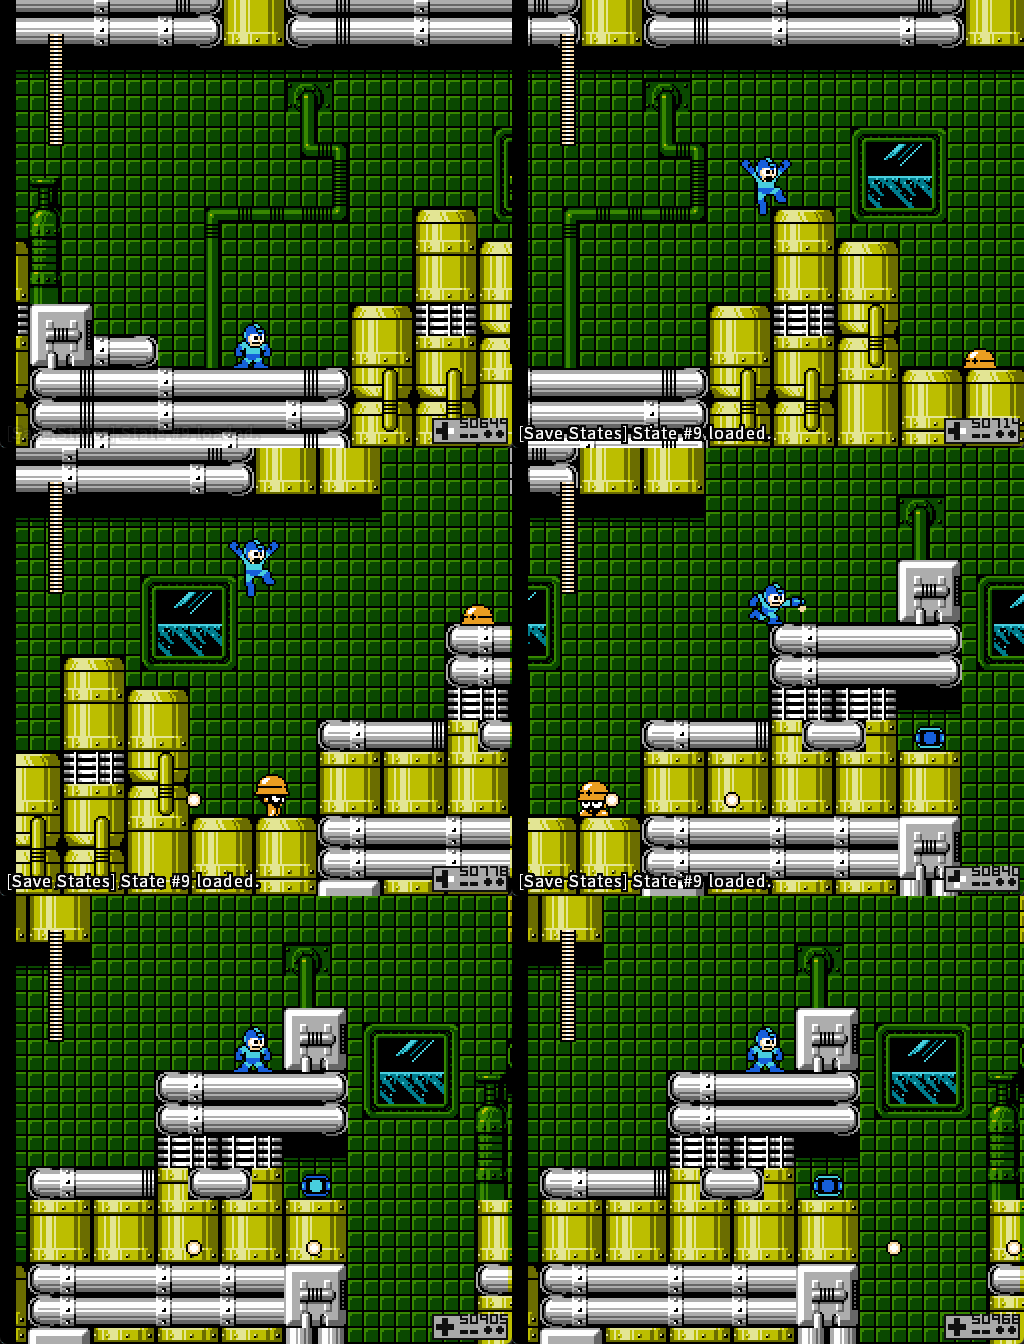](https://goodboyrush.net/uploads/images/gallery/2025-06/mesen-osamz3tt0d.gif) ### Full room examples Now that you know all the possible shenanigans you can perform, here's a few examples of relatively ##### Safe strats - beginner friendly [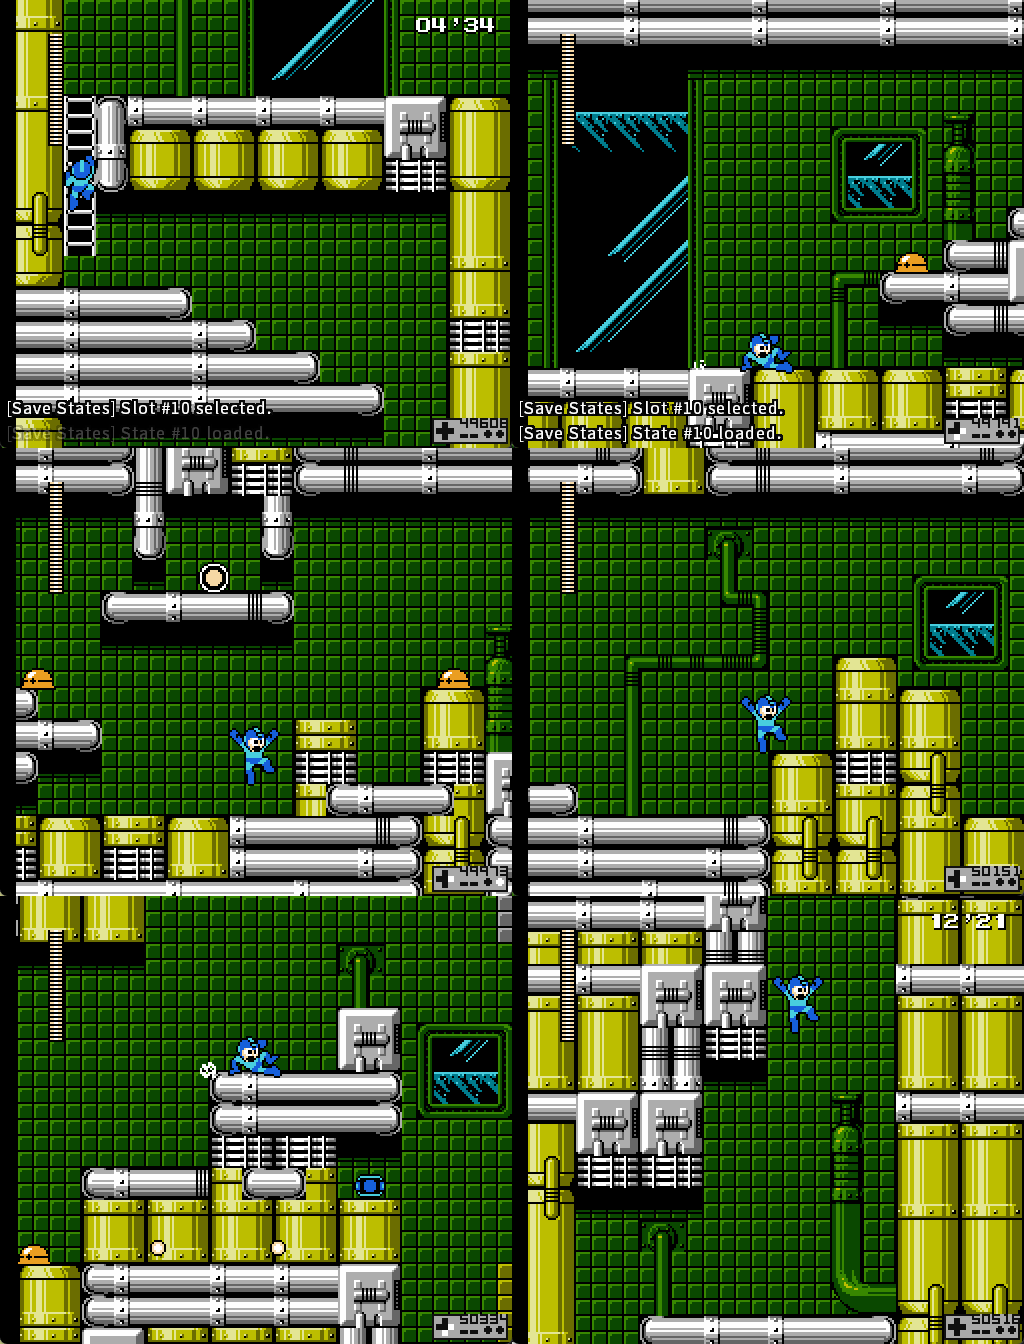](https://goodboyrush.net/uploads/images/gallery/2025-06/mesen-kkwnyenarb.gif) ##### Intermediate/Advanced strats [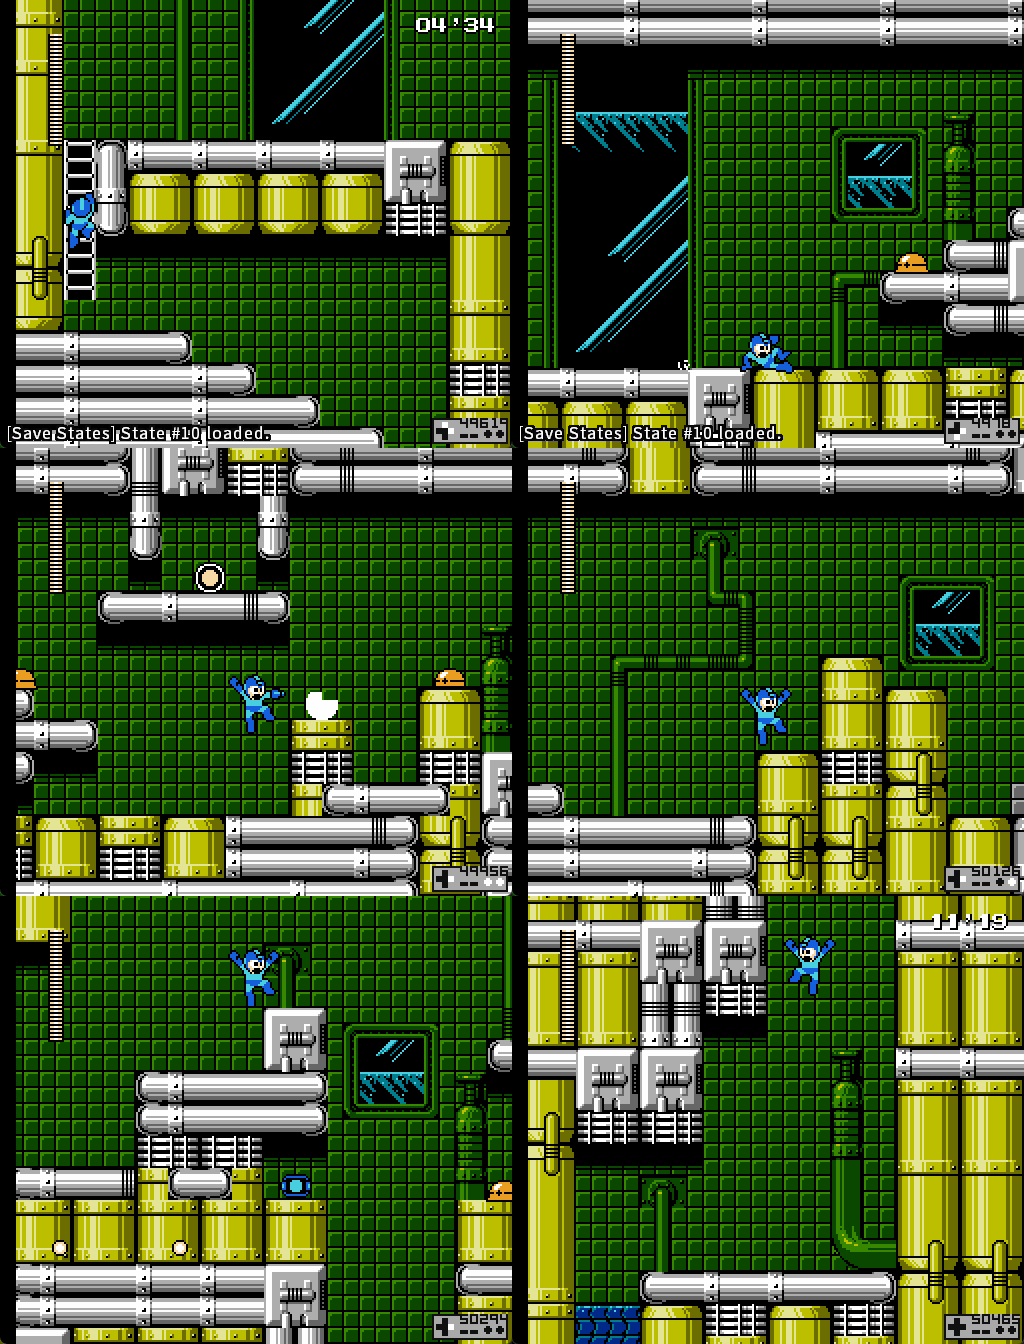](https://goodboyrush.net/uploads/images/gallery/2025-06/mesen-h2jp6vu4p4.gif)Notice that you need to slightly deviate from the left wall to avoid the bullets, unlike the safe strat
##### WR strats This is essentially the same, except with the extra met shot added in [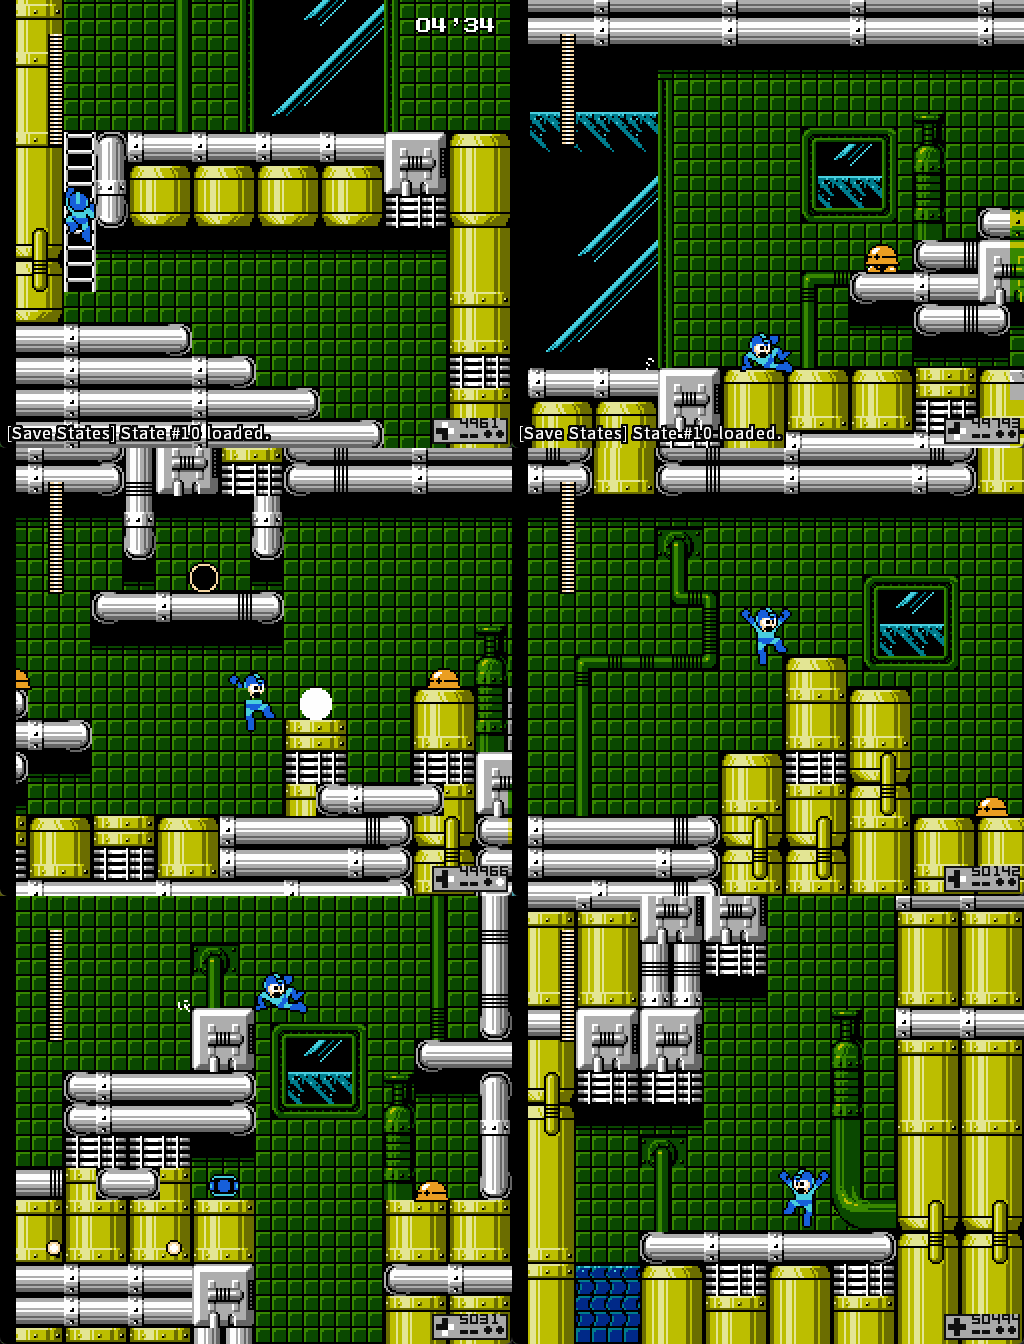](https://goodboyrush.net/uploads/images/gallery/2025-06/mesen-pgwk0ixvhp.gif) ##### Fastest Room Time Executed in **10'45** by **Chelney** # Screen 6 - Underwater Screen Take advantage of the walls and slide all the way up to them. Jump and shoot the Mets as needed. Be careful with the jumps and proceed as quickly as you can.As a reminder, you cannot jump out of slides underwater in Mega Man 4
### Safe way - Damage boosting Here we will stay on Buster. But this can be scary to move properly in the water especially near the end. Scared? Well time to do some damage boosting! [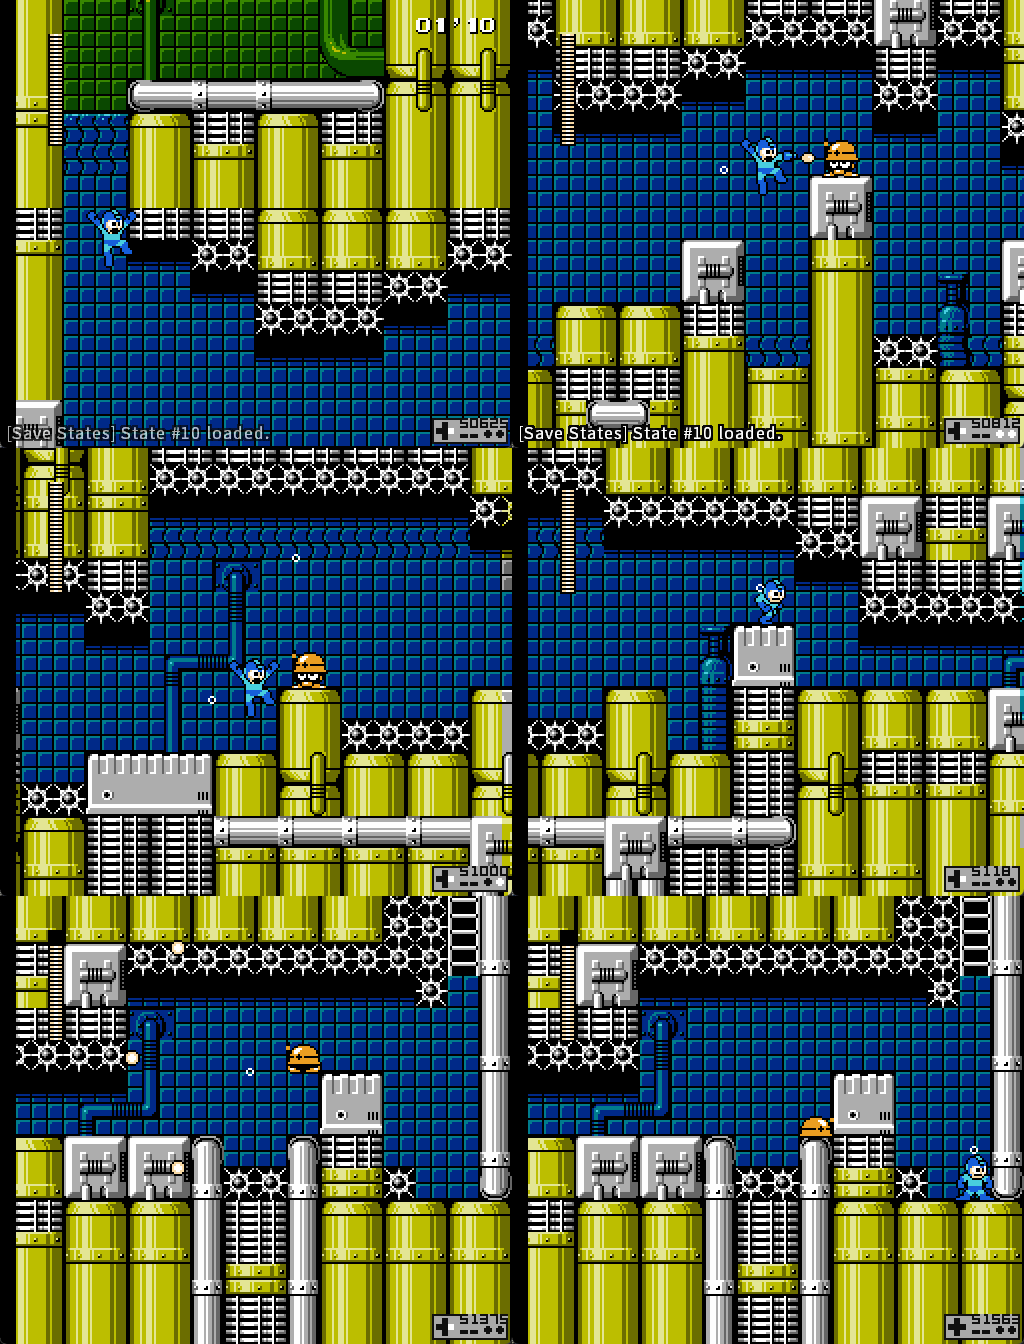](https://goodboyrush.net/uploads/images/gallery/2025-06/mesen-p84cskvjcg.gif)The first damage NEEDS to be a back damage boost, else you wont have enough iframes to go through the spike safely
### Damageless strat We are going to cut some of the unnecessary damageboost to clean the room up, but without doing some risky stuff [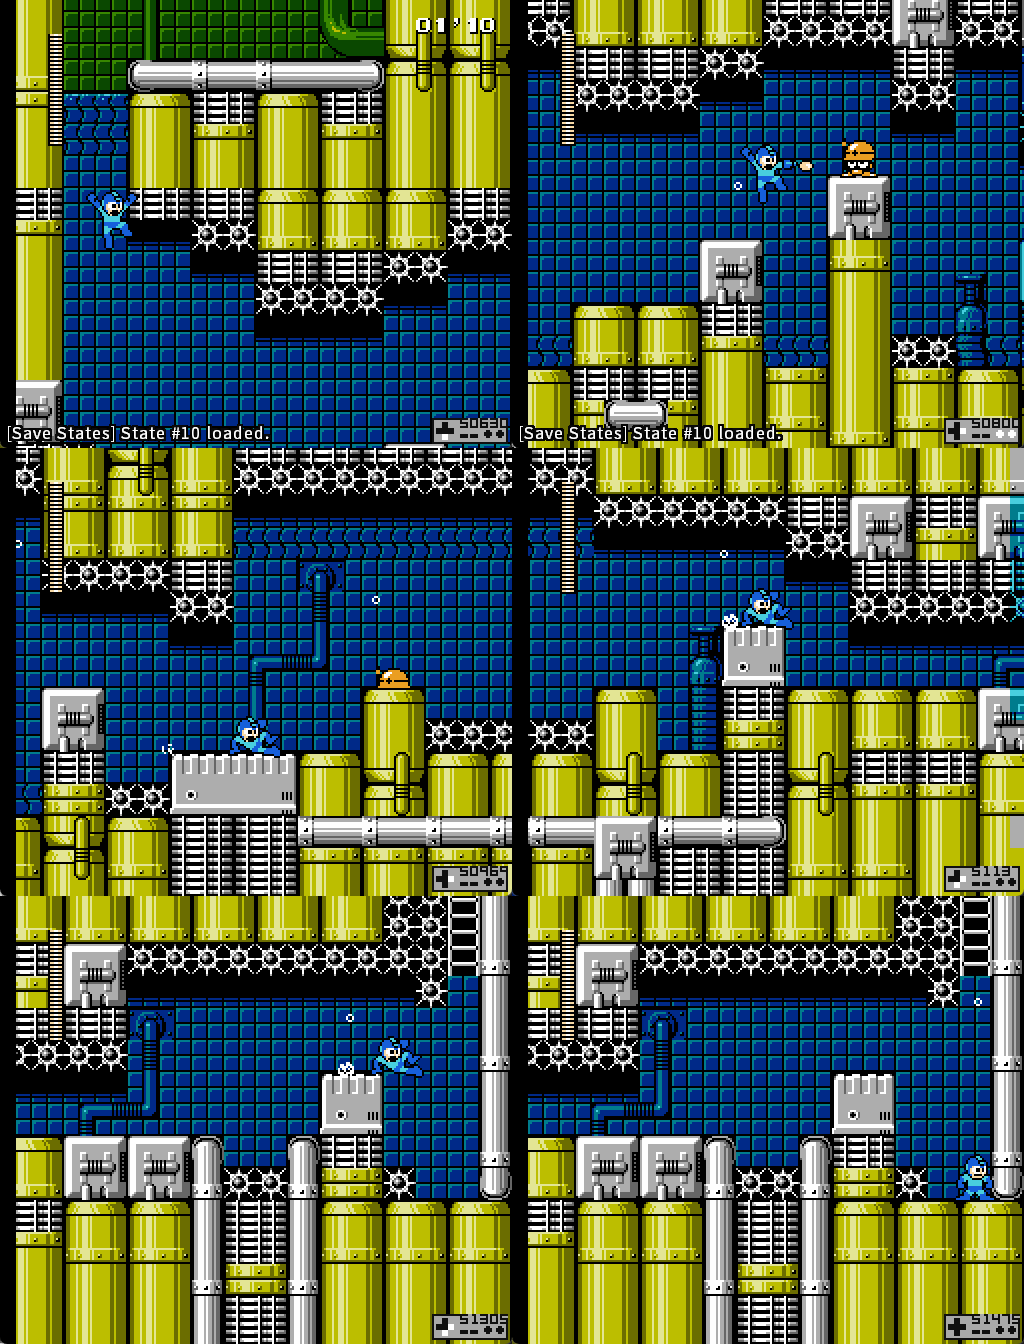](https://goodboyrush.net/uploads/images/gallery/2025-06/mesen-8wnv9ixcdp.gif) ### Optimal strat If we wanna optimize, you can kill the Met and jump all the way to the top ledge in one jump [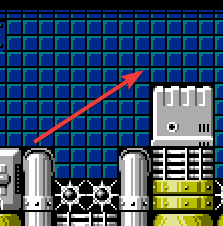](https://goodboyrush.net/uploads/images/gallery/2025-06/chrome-pgpsjq19hs.png) While the reason might seem strange, you do actually save time by doing this as you avoid bonking the wall ### Dangers of this room When you are barely not full health, you may encounter what we call **Death Drops** if you speedran Mega Man 3, you might already know what are we leading to. Met dont deal a lot of damage, so its very likely you might have gotten one hit by a Met in the previous rooms. In other words, if you are not ready, this Met is very likely to kill you [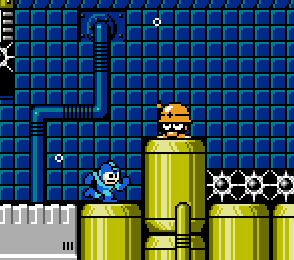](https://goodboyrush.net/uploads/images/gallery/2025-06/chrome-t8fqon5ev2.png) You need to be very careful, to not jump to far right as a drop can kill you A input very easily #### What About Rush Marine? Besides the obvious talking points of Rush being slower than sliding, and switching to rush being an extra animation, Rush Marine simply does not fit through the spike gaps. While potentially useful if you are uncomfortable jumping through spikes underwater, Rush Marine should be avoided. [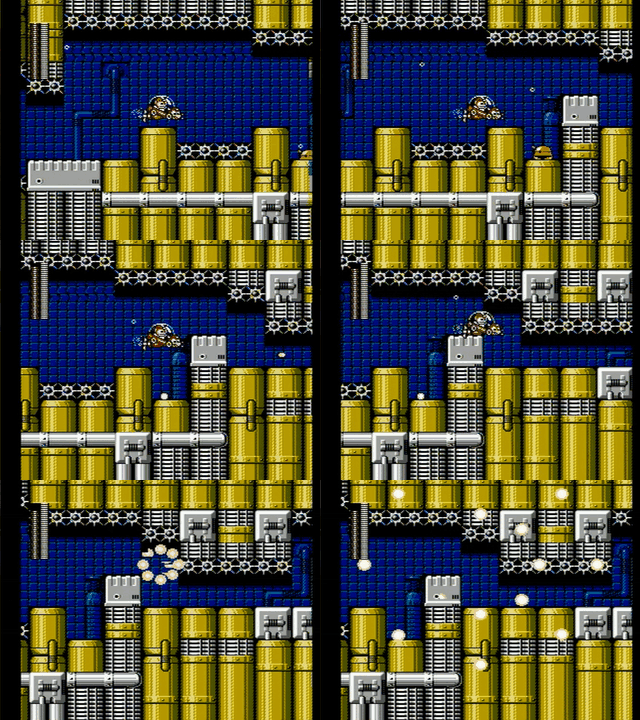](https://goodboyrush.net/uploads/images/gallery/2024-07/mm4-wily1-screen6-rmarine.gif) ### Spot to menu For the next following rooms, we actually will need **Rush Jet**. The best spot to menu is right here, as you fall off the ledgeAs a reminder - if you pause on the ladder, mega man will release the ladder when you unpause the game. DO NOT hold left out of a pause here, since the spikes are next to you.
[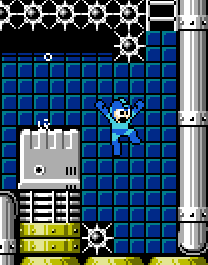](https://goodboyrush.net/uploads/images/gallery/2025-06/chrome-shi3h7gtsk.png) ### Full room example [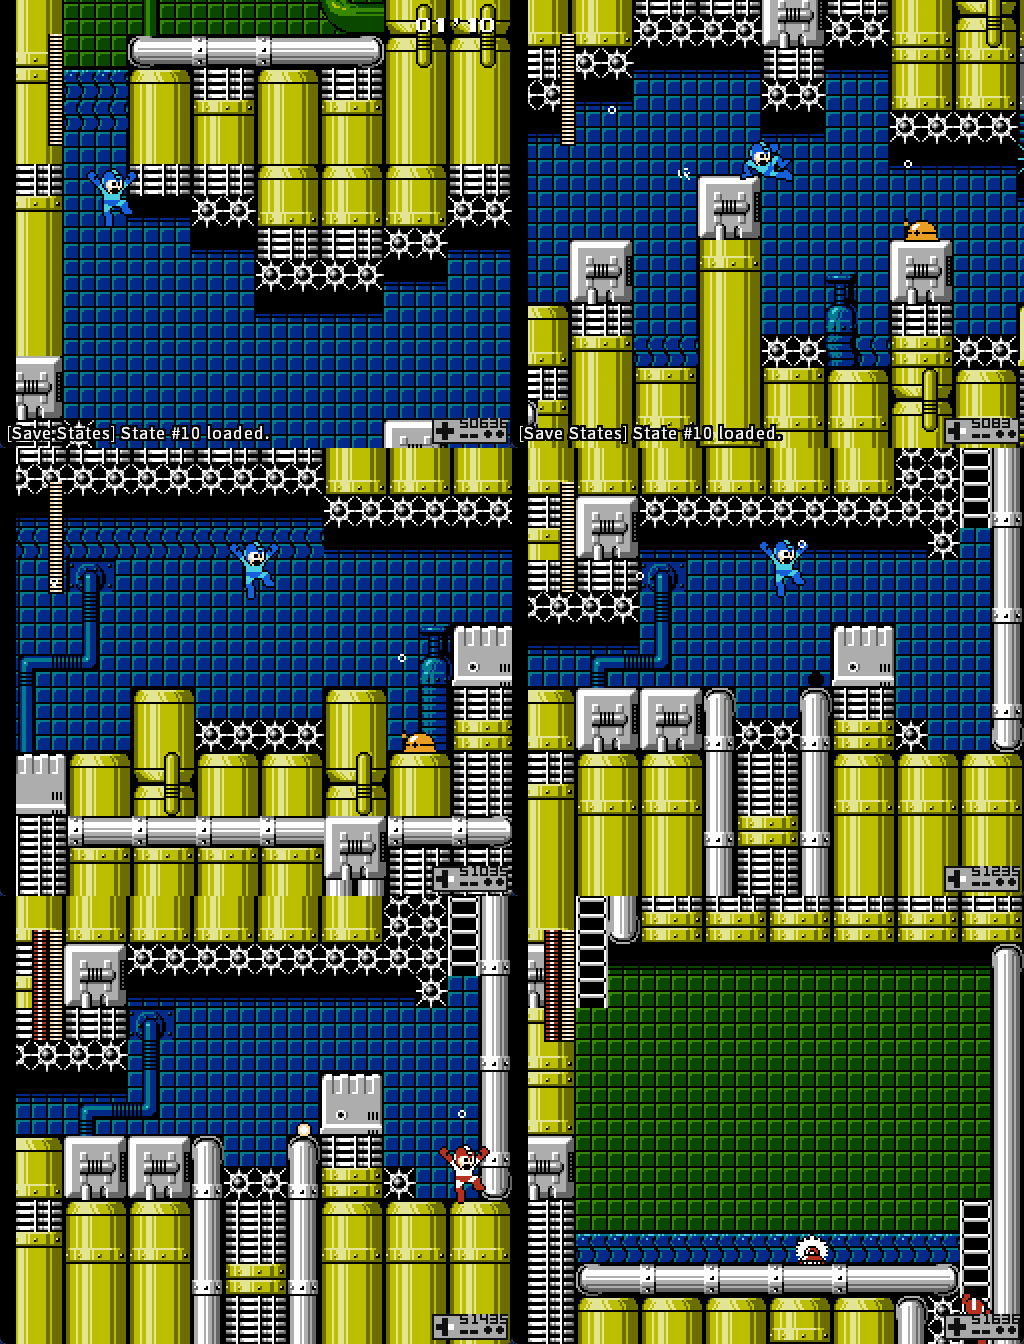](https://goodboyrush.net/uploads/images/gallery/2025-06/mesen-bkxqzkqkmv.gif) #### World Record stuff Since you cant jump out of a slide underwater, you can perform some slide cancels, like in Dive. Although, very hard to save time with them. Here's an example with the fastest time of the room : **13'06** by **Chelney** **** # Screen 7-9 - Ending Screens ### Screen 7 - Yoku Block Room 1 Relatively simple screen, use Rush Jet and grab the ladder, various ways ##### Top Ladder Jump of the front left of Jet then, near the ladder, jump [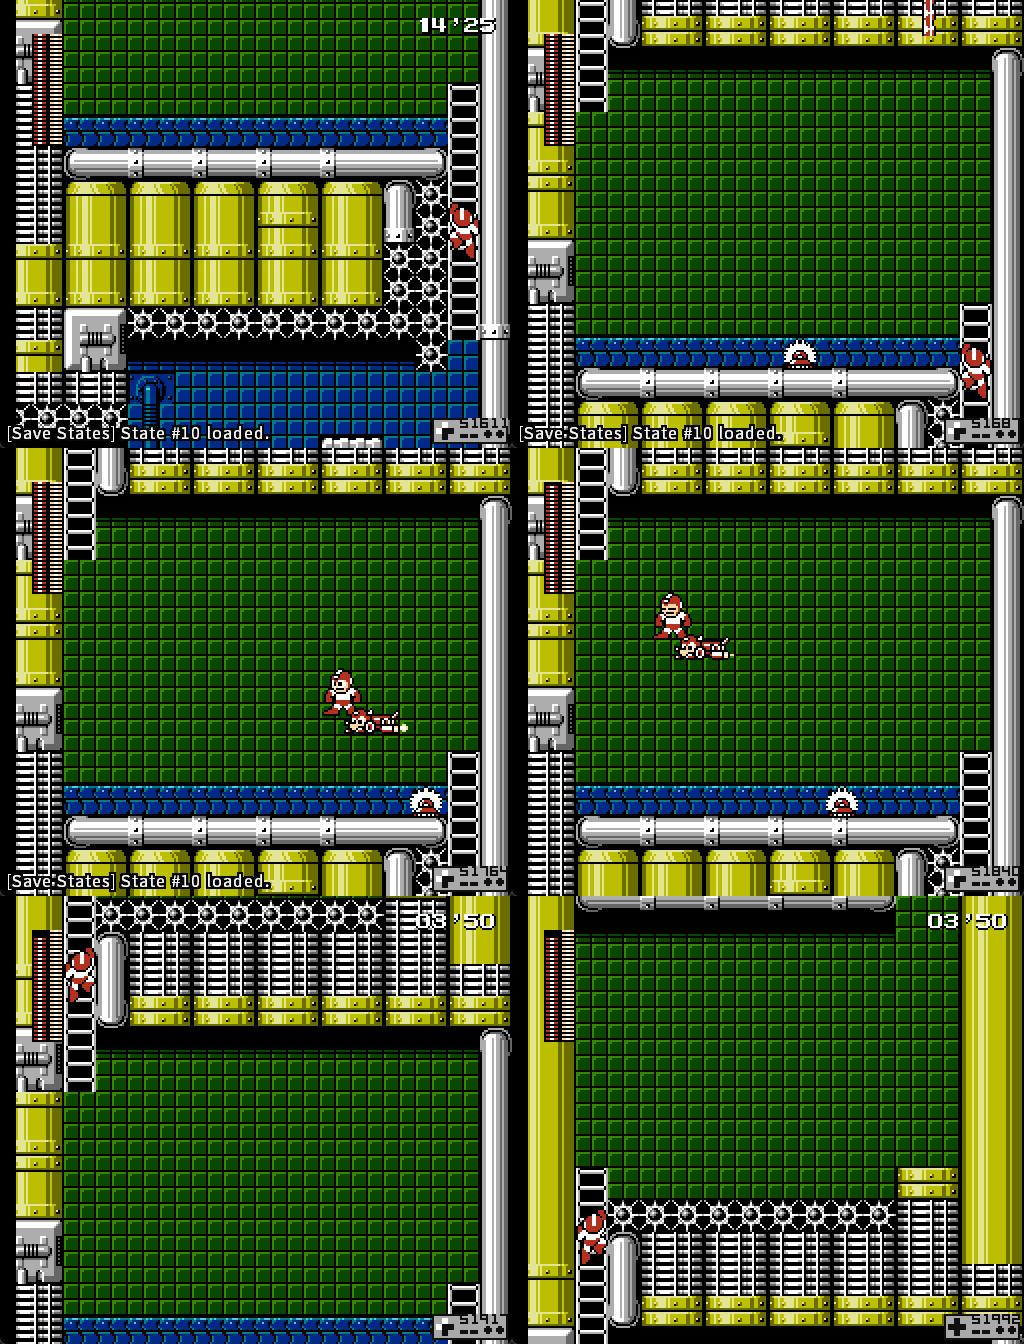](https://goodboyrush.net/uploads/images/gallery/2025-06/mesen-poz98lszt3.gif) You can be a bit more fancy and try to skip the whole **Ladder** [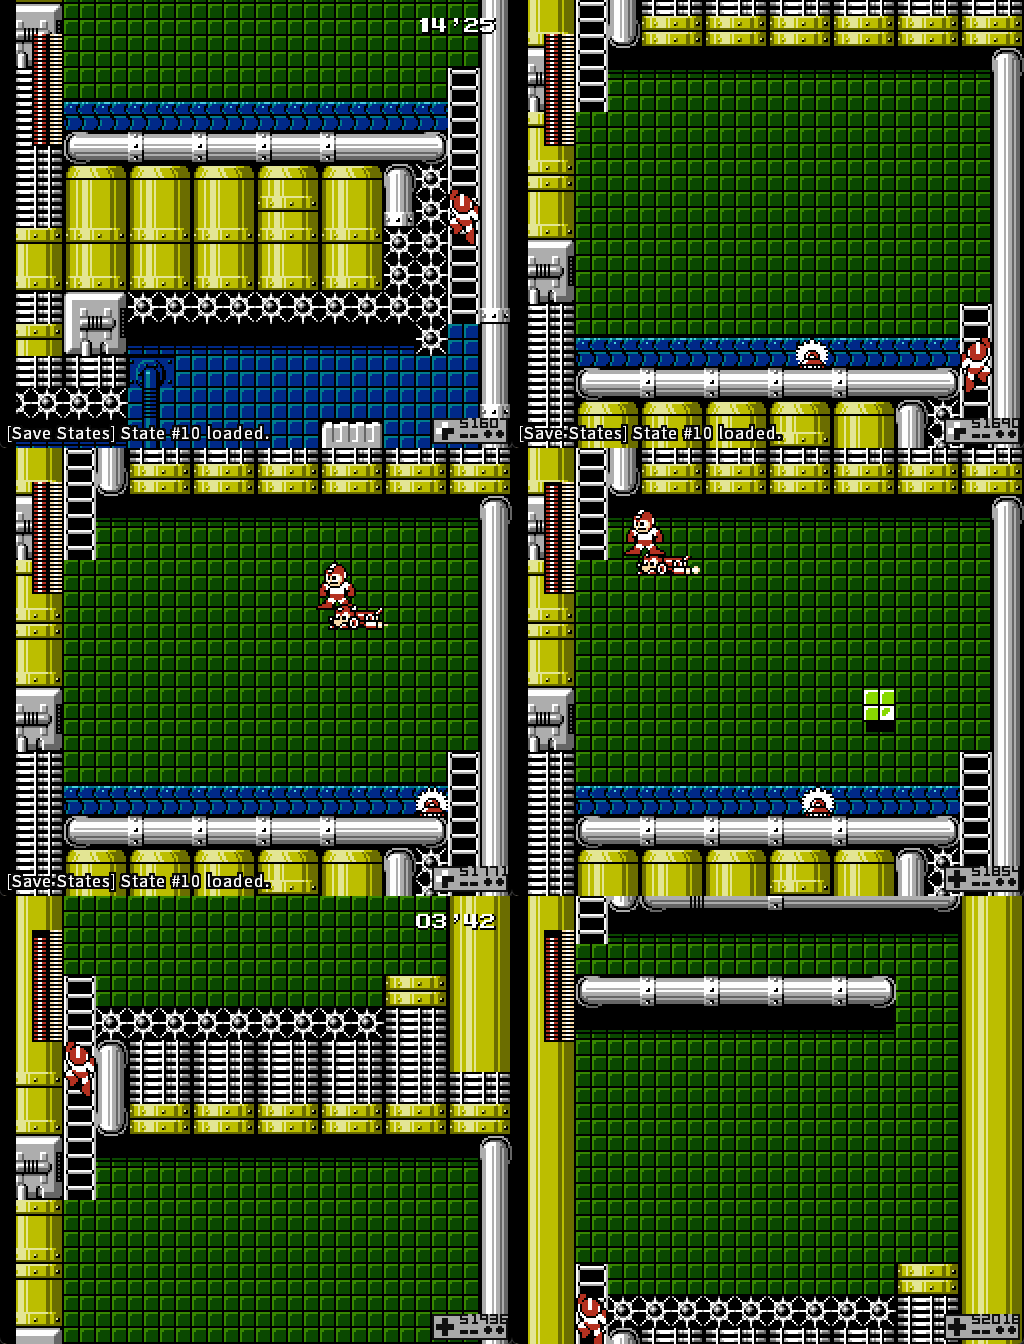](https://goodboyrush.net/uploads/images/gallery/2025-06/mesen-rlebthbh7j.gif) ##### Drop off the ladder As you are about to the same level as the water place Jet, drop off the ladder and land on it, If you are too far right, dont hesistate to do some small hops to push yourself to the left [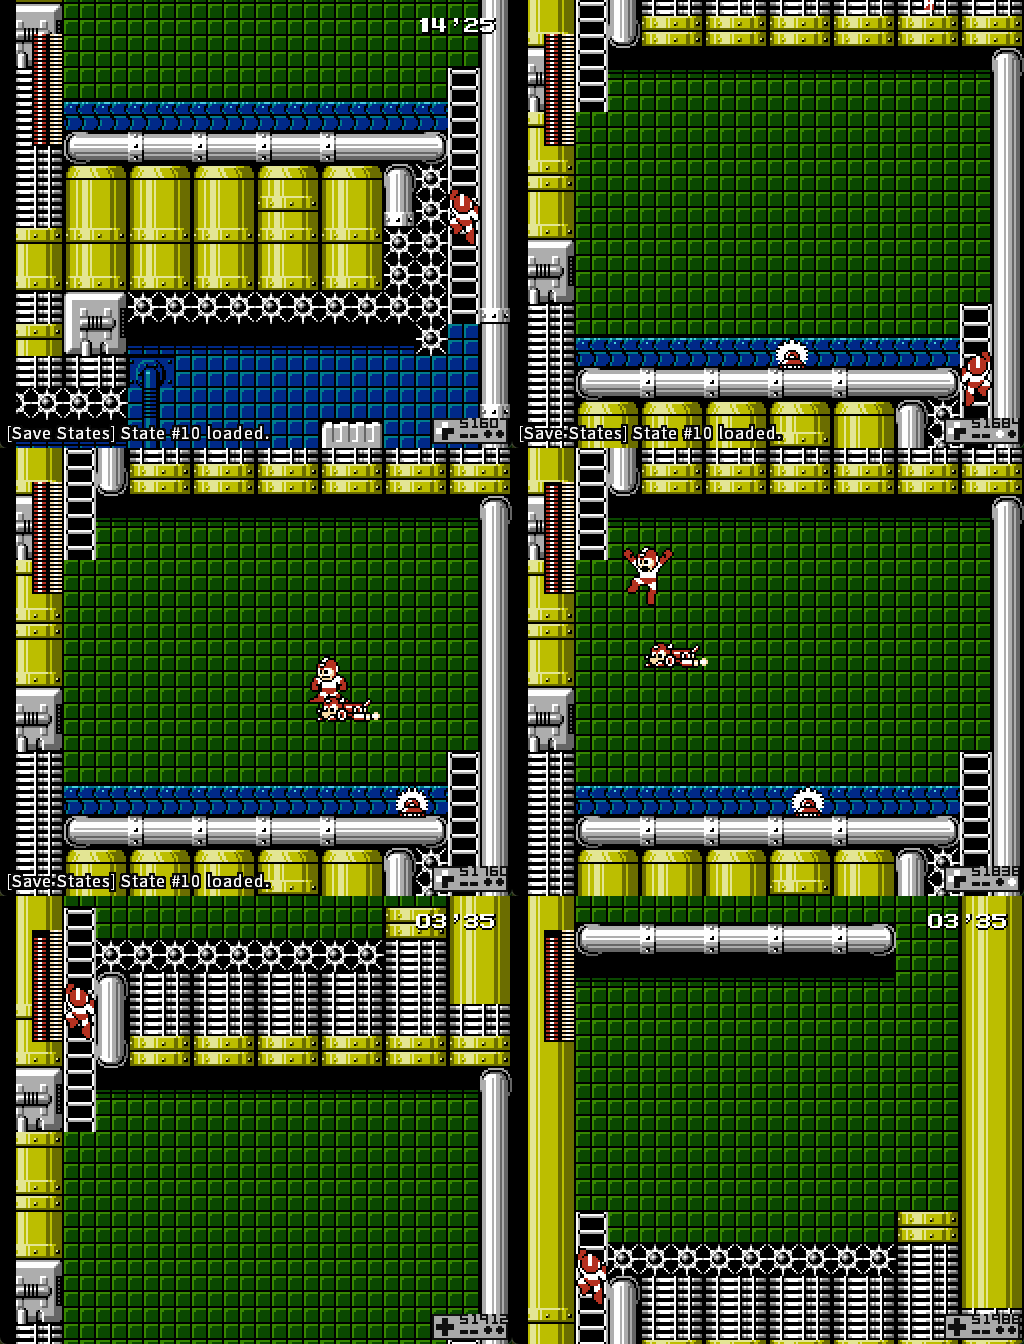](https://goodboyrush.net/uploads/images/gallery/2025-06/mesen-frcitpphwx.gif) ##### Slide off strat As you are about to the same level as the water, drop off the ladder, dodge the saw and slide, then place jump and place Jet [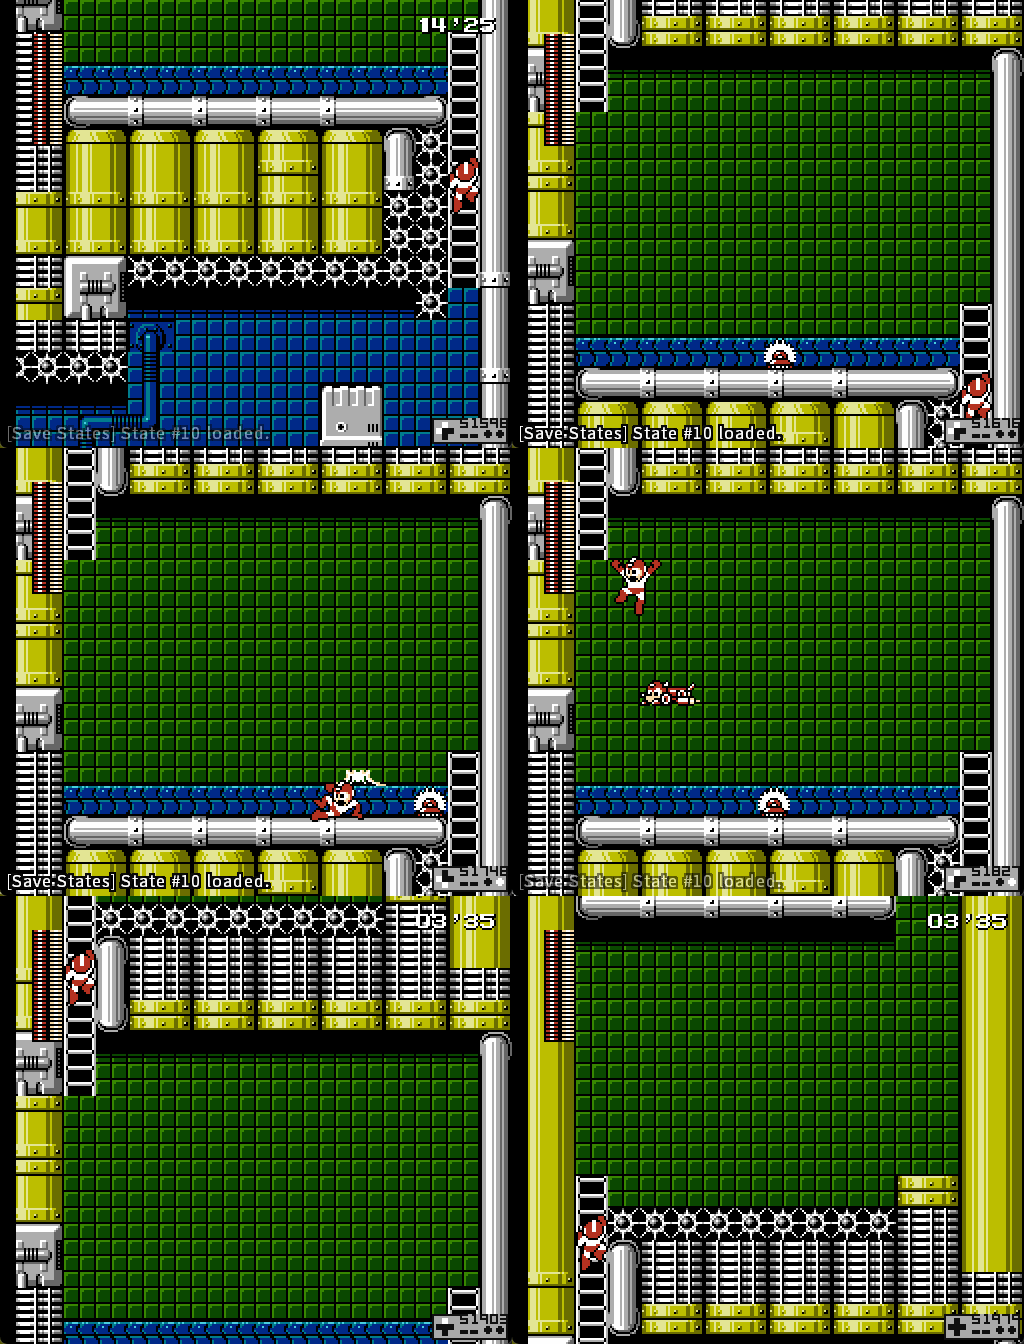](https://goodboyrush.net/uploads/images/gallery/2025-06/mesen-xaujvz5rxl.gif)Most strats are fairly equal, the 2 last ones are frames faster compared to the first strat but slightly harder.
### Screen 8 - Yoku Block Room 2 ##### Safe/Beginner strat Go on top of the ladder, spawn Rush Jet, jump on it and try to land on the right side of it (it will make your top jump easier) then try going up while holding left to slow Jet down a bit [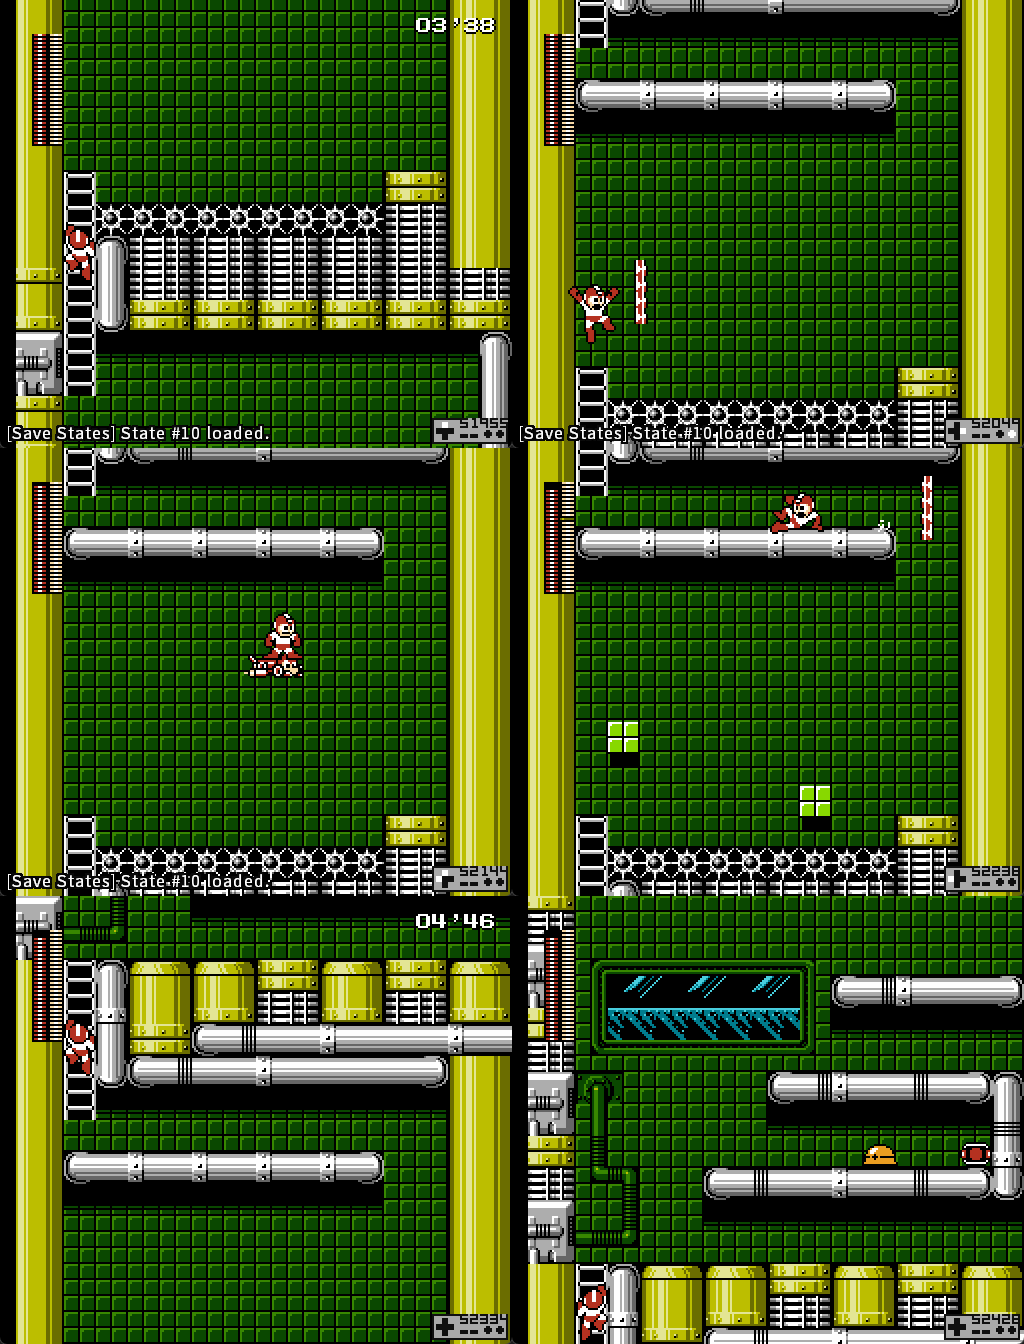](https://goodboyrush.net/uploads/images/gallery/2025-06/mesen-nndnsqvnb7.gif) ##### Optimal strat You wanna try to spawn Rush Jet as early as possible whenever you gain control of Mega Man, that way as you go up and jump off the ladder, Rush Jet will be in a perfect place for you to land on it [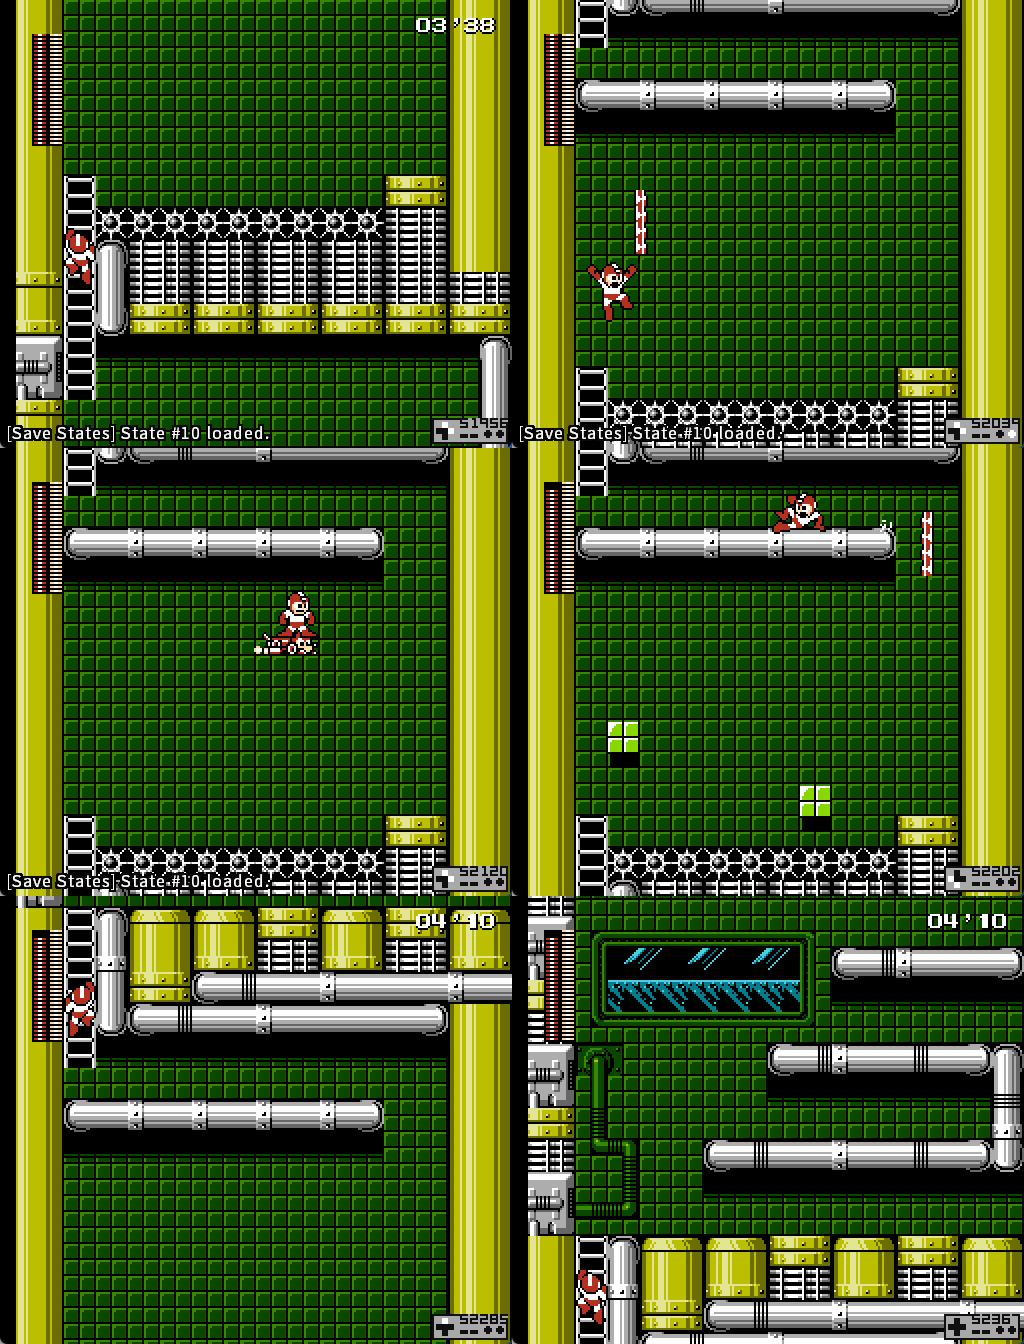](https://goodboyrush.net/uploads/images/gallery/2025-06/mesen-js8knyrrmh.gif)Grabbing the ladder offscreen will result off a relatively slow grab. Make sure you do a fairly small jump to avoid it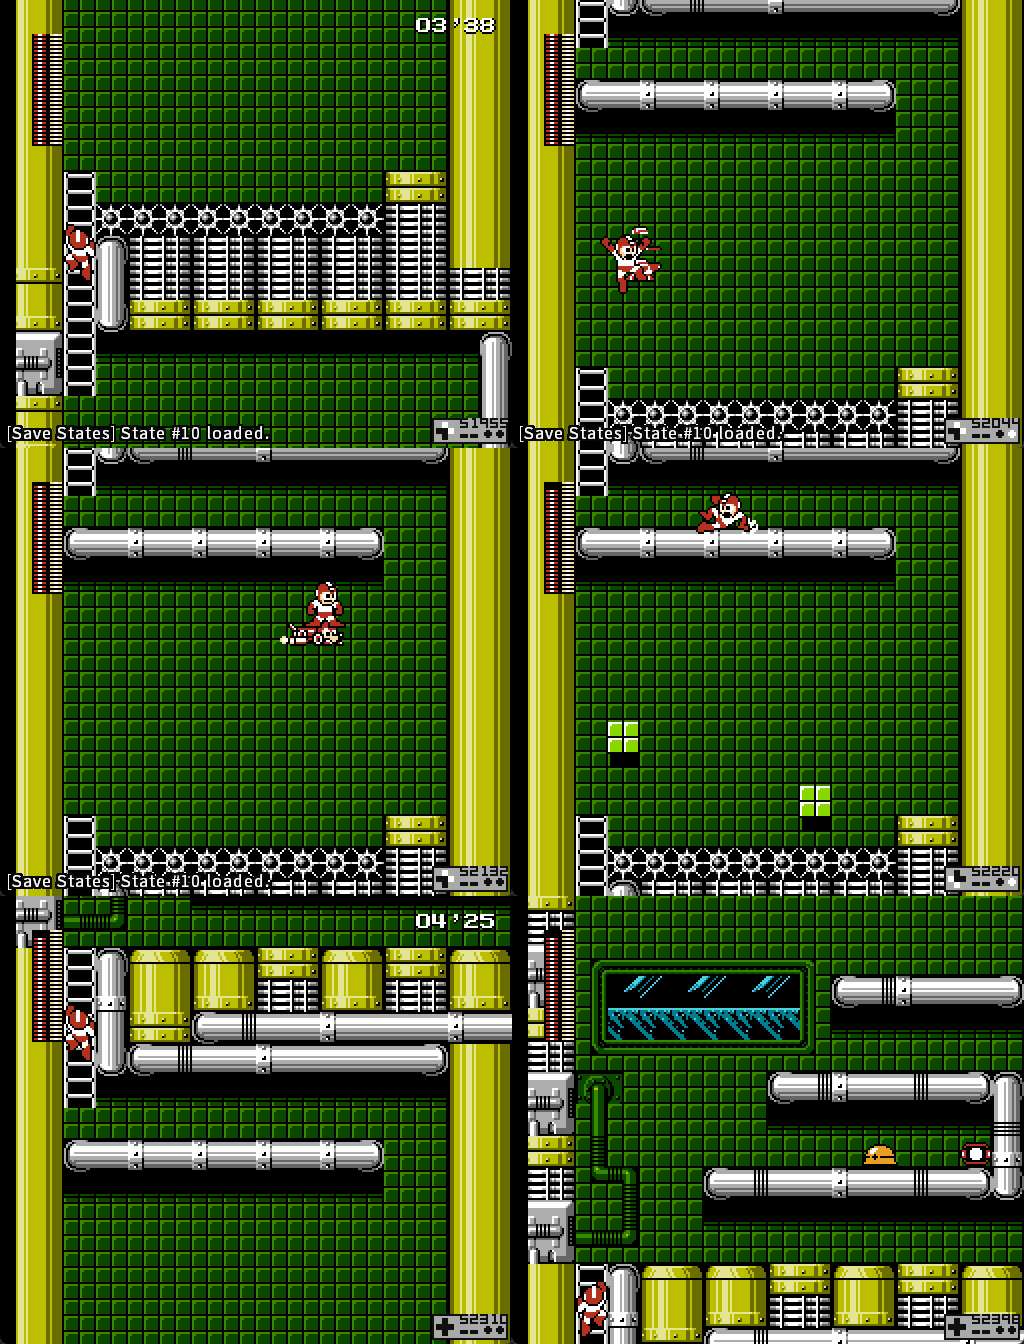](https://goodboyrush.net/uploads/images/gallery/2025-06/alYmesen-gasiarkjuu.gif)
### Screen 9 - Last Screen Straight forward screen that can be optimized with careful planning of your shots. ##### Safe way If you feel uncomfortable with killing the Mets, you can jump over them without taking damage [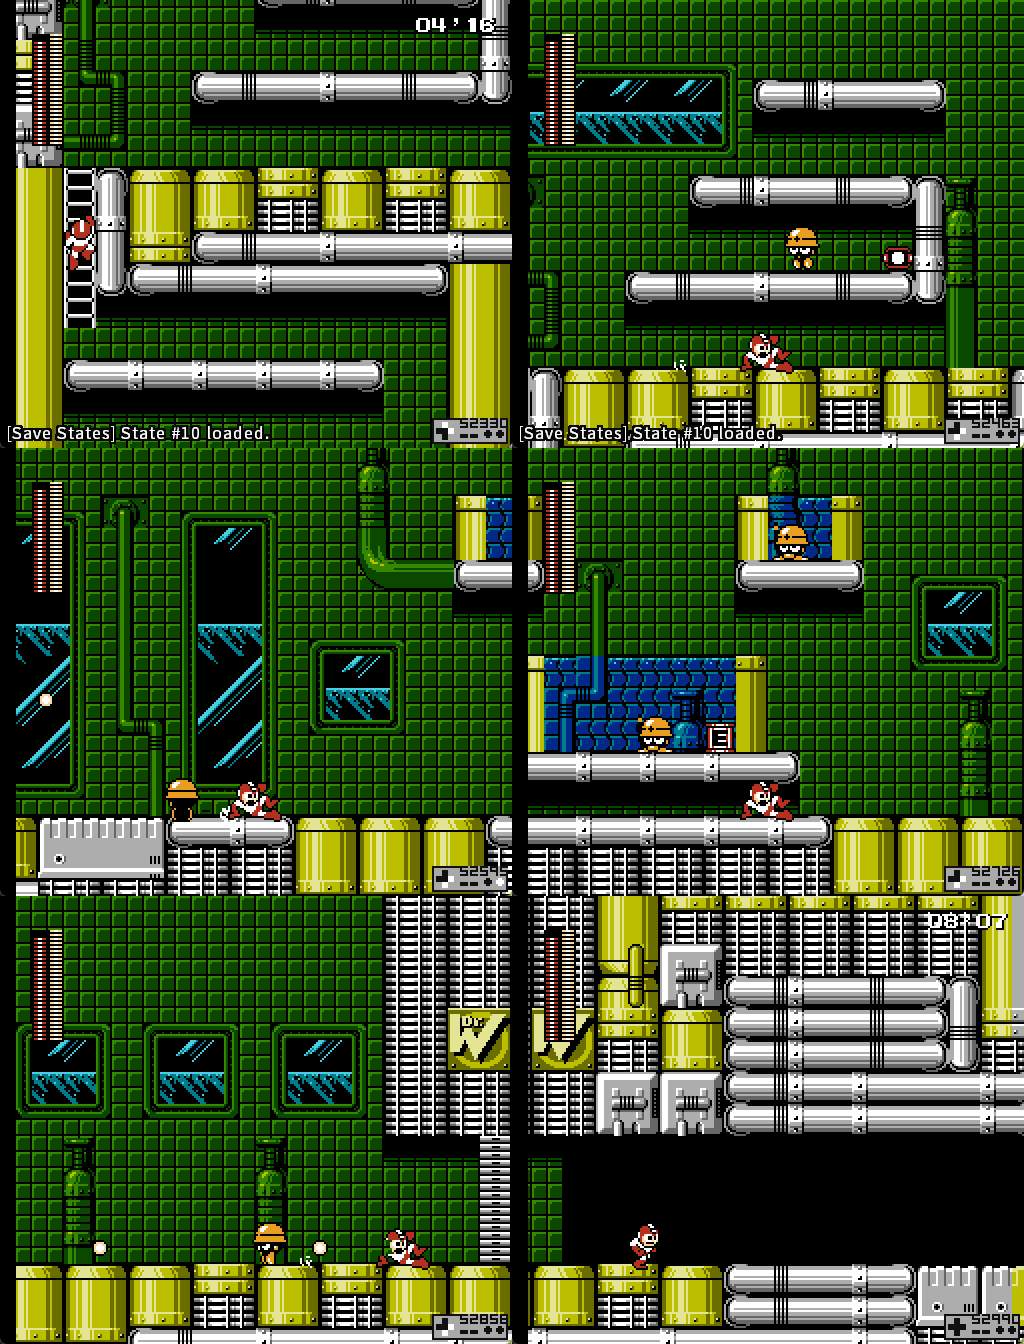](https://goodboyrush.net/uploads/images/gallery/2025-06/mesen-nmw0zzcmvs.gif) ##### Hard way 2 slides, 2 bullet slides. One to spawn Rush the other for the free shot then 2 shots again. Then, bullet side to spawn Rush and 3 shots [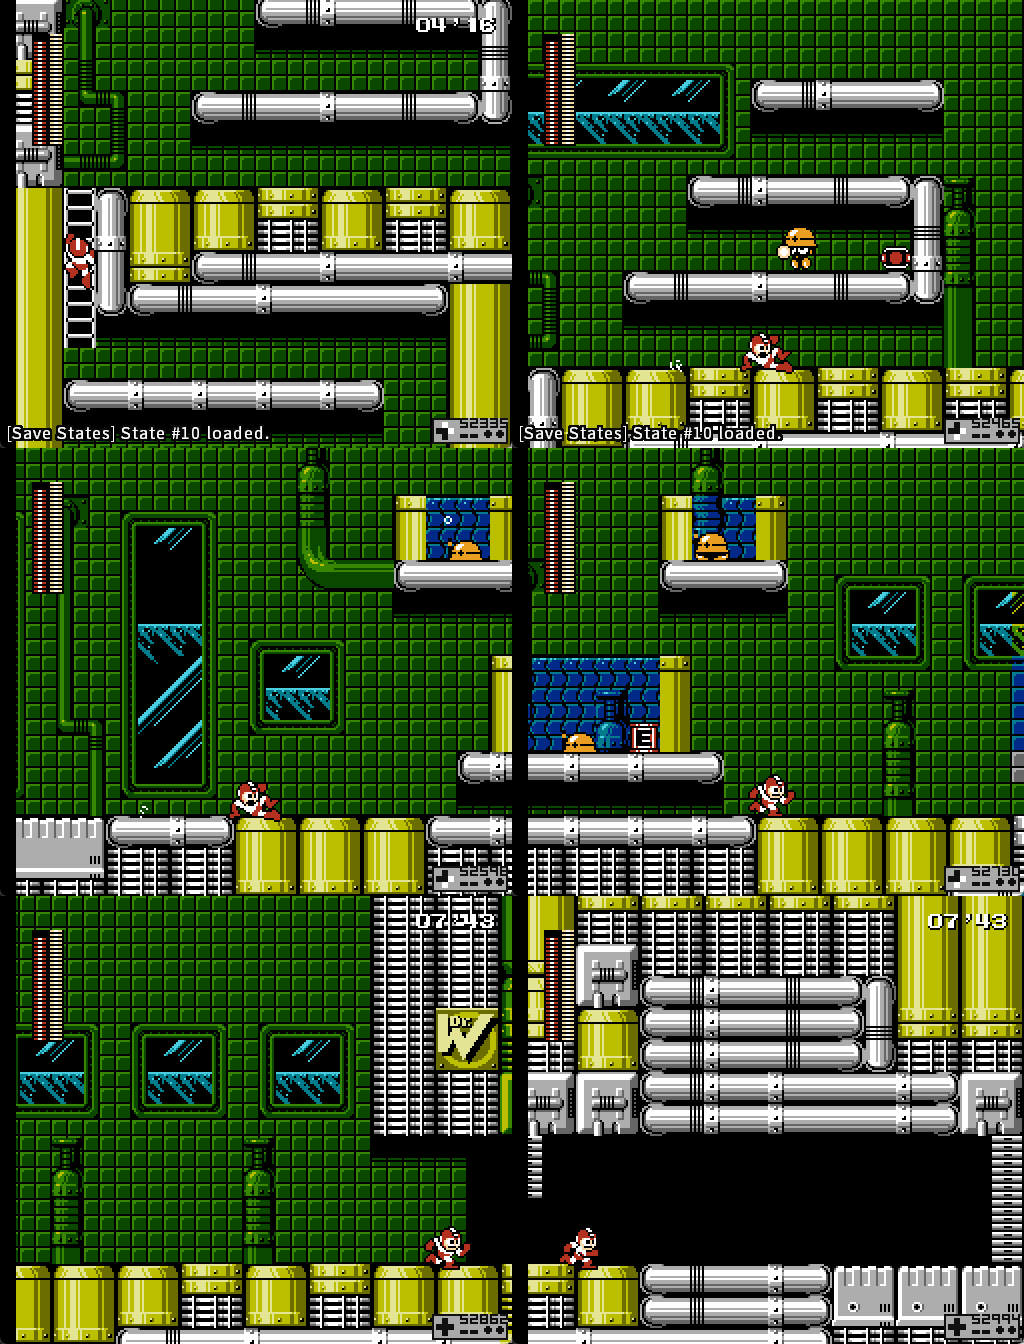](https://goodboyrush.net/uploads/images/gallery/2025-06/mesen-3hwhhbppzj.gif) # Met Daddy Fight Met Daddy is the first boss in Dr. Wily's castle. It attacks by stomping, jumping, and causing Mets to fall from the ceiling when it lands. It does hide under it's helmet like regular Mets and is mainly weak to the **Ring Boomerang**. Weakness that you want to equip **BEFORE** entering the boss, so basically in the corridor room. ##### Safe strat Before entering the boss, make a full jump in the door instead of sliding in. That way you can land a lot further right than normal, which makes getting more shots in easier. [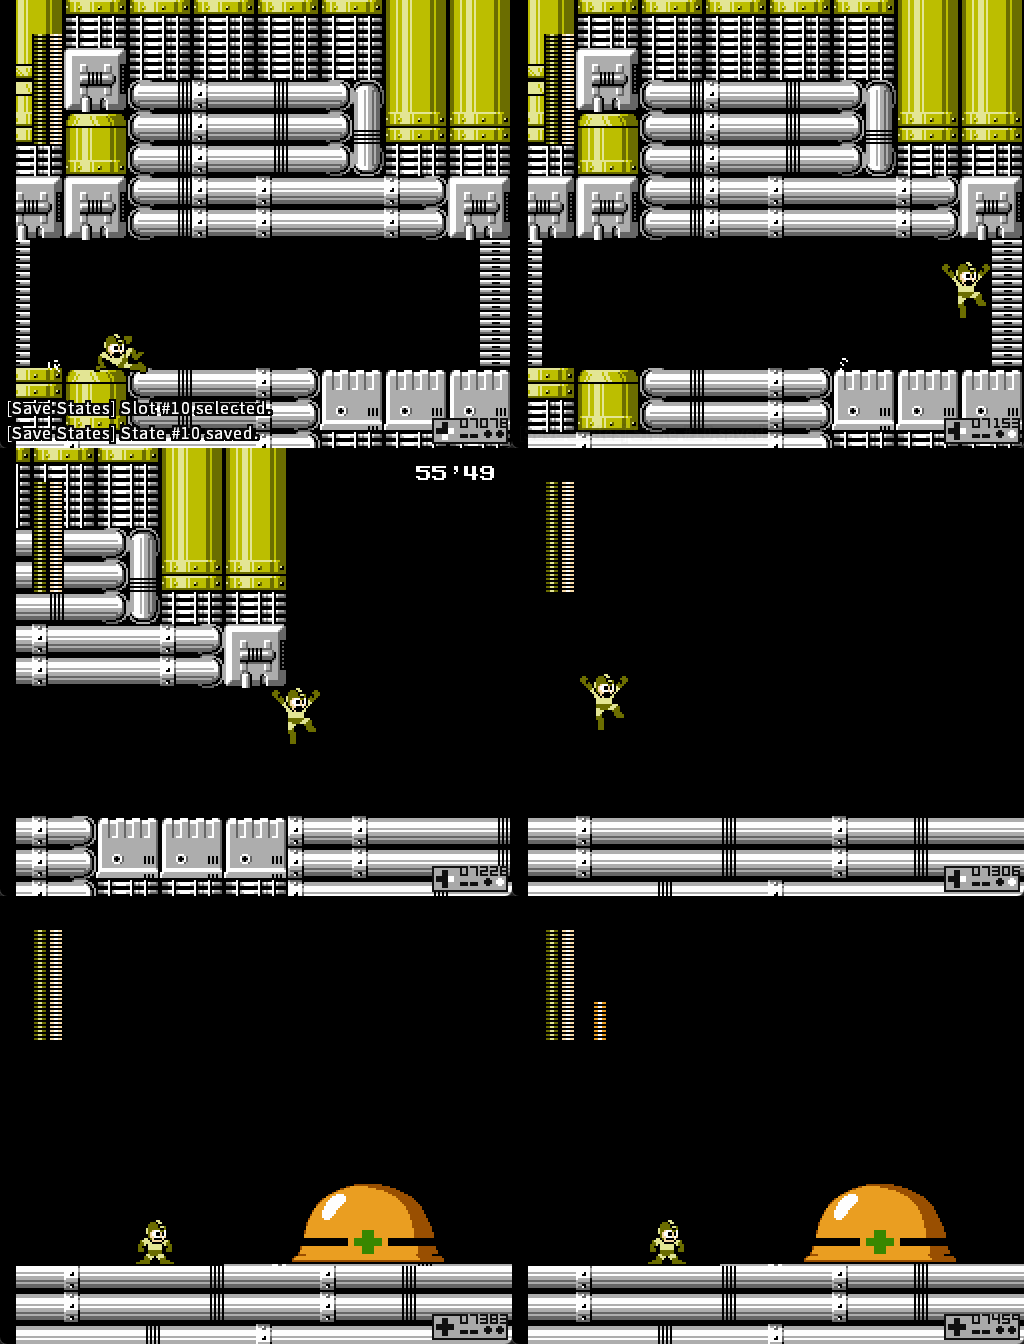](https://goodboyrush.net/uploads/images/gallery/2025-06/mesen-g1hyqczylq.gif)This loose about 40 frames as it delays the boss cutscene to start
#### Main strategy The main strategy is to avoid body damage by taking advantage of the small Mets. You wanna take damage boost of the small ones to slide through the boss. [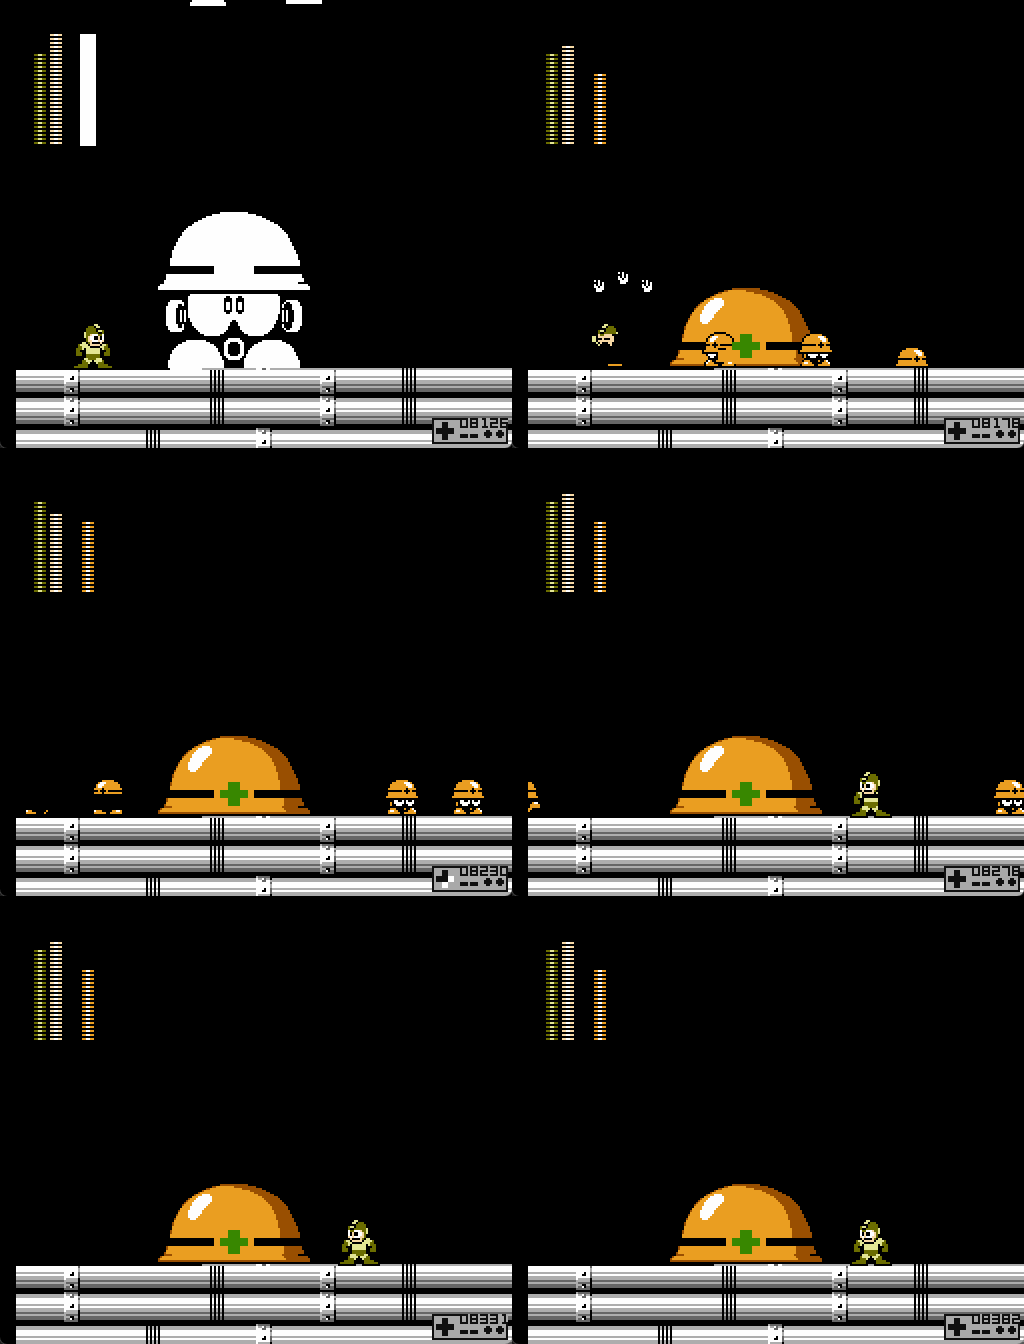](https://goodboyrush.net/uploads/images/gallery/2025-06/mesen-kwq4s5few8.gif) This boss has quite the RNG (check [here](https://goodboyrush.net/books/mega-man-4/page/met-daddy-fight#bkmrk-met-daddy%27s-rng) for more info on it) but the main important one for now is the delay he stays still before jumping. At the start of each cycle **you can safely deal 2 shots.** You then need to react to what he does (Short or Long Pattern?) and kinda prepare a slide to the direction he's going to jump, in case he actually jumps short. If not, you go back to deal the 3rd hit and go away In the case of a long pattern, you'll have **3 SHOTS** before he jumps towards you. Make sure to do an A+B jump as he's touching the ground that way you avoid getting frozen. ##### Long Pattern [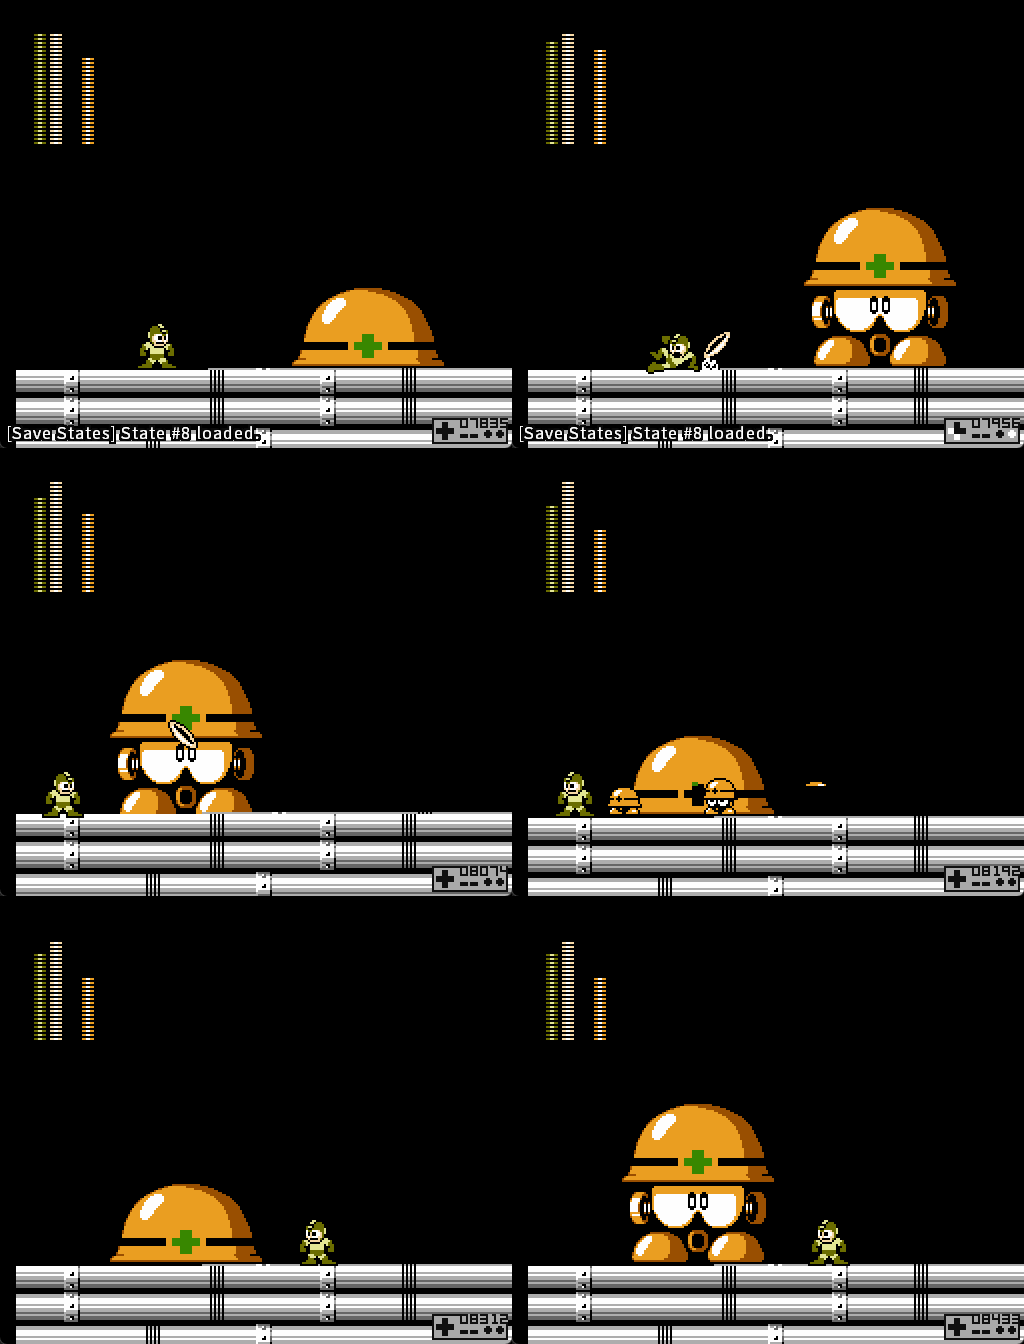](https://goodboyrush.net/uploads/images/gallery/2025-06/mesen-j5vsbls9zn.gif) In this case, if executed properly should be able to get **6 SHOTS** in. ##### Short Pattern [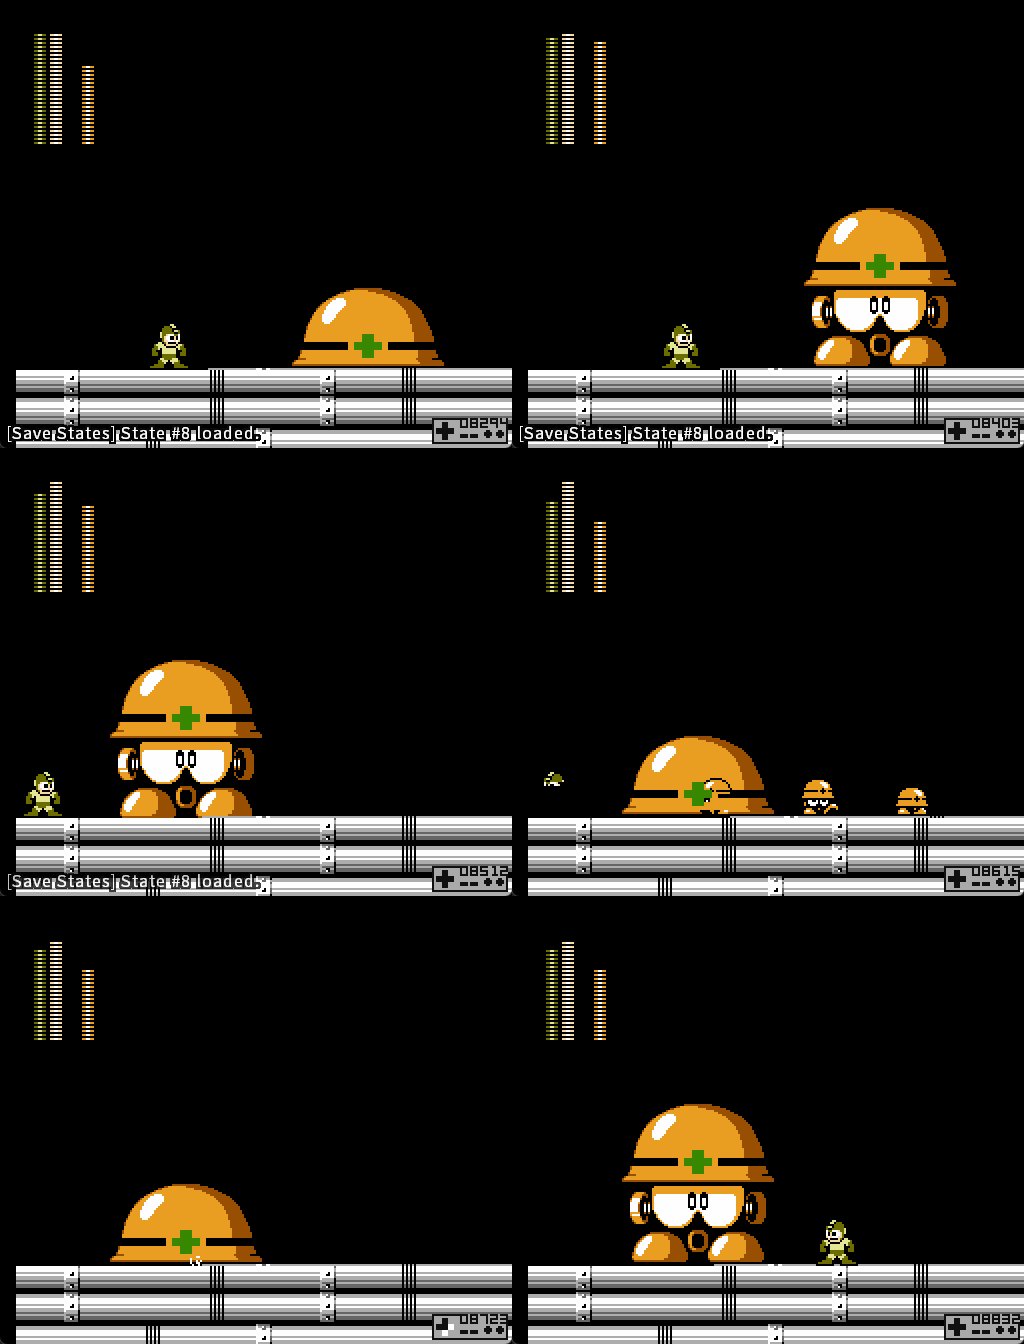](https://goodboyrush.net/uploads/images/gallery/2025-06/mesen-dxgo76w1uy.gif) In this case, if executed properly should be able to get **5 SHOTS** in. #### How to get a guaranteed 3 cycle fight Getting a 3 cycle can be up to really easy to really hard depending of the pattern One major key to make this possible is to always send Met Daddy to the extremes part of the room, that way he jumps **higher** giving you slightly more room to get extra shots in. [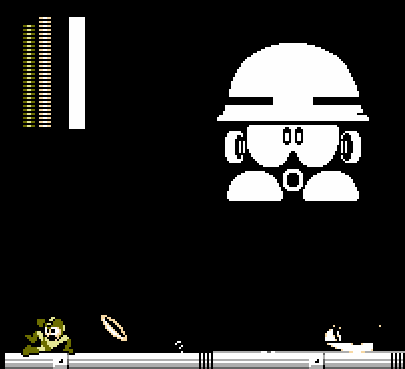](https://goodboyrush.net/uploads/images/gallery/2025-06/chrome-wi1lxoxoxp.png)Keep in mind, Ring Boomerang has a MAJOR range, so you can stay relatively far away from Met Daddy
Making Met Daddy do a small jump (happens when you are too close to him), almost kills the chance for an extra shot. Meaning that instead of getting 5 or 6 hit in one cycle, you may get 4 or 5, which can cause an entire extra cycle
#### Example fights - Optimal strat start From easiest to hardest fights ##### 6 - 6 - 2 (Long Pattern - Long Pattern) [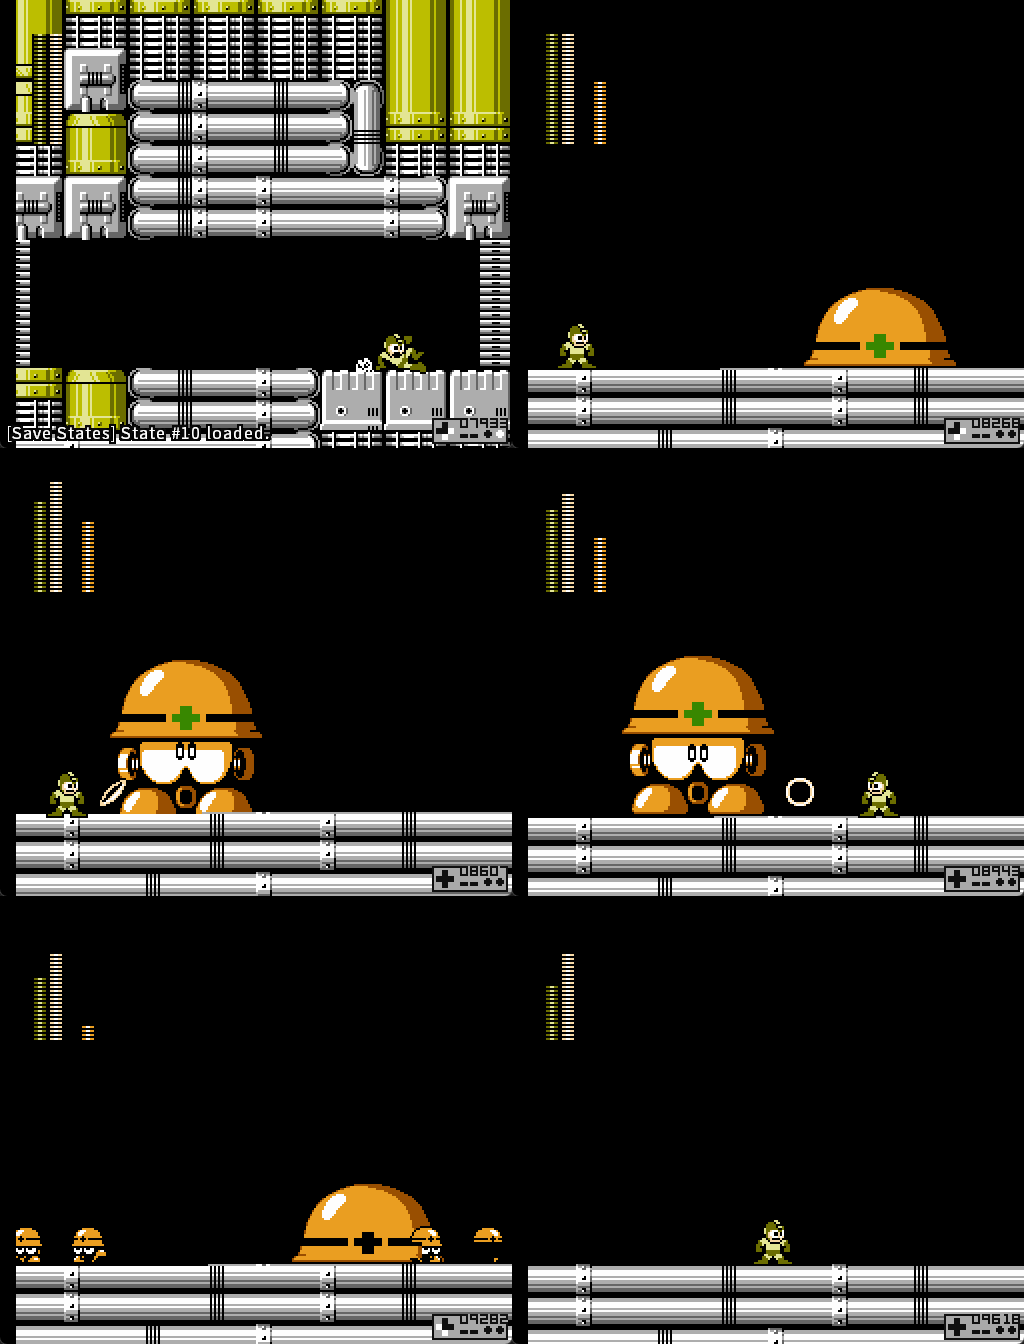](https://goodboyrush.net/uploads/images/gallery/2025-06/mesen-uljsnknkhr.gif) ##### 5 - 6 - 3 (Short Pattern - Long Pattern) [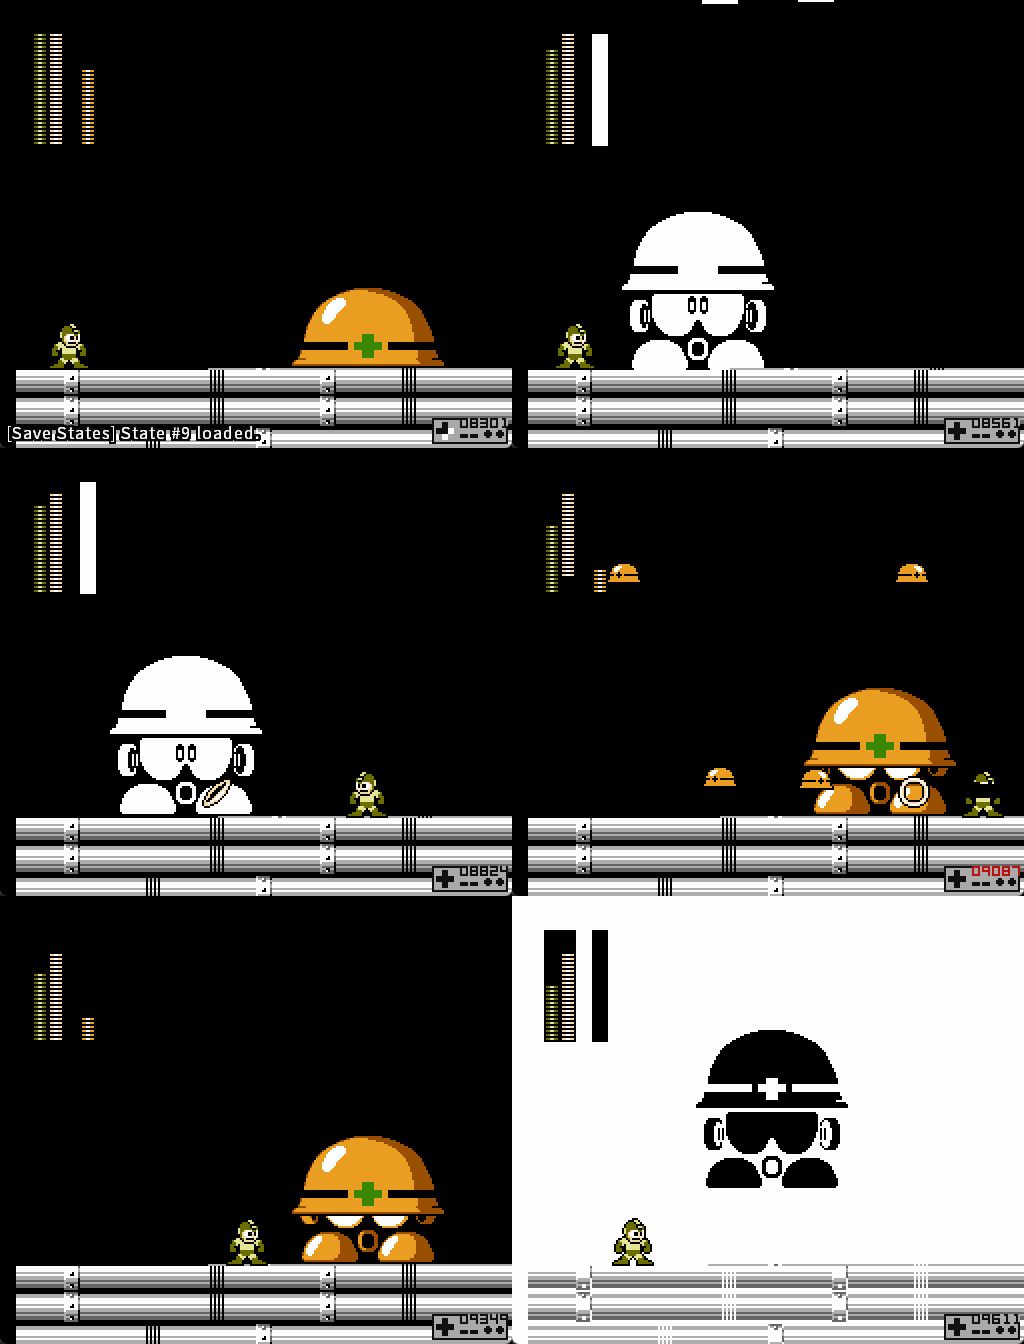](https://goodboyrush.net/uploads/images/gallery/2025-06/mesen-hcvn2wnlnb.gif) ##### 5 - 5 - 4 (Short Pattern - Short Pattern) [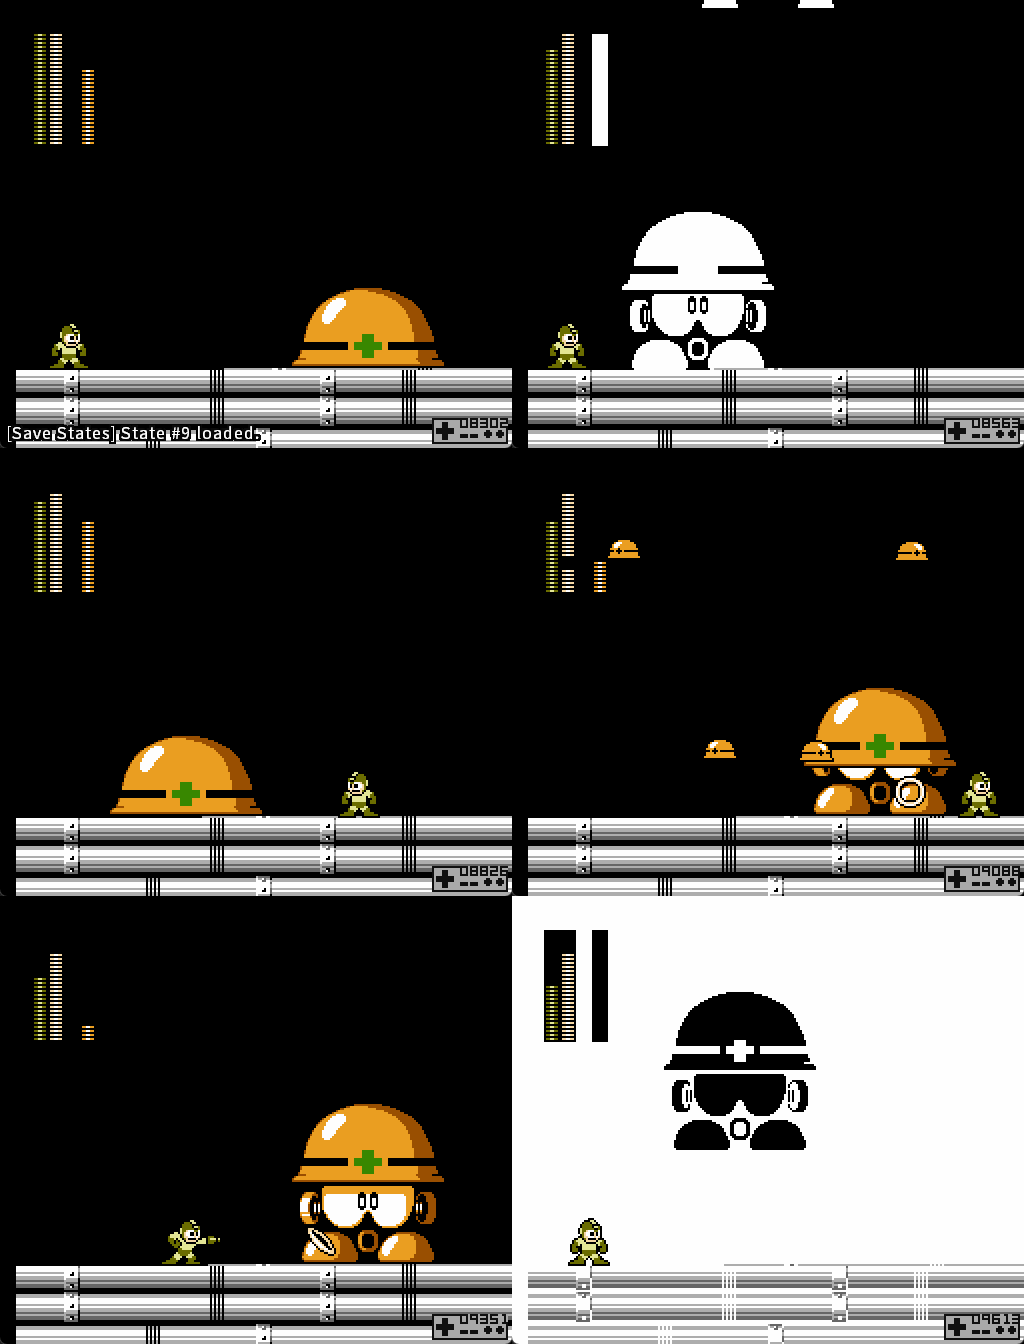](https://goodboyrush.net/uploads/images/gallery/2025-06/mesen-qulwg2y8n0.gif)On the last cycle, making him jump high is not very useful. So we can stay close to him because we know we will kill him anyways, sometimes even before he can jump again
### Met Daddy's RNG| **Delay jump pattern** | |||
| 0x3C (60 frames) | 50% | ||
| 0x78 (120 frames) | 50% | ||
| **Met falling pattern** | |||
| Scattered | 25% | ||
| Close | 50% | ||
| Very Close | 25% | ||
| **Time Spent in the ground** | |||
| 0xB4 (180 frames) | 50,0% | ||
| 0xF0 (240 frames) | 50,0% | ||