If possible you wanna avoid bonking the wall for a minimal timeloss like shown in the GIF
#### Hard way - Jump shot landing You need to shoot relatively early but you also need to do jump quite late to be able to land on the top ledge, making the window really tight. To be able to do this fairly consistently, you actually need to **delay** the slide out of the tunnel [](https://goodboyrush.net/uploads/images/gallery/2025-06/mesen-1mwm5b5ckz.png) You can **walk then slide** [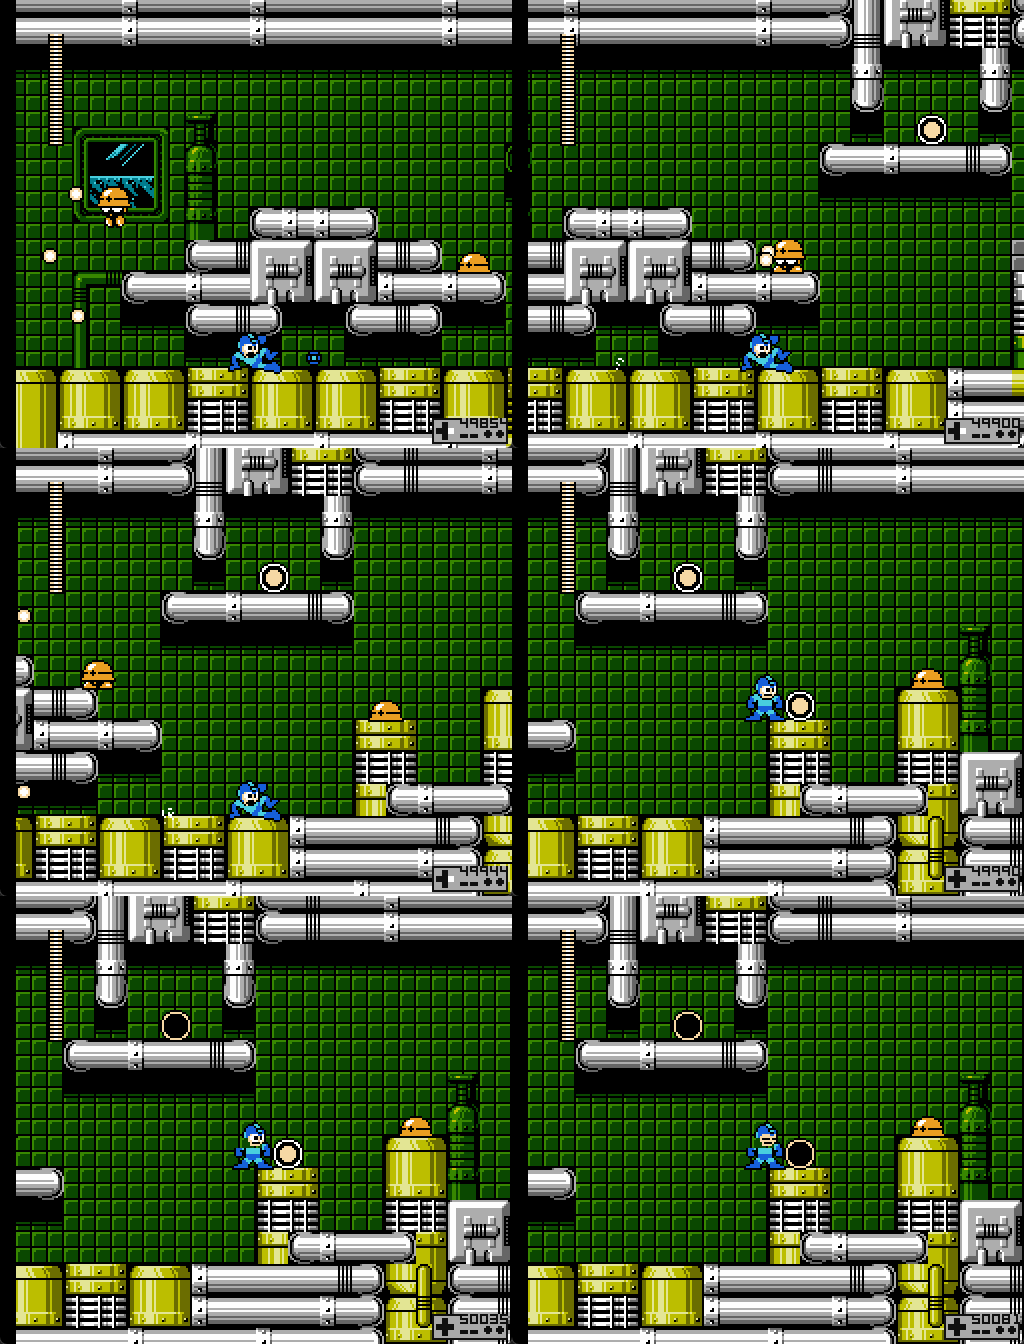](https://goodboyrush.net/uploads/images/gallery/2025-06/mesen-3qnuuuha3t.gif) You can **jump then slide** [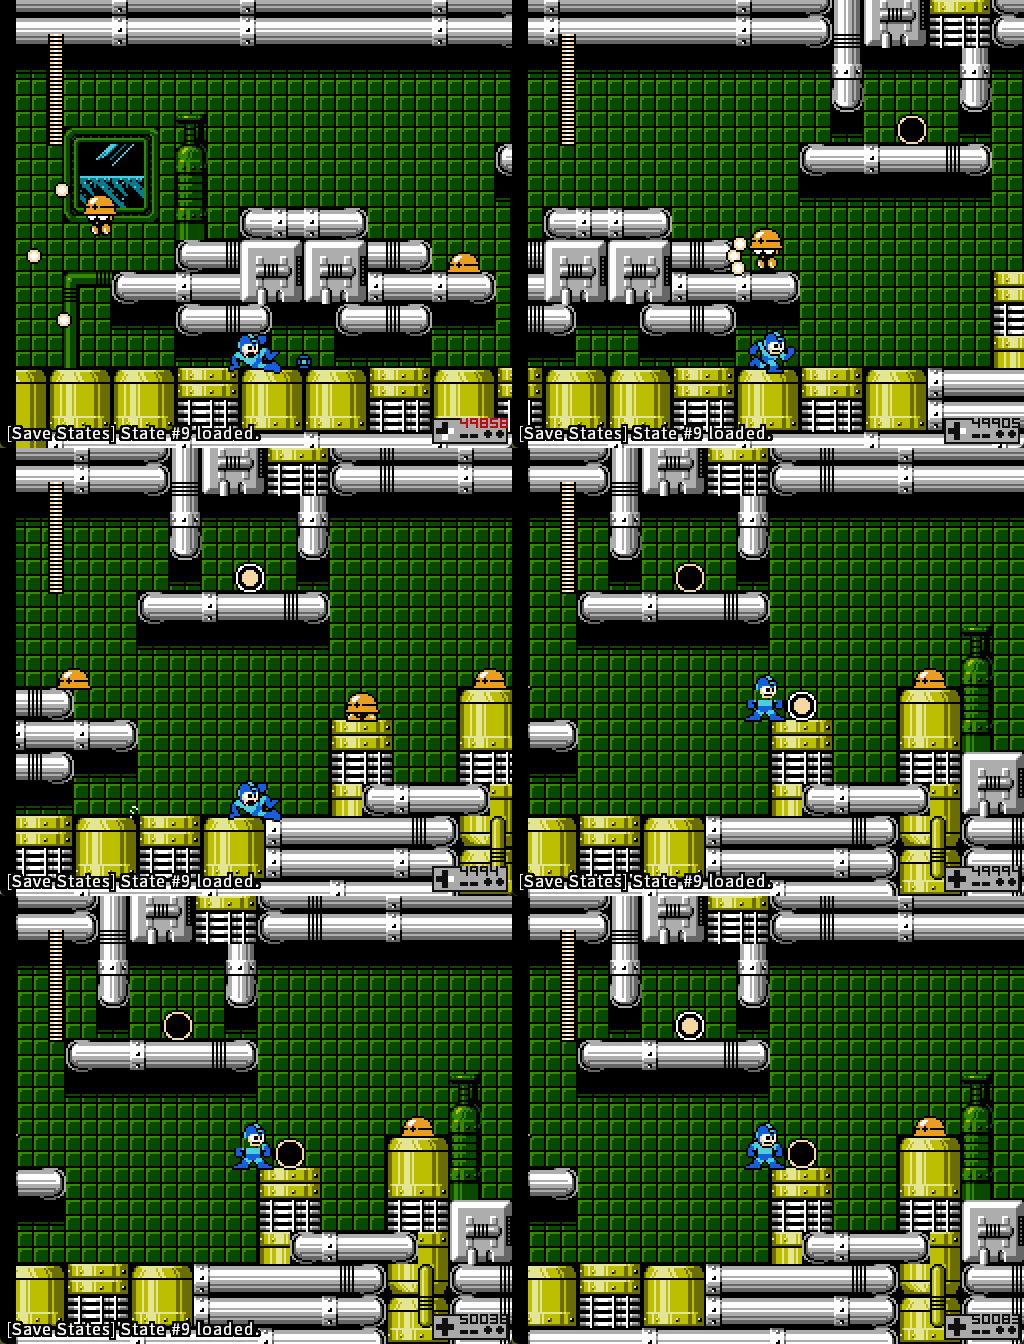](https://goodboyrush.net/uploads/images/gallery/2025-06/mesen-kro5zvj8rt.gif)Various other stuff probably works here, feel free to experiment on whatever you like better or simply works for you
Don't feel discouraged if you miss this, it is quite tight especially for new runners
### Second Half You can easily take care of the following Met with an **A + B.** Start charging right after to prepare for the upcoming next Met [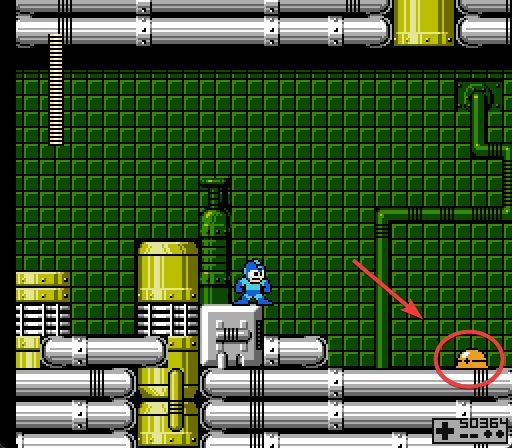](https://goodboyrush.net/uploads/images/gallery/2025-06/mesen-ozvbdd7cvr.png) ##### Regular way As you kill the 2nd Met, prepare a charge, walk until reach the last stair then slide and release as you are on the same Y position as the Met. [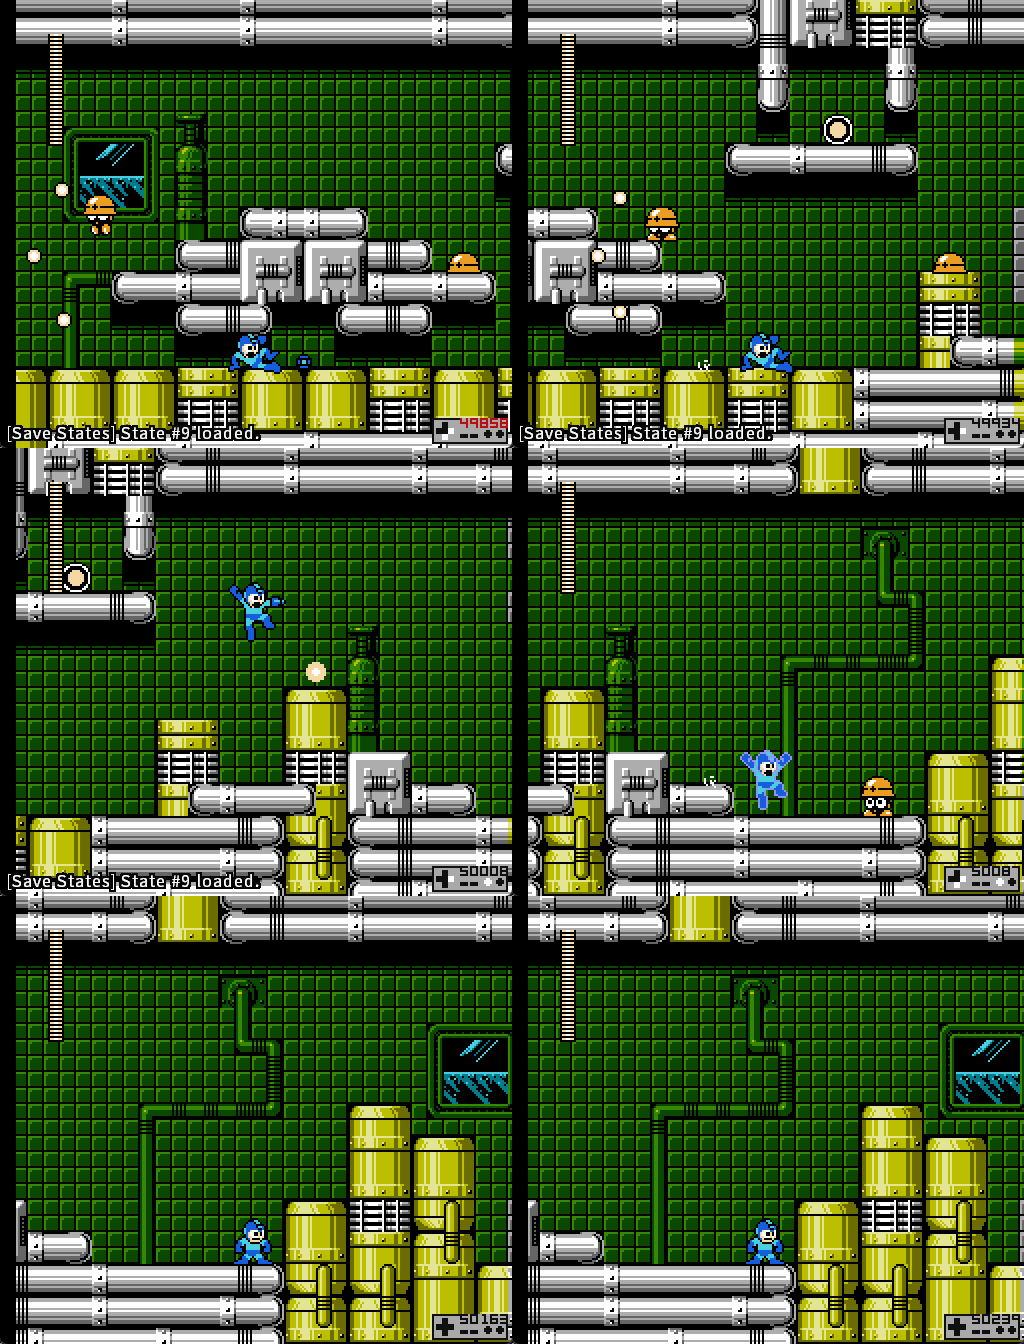](https://goodboyrush.net/uploads/images/gallery/2025-06/mesen-g4zj7qf44l.gif) ##### Harder way - World Record way As you kill the 1st Met, you can very quickly fire a second shot, that way you can start charging ever so slightly earlier allowing you to cut the walk and add the slides that were missing [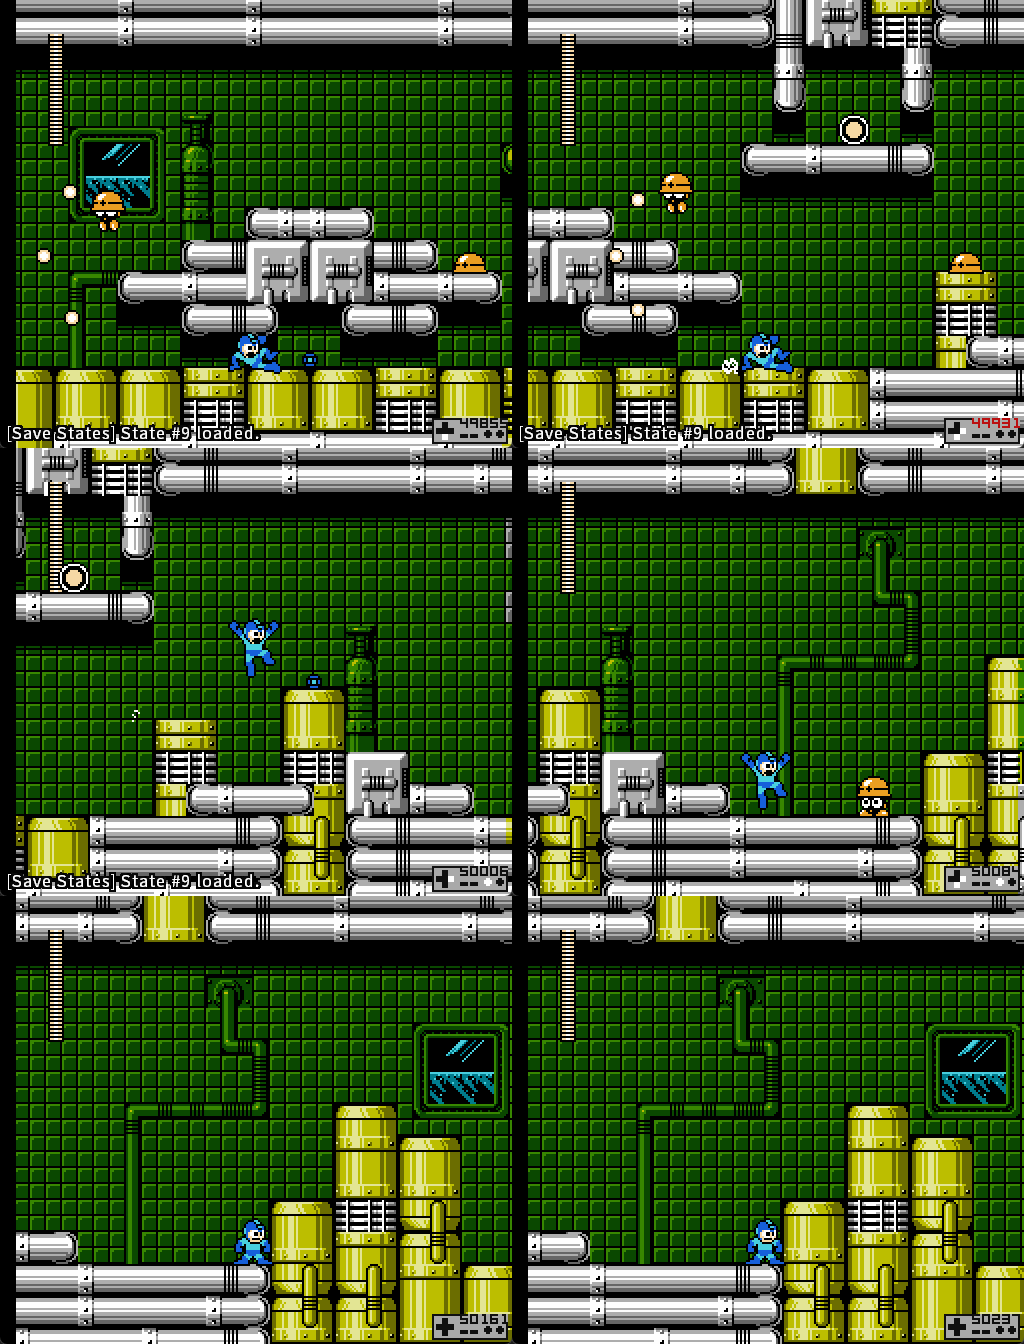](https://goodboyrush.net/uploads/images/gallery/2025-06/mesen-oe5qdv5tax.gif) ### Final part The last part follows the same type of jump shoot timing as the first jump shot you have to do. You can apply the same method. Either double jump to kill the Met or single jump [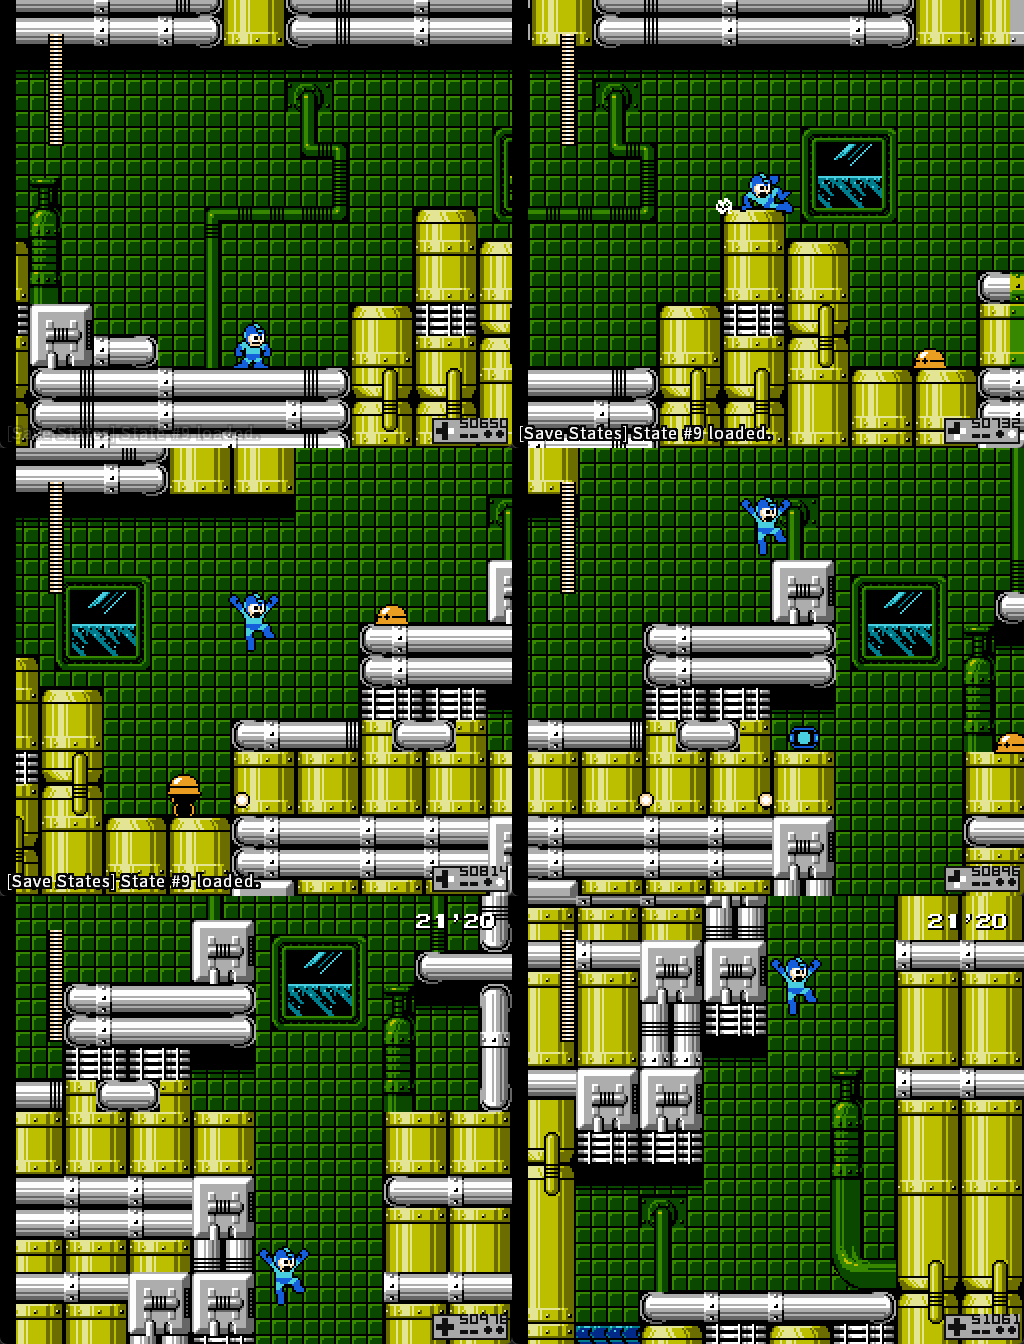](https://goodboyrush.net/uploads/images/gallery/2025-06/mesen-zsgha8yuxe.gif) To be able to jump shot in one go, you can make it "easier" with a very small jump slide on the edge, right here [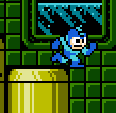](https://goodboyrush.net/uploads/images/gallery/2025-06/chrome-bqlivciamj.png) That way you'll land quicker on the next ledge making it jump in one a lot more doable. [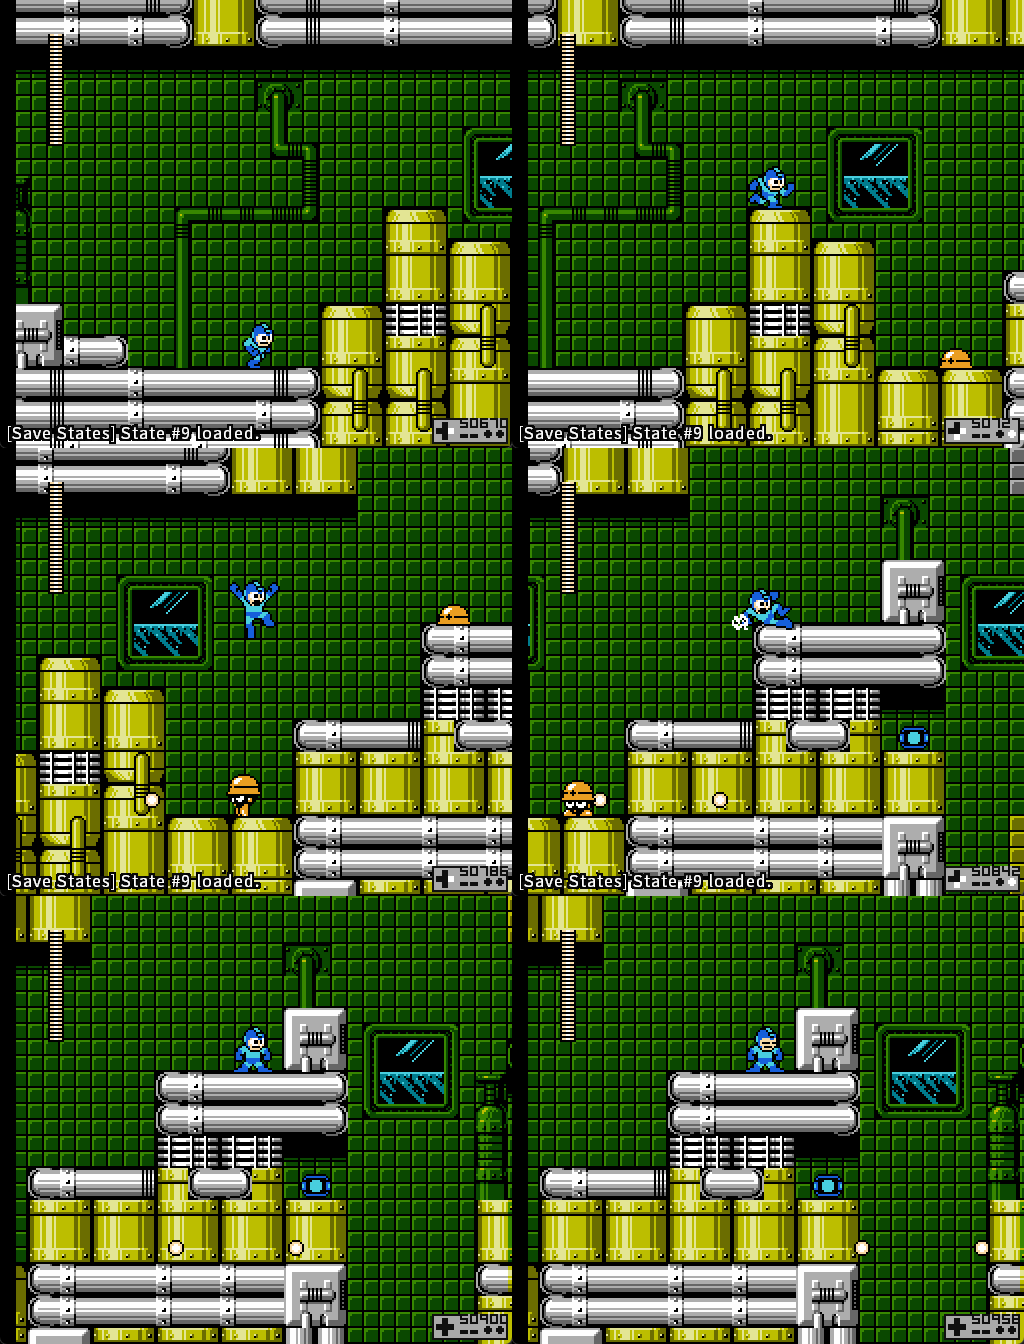](https://goodboyrush.net/uploads/images/gallery/2025-06/mesen-gk762bmn8o.gif) This slide isnt required, you can still make it without it, but the window will be ever so slightly worse which can make the difference in consistency [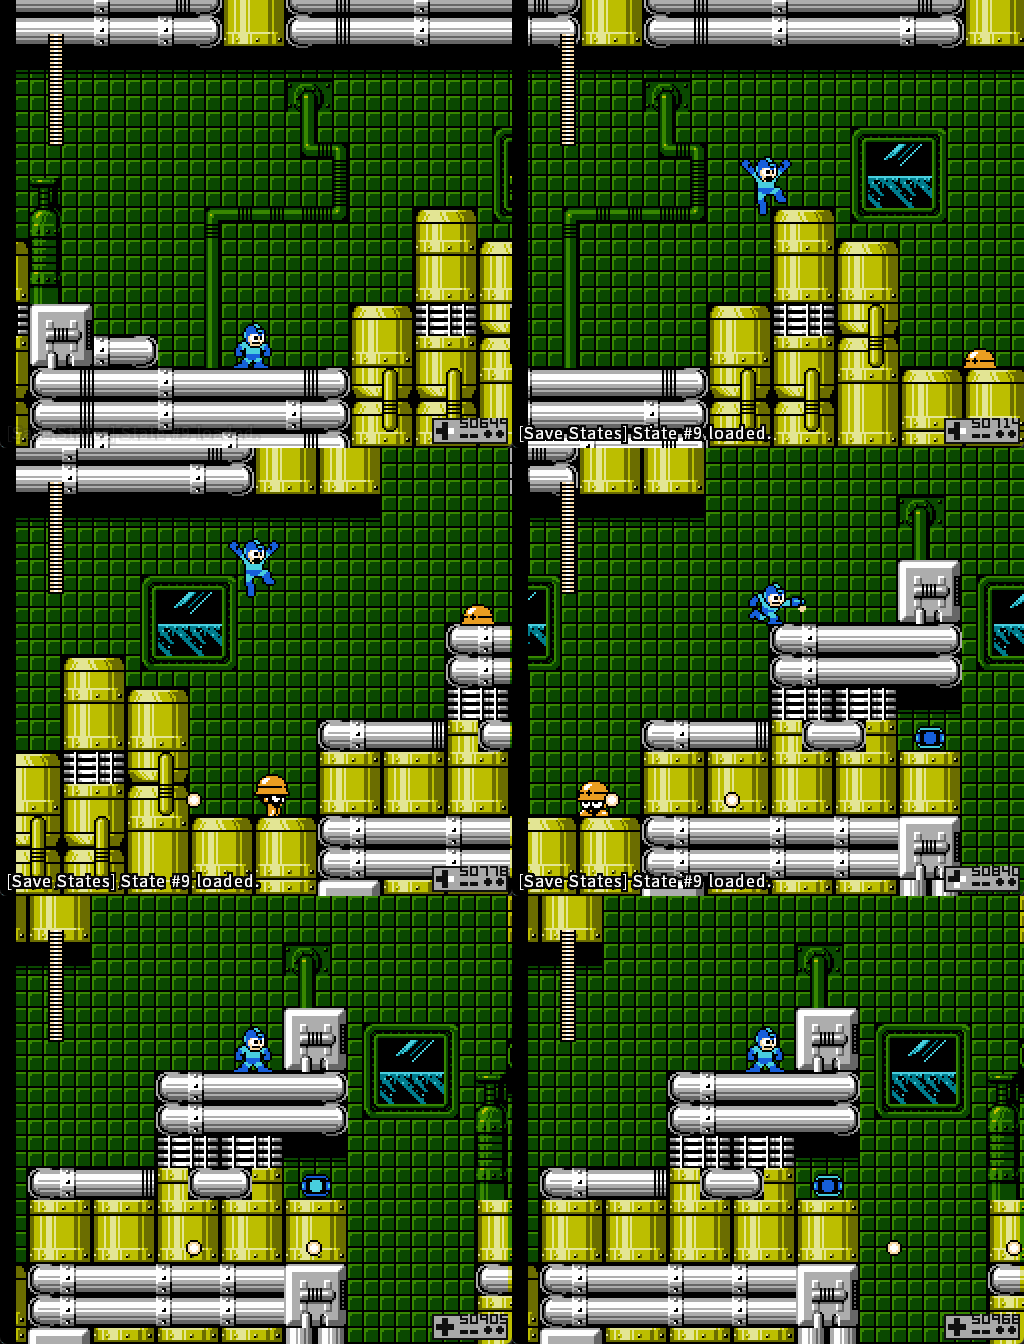](https://goodboyrush.net/uploads/images/gallery/2025-06/mesen-osamz3tt0d.gif) ### Full room examples Now that you know all the possible shenanigans you can perform, here's a few examples of relatively ##### Safe strats - beginner friendly [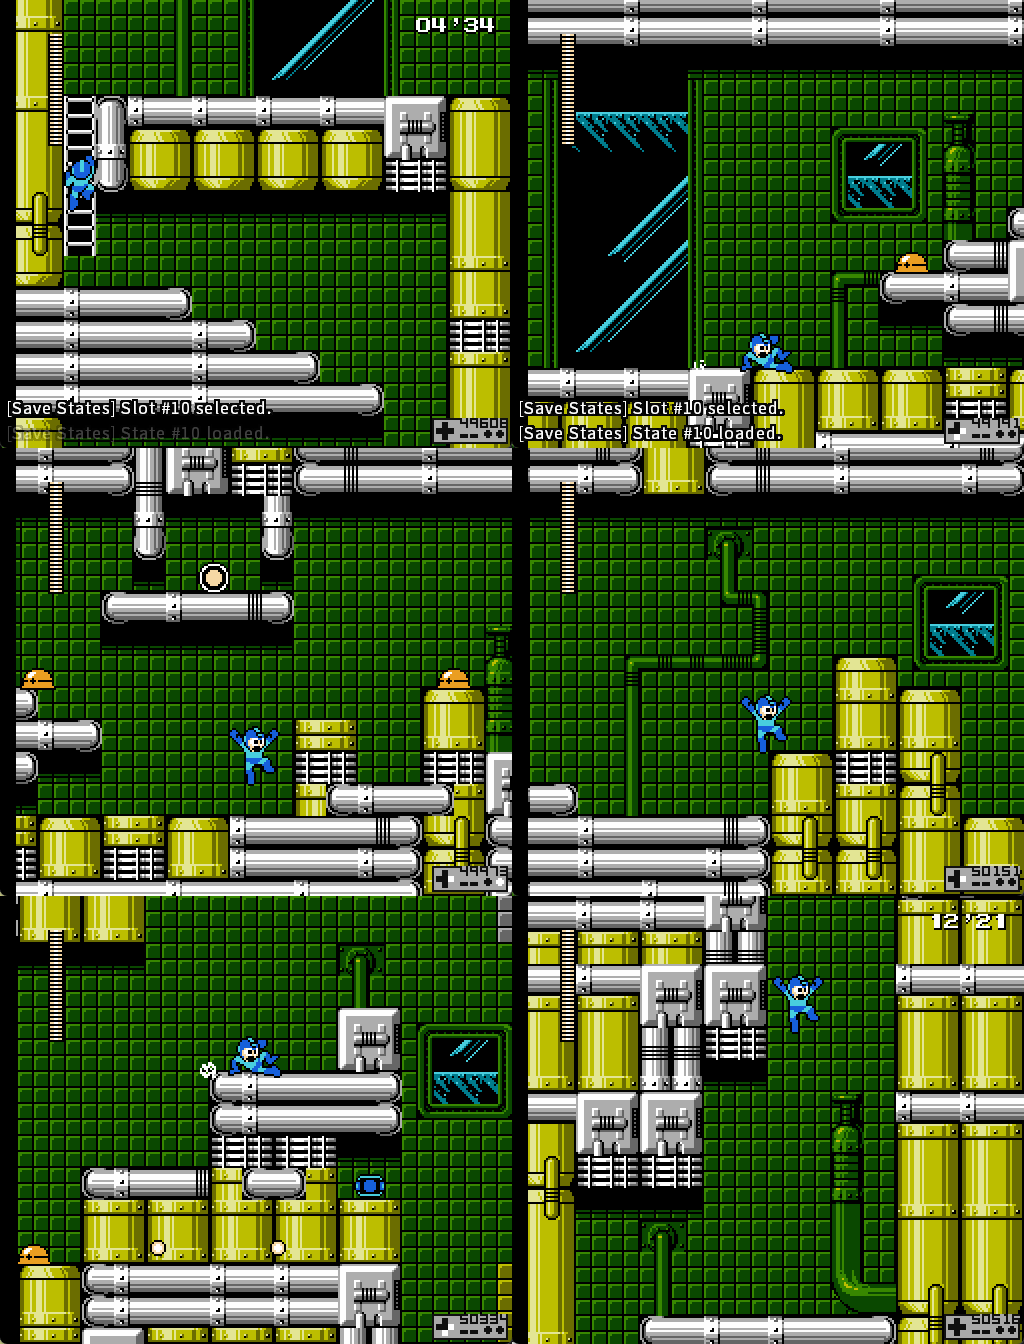](https://goodboyrush.net/uploads/images/gallery/2025-06/mesen-kkwnyenarb.gif) ##### Intermediate/Advanced strats [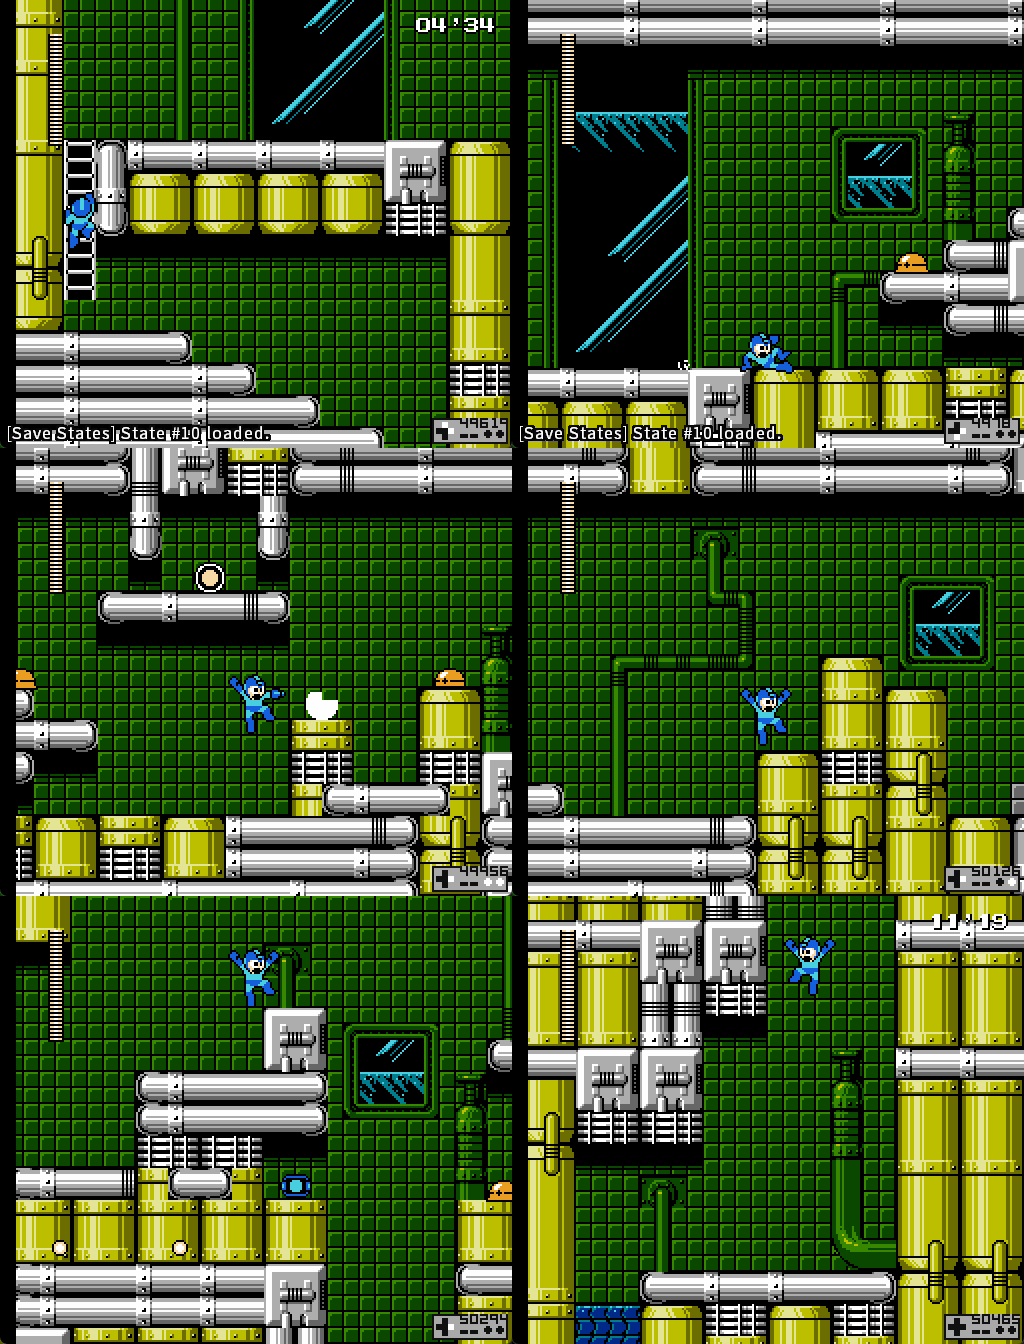](https://goodboyrush.net/uploads/images/gallery/2025-06/mesen-h2jp6vu4p4.gif)Notice that you need to slightly deviate from the left wall to avoid the bullets, unlike the safe strat
##### WR strats This is essentially the same, except with the extra met shot added in [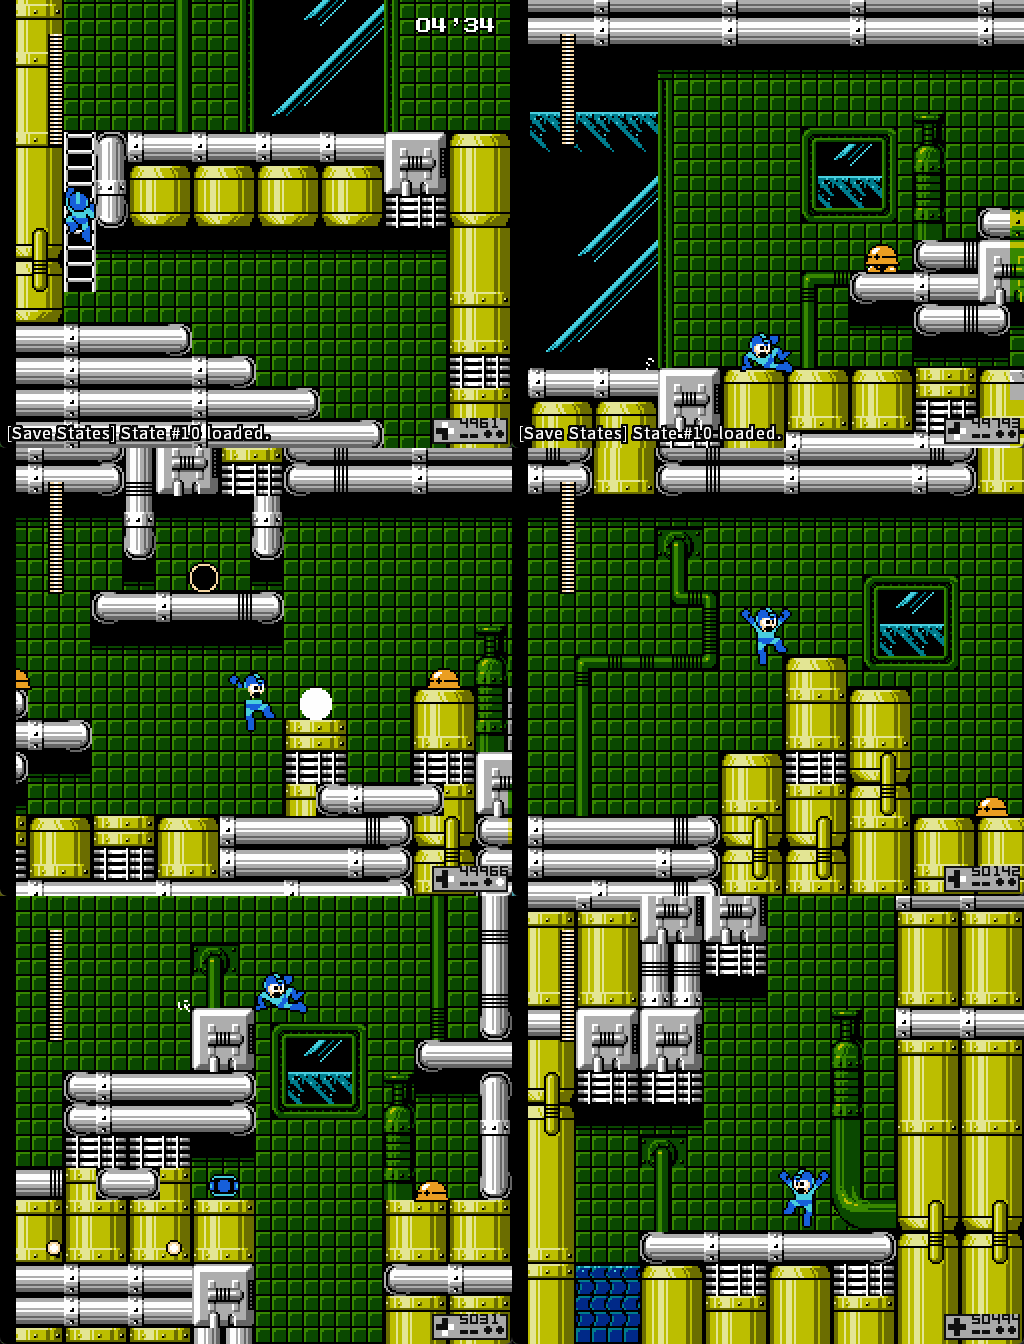](https://goodboyrush.net/uploads/images/gallery/2025-06/mesen-pgwk0ixvhp.gif) ##### Fastest Room Time Executed in **10'45** by **Chelney**