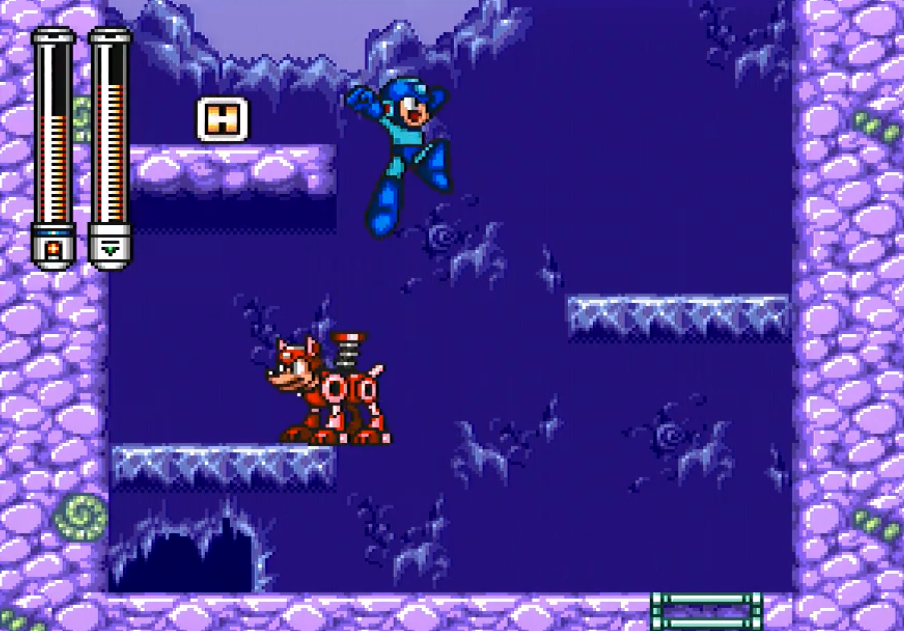
Freeze Man
Don't Slip!
- Freeze Screens 1 and 2
- Freeze - Screen 4, 5, 6
- Freeze Screens 7, 8 - Rush Search
- Freeze Screen 9 - Penguin Sleds
- Boss - Freeze Man
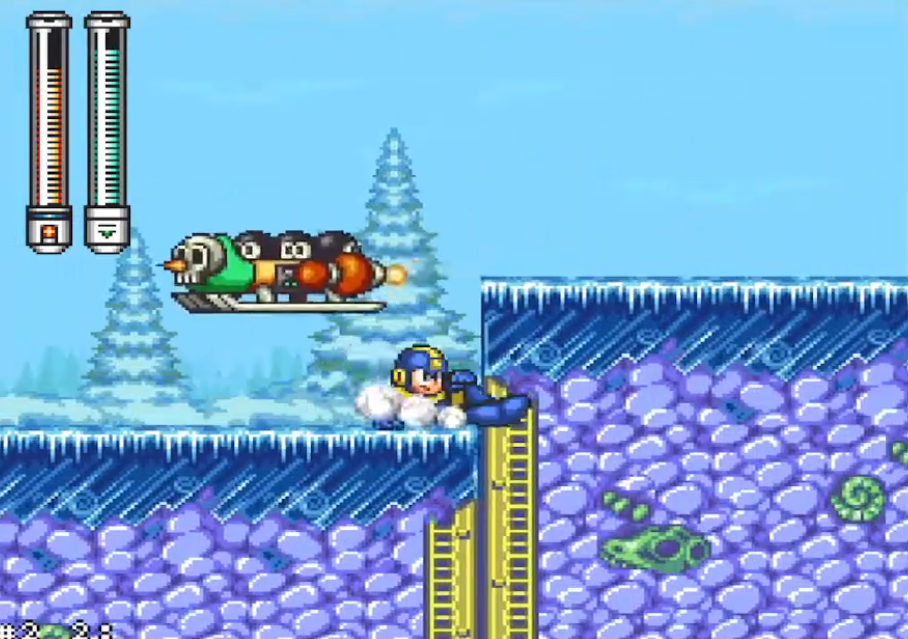
Freeze Screens 1 and 2
Screen 1
Quick swap to T Strike, slide right. Use T-Strike on the walker enemy as you jump and slide up the stairs.
Slide into the bear to D-boost, slide through it and full jump from the far right edge into the screen transition while holding up+right.
Screen 2
If you did screen 1 right, you should grab the ladder and immediately climb up to screen 3.
Screen 3
Press R to switch to Junk Shield, but don't use it yet.
Slide into then again through the bear. Medium jump mid-air over the shield attacker and activate the junk shield, destroying the enemy. (Activating the shield mid-air also means you don't stop moving).
Keep the shield on for the rest of the screen, jumping and sliding until climbing up the next ladder. The shield should naturally destroy the second sheild attacker.
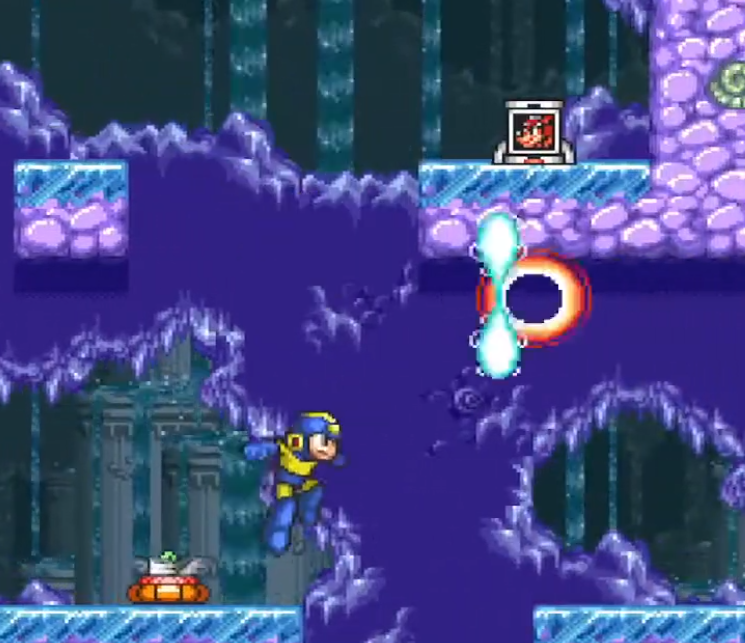
Freeze - Screen 4, 5, 6
Screen 4 - Long Icicle Screen
Switch to buster and begin charging. Slide right until you reach the spike gap.
Jump the first set of spikes.
Wait for the next icicle dropper to be in position, then either jump across the icicle as intended, or try to d-boost off it sooner. Phanto's suggestion is hop 3 times as a timing mechanism, then jump into the icicle.
Invincibility time is short, so move fast on the spikes
Continue sliding to the right jumping when needed. Finally release your full charge into the next Icicle dropper, then jump across that pit.
Wait for the Shield Attacker to fly overhead, then hop up the ledge and continue sliding right. D-Boost through the next Shield Attacker, then slide to the end.
Hundo - Rush Power Adapter Board
There is a ladder up at the end of this screen. Hundo must coil up to acquire the circuit board. The extra screen is pictured below. You can summon Rush on the lower left platform (from the ground level even) to save some time over jumping up as intended.
Screens 5 and 6
Screen 5 is an empty checkpoint screen. Slide through it.
Screen 6 is mostly the same, but has a Sniper Joe. You can either slide and damage boost through it, wait for it to jump and slide under it, or wait for it to become vulnerable and attack with T-strike.
Freeze Screens 7, 8 - Rush Search
Do We Get Rush Search?
Any% can collect Rush Search for a chance at getting the "Good Boy Skip", you must acquire Rush Search. You can do that best on this screen for any% (technically you could get Auto's Super Bolt and buy it, but that is...slow...and expensive).
Follow the strats on this page and just stay up top the extra jump to get Rush Search if you want it. It's otherwise not required and does not impact the rest of the run, and only loses a few seconds if you try it.
Obviously(?) 100% runs should collect Rush Search here anyway. This is especially true since Rush Search can find secret versions of just about every upgrade needed for 100% to avoid buying them at the shop, including the Exit Module later in this very stage.
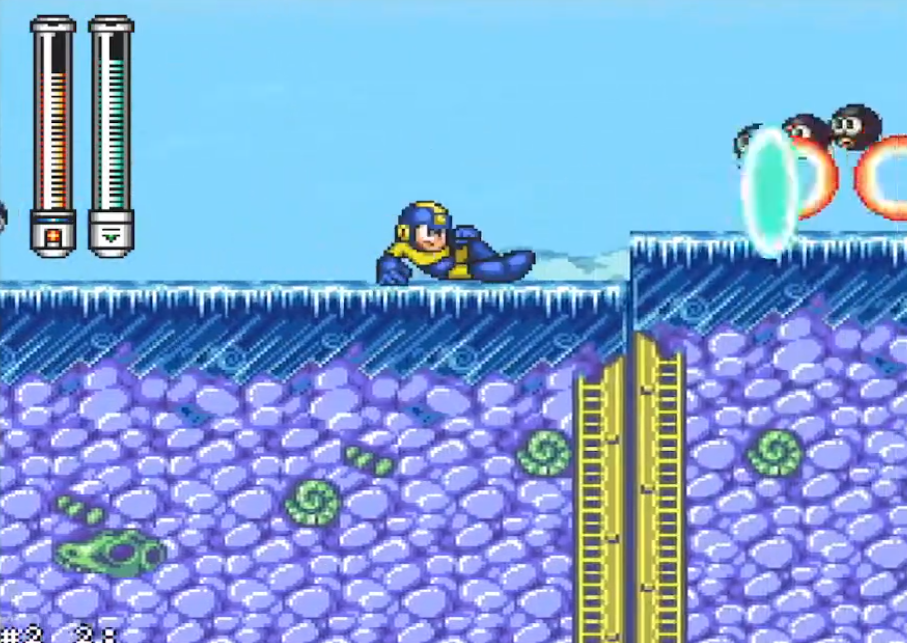
Screen 7 - Top Route
There isn't too much to screen 7 - just slide, jump the pits, and stay on top. Also Quick Swap to T. Strike.
There is a 2 tile gap placed at an awkward location for sliding over between floating platforms 2 and 3, and Mega Man's first slide might end off the ledge. You can just jump it, or you can slide cancel it and slide again. Slide Canceling it would be slide, tap left, tap right and down to slide a second time over the gap, then slide jump a third time on the next platform to the 4th one.
Stay up top the whole time if you are collecting Rush Search (on the 5th high platform)
In either case, drop into the gap between platforms 4 and 5. Fire a T. Strike at the green turret on the way down.
If you miss the turret, just jump and shoot it. The floor enemy will probably hit you, just don't fall in the pit. Better to take the damage than a death.
Continue sliding to the end, but at the end of the screen, full jump into the transition. This should be from the end of the third non-ice platform, before the bigger drop-off. Just like Screen 1 and 2, hold Up and Right through this transition.
Screen 8
Screen 8 is a polar bear guarding an E-Tank. If you finished screen 7 properly, you should grab the ladder and quickly climb to screen 9.
If you miss the jump, don't fight the bear. Quickly jump to the next screen.
You can grab the e-tank if you want, but there are no real good strats for it. Try killing the bear the Junk or just D-Boosting if you trust your health, but this one is more trouble than it's worth.
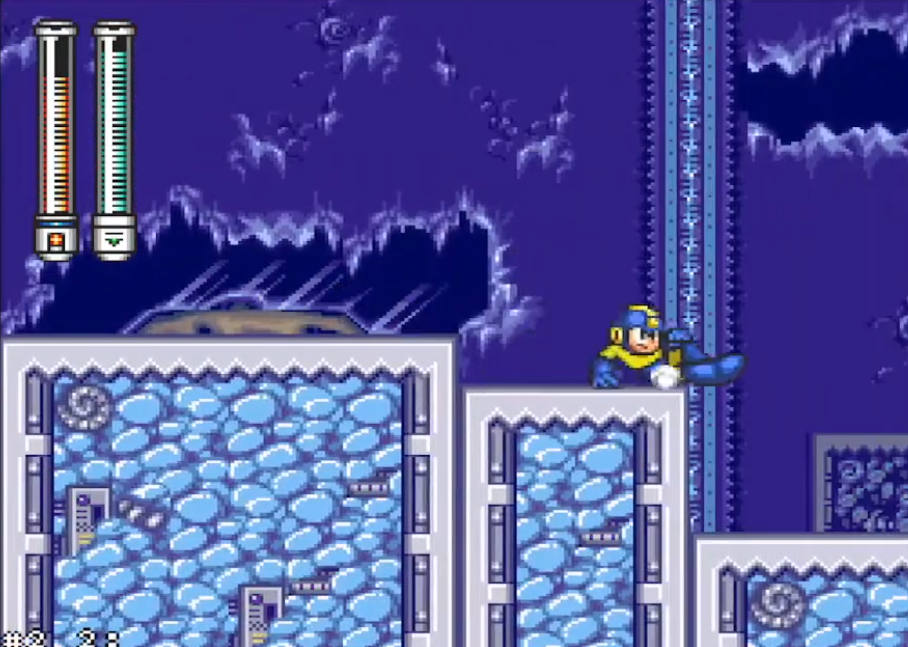
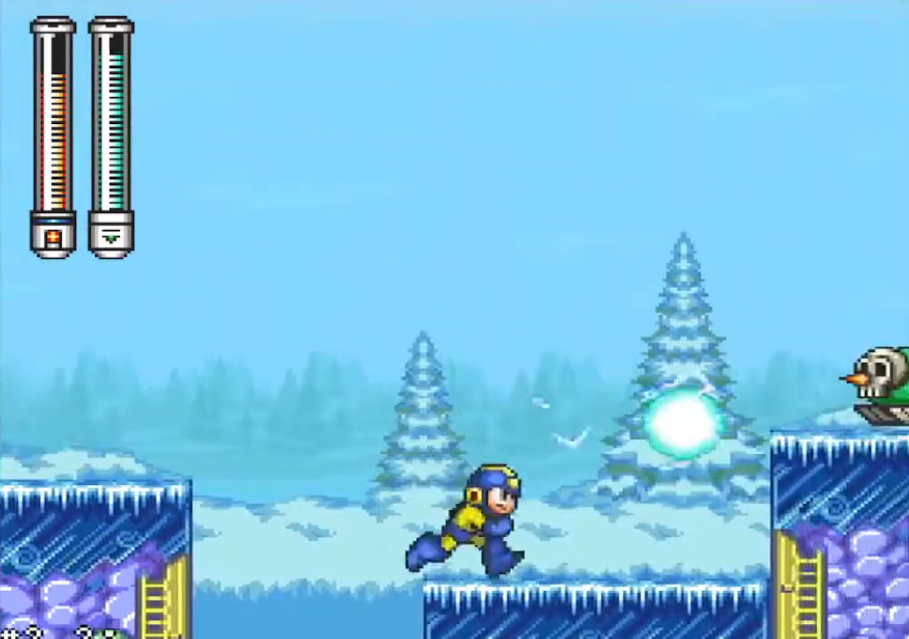
Freeze Screen 9 - Penguin Sleds
Hundo Runners - The Exit Module is at the end of this screen before the Boss Gate
Screen 9
Have T. Strike equipped.
This long screen has 3 Penguin sled enemies. Most of your time is just slide jumping but you want to fire T. Strike at the right moments to take out the sleds. T. Strike not only collides with the sled destroying it, but the split shot takes out the high bouncing penguins.
You still want to keep sliding towards the right as much as possible, not just for speed, but to avoid the front Penguin's long low lob at Mega Man.
First Sled
The first penguin sled is over the first pit
Sled 2
You can slide up to the wall under it, avoiding these Penguins entirely. Note that if you wait too long, the Penguins will jump backwards at you.
Get ready to shoot sled 3.
Sled 3
As soon as you get to the ledge Sled 2 comes off, shoot slide with T. Strike. Slide after the shot until sled 3 is destroyed.
Any% can continue sliding to the boss gate from here. Quick Swap to Junk Shield.
Hundo - Collect the Exit Module
After dropping off the climbing ice platforms, there is a nautilus shell in the rocks. Summon Rush Search here to get the Exit Module.
There is no specific reason to not collect the module in other categories other than losing time.
Boss - Freeze Man
Freeze Man is 3rd in traditional Any% and 1st in 100% routing.
Freeze Man's Pattern
Freeze Man typically walks back and forth between these steps.
- Freeze makes a small hop on being damaged,
- Freeze jumps over you and shoots down. This freezes the floor, so jump over the ice to avoid getting stuck.
- Freeze fires straight up and does not move
- Freeze jumps straight up then fires horizontally at you after landing - dodge this shot by jumping over it
- Repeat
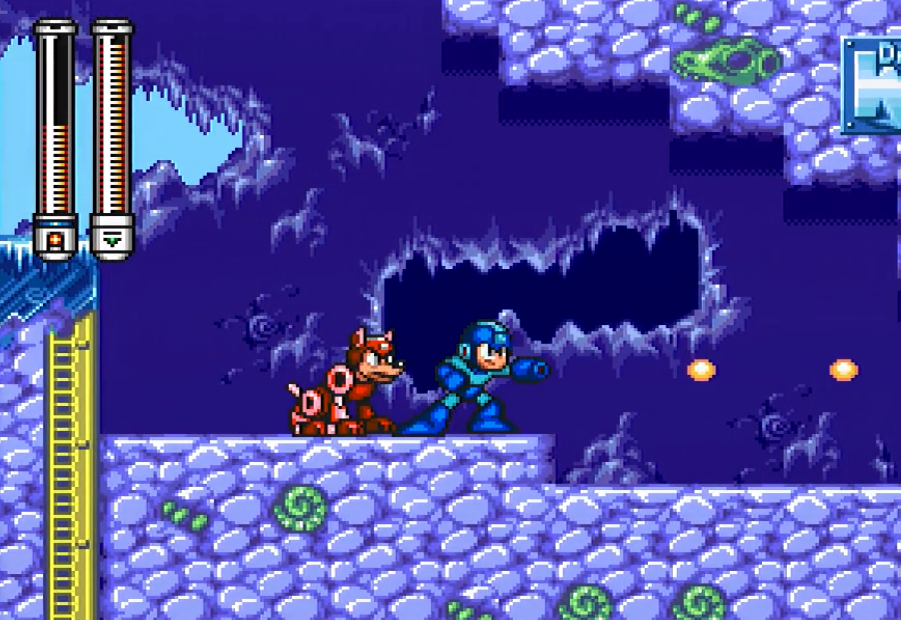
Junk Shield Strat
Freeze Man has a flinch animation like most bosses in this game. Making Junk Shield collide with him will stop Freeze's movement. This will advance him to his next attack in the above attack pattern, where you should simply use junk again.
Junk shield itself is a very laggy weapon. This is best mitigated by summoning the shield next to Freeze so it gets destroyed almost as fast as it appears.
In general, stand next to Freeze, and be ready for him to move.
- After the first hit, Freeze jumps over you and shoots down.
- After the second hit, Freeze fires straight up and does not move. If you got frozen to the floor from attack one, just wait with Junk Shield until he moves into you.
- After the third hit, Freeze jumps straight up then fires horizontally at you after landing - dodge this shot by jumping over it
- Repeat until you have hit Freeze 7 times.
Buster Strat
This is mostly relevant to the 100% and Buster Only categories - Any% should focus on Junk Shield.
Enter the room with a charged buster shot. Hop and release the charge, then slide under Freeze when he jumps at you.
Just like the Any% Cloud Man fight, charging is slow, so pummel Freeze with Lemons. When he does jump high to shoot down and freeze the floor, or otherwise jumps out of range, you can use the extra time to build a full charge.
If you shoot Freeze while he is walking across the floor, use short hops with the lemons and be ready to slide under his jump.
Refight Notes
The refight should use the Junk strat, through there are 2 other notes about the fight to keep in mind.
Freeze does take extra damage from Scorch Wheel.
Freeze is fully healed by Freeze Cracker - This makes a fun event gag if the run has gone wrong.