Final Climbing rooms - Cossack 1 ending
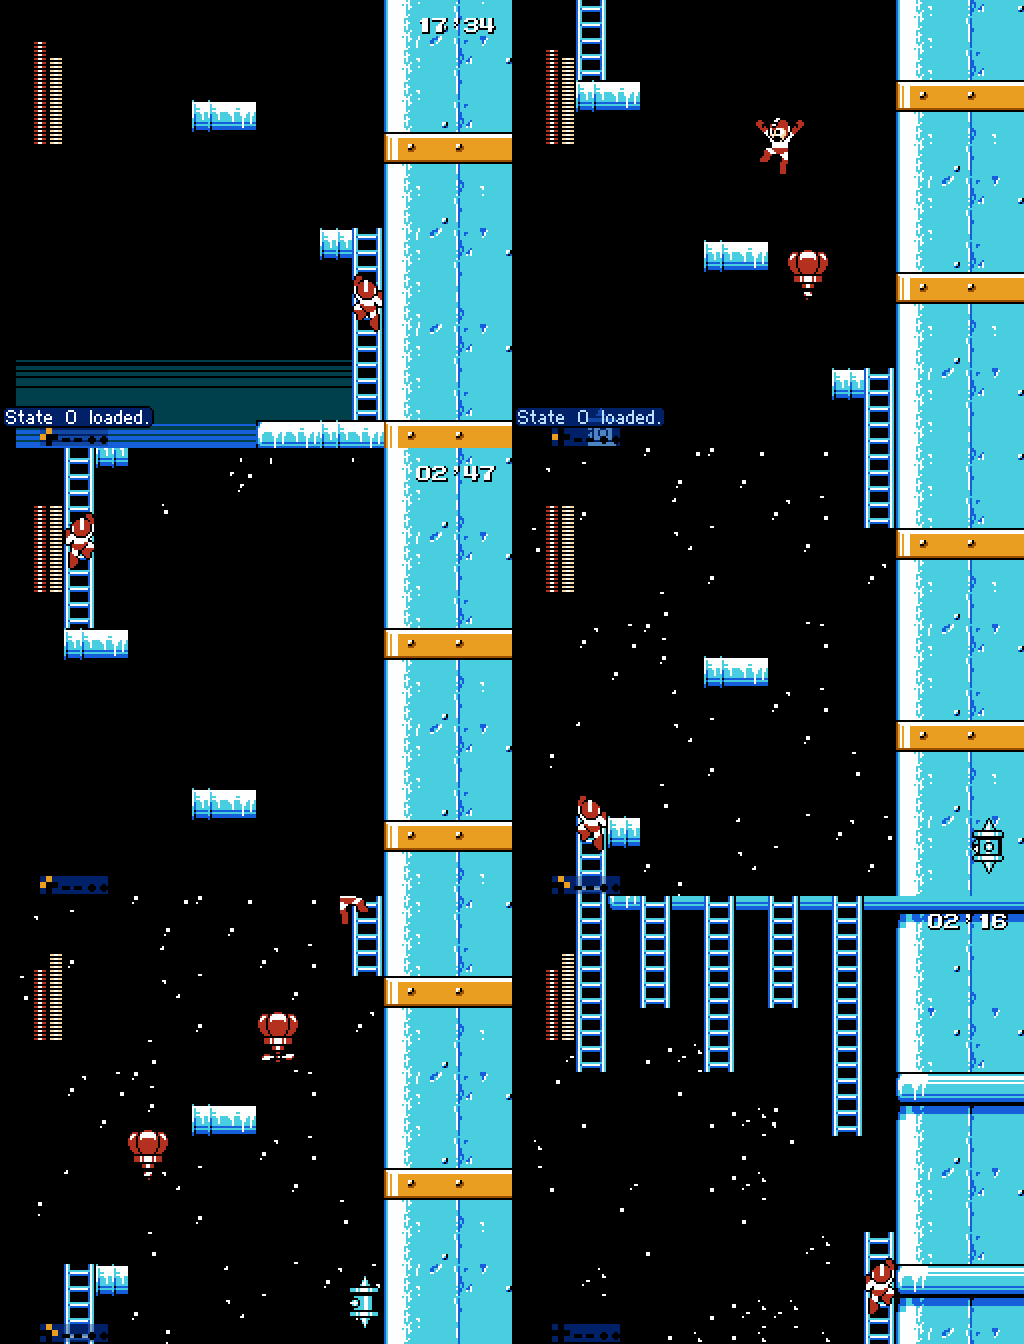
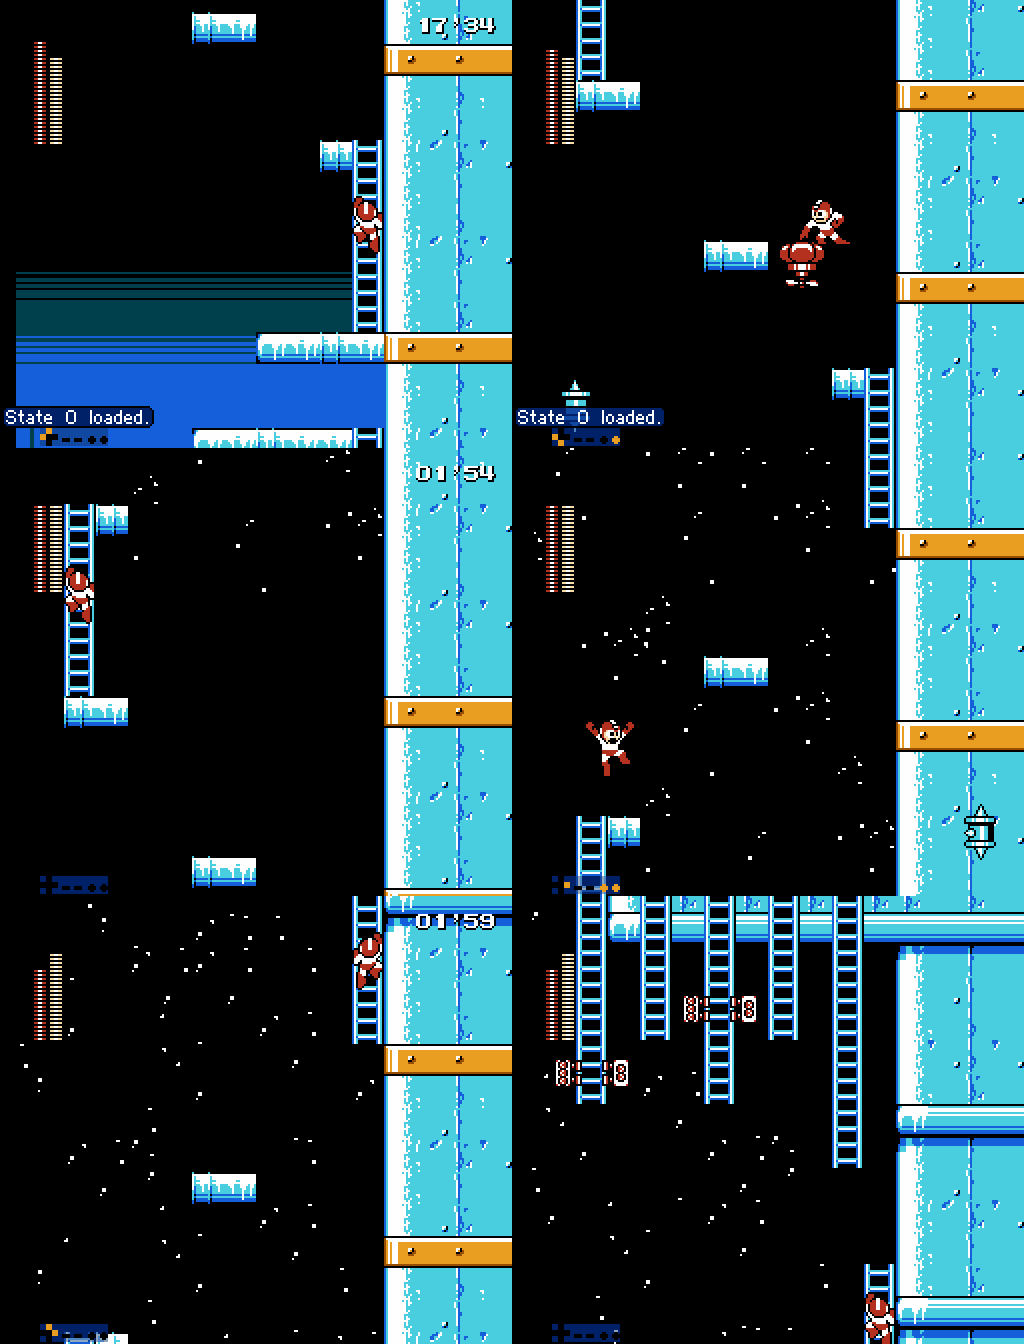
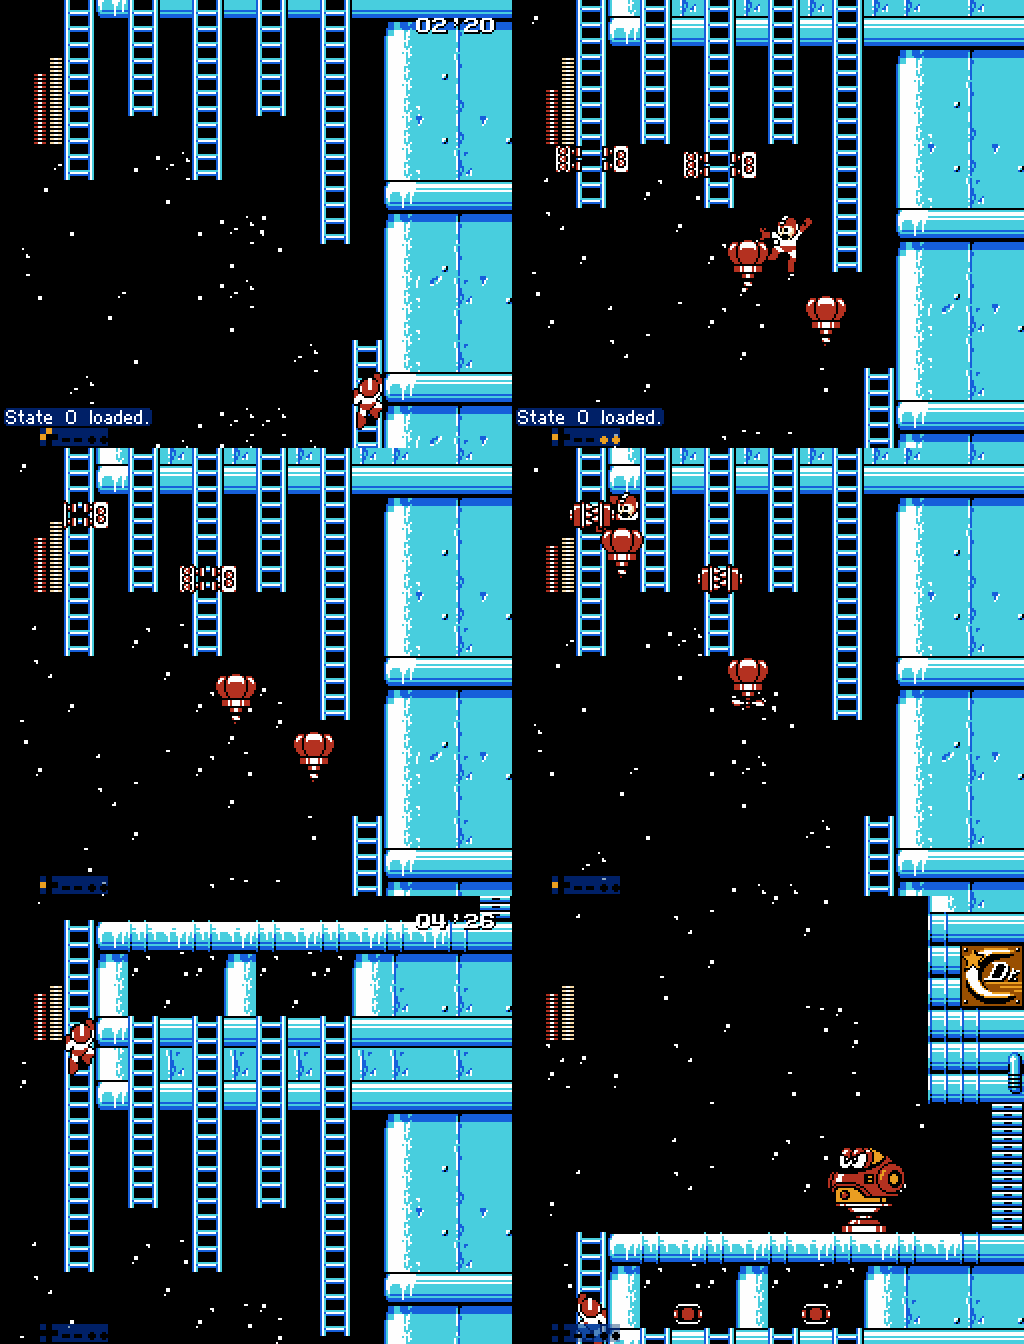
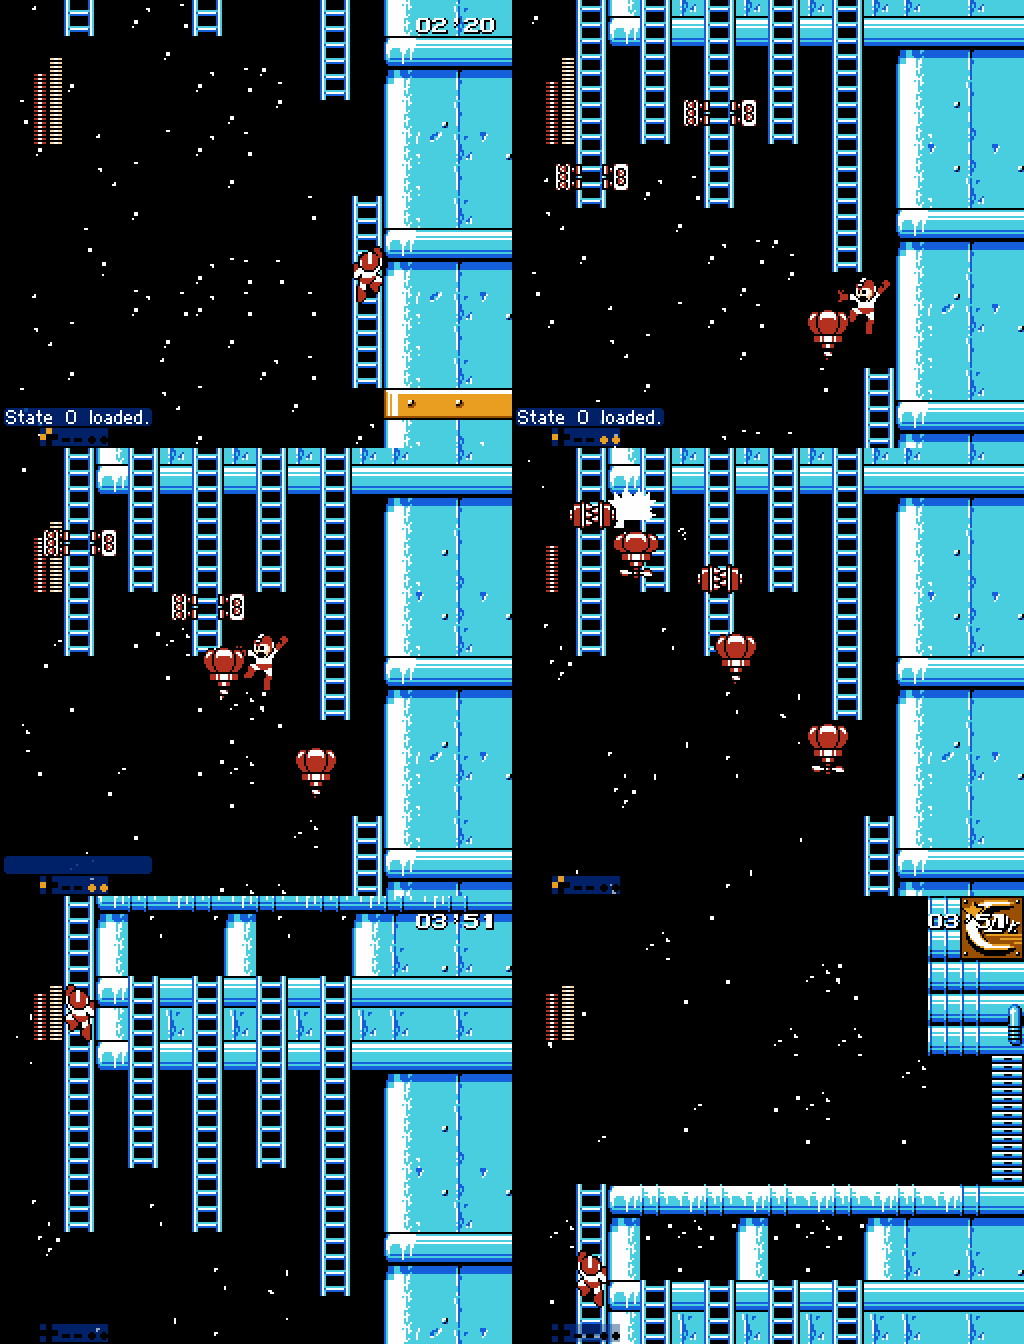
The final section of this track have multiple rooms where you gotta use an extra Item to climb.
The first 2 rooms are almost identical, the third one is where most of the strat variances are actually important.
Climb rooms
Baby way
Balloons hitboxes are pretty big so you can very safely place them where you need to without doing any slides
Fast way
You can speed up those 2 rooms:
- Aligning the first balloon to the ledge so you can perform a full slide
- Placing a second balloon below the 2nd ledge so you can reach the ladder quicker (this is a Balloon Jump)
- Adding a ledge slide after the first balloon in the second room
Note that you dont have to add everything at once, but this is all you can do to optimize these 2 rooms.
For instance, the balloon slide in the second climb room is a very small timesave, although NOT risky as most of the time you will just bonk the left side of the middle ledge.
Triple Balloon Room
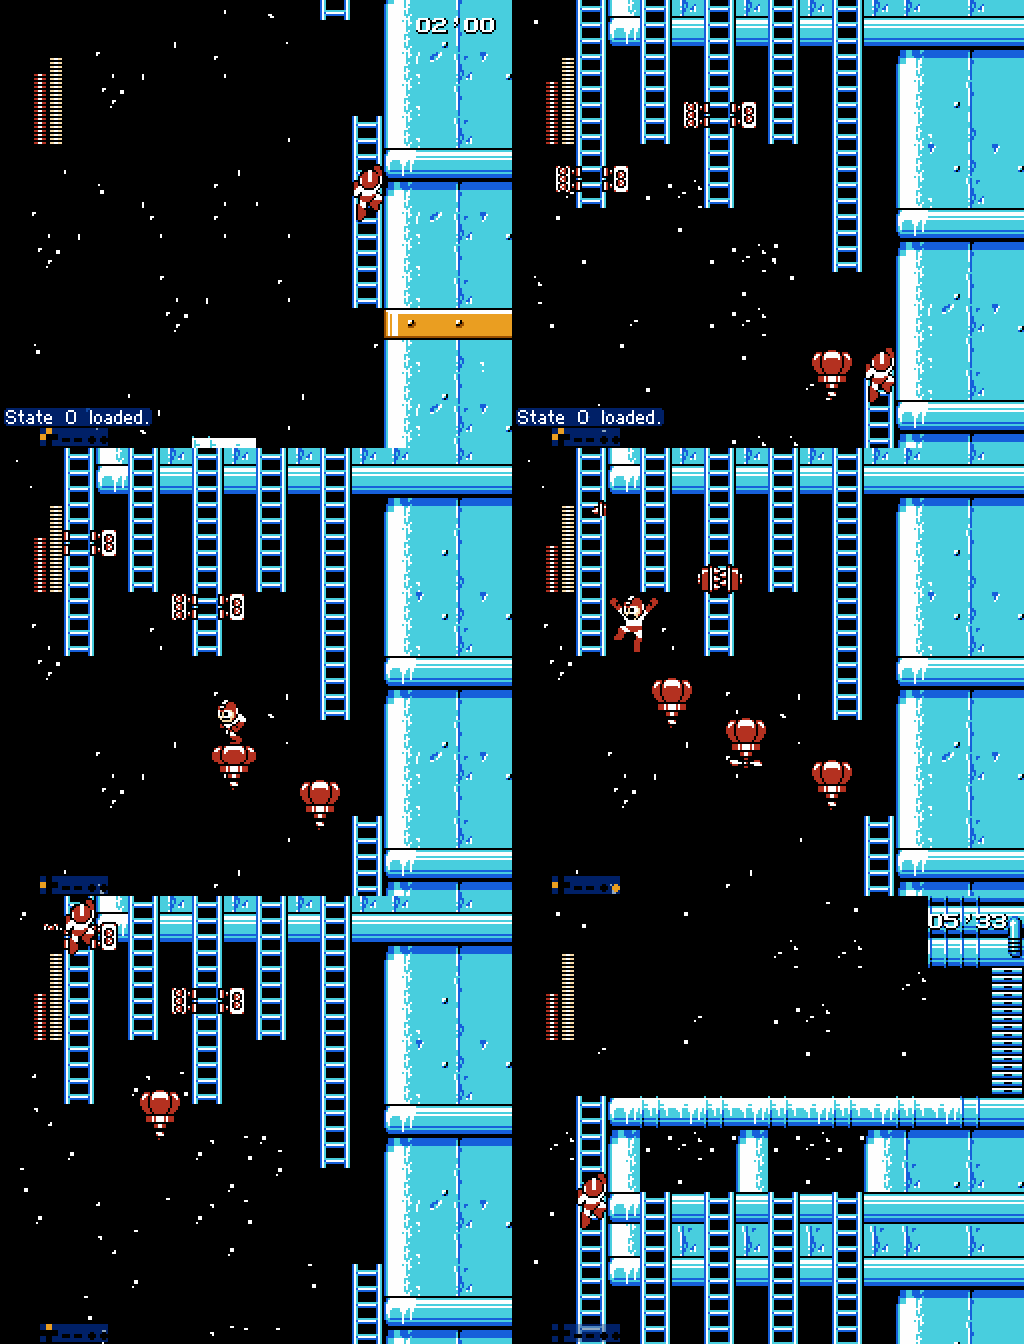
This room is quite tricky, it features Ladder Presses and you have to go all the way to the left ladder while not falling.
Safe way
Before reaching the top of the ladder, press the diagonal Up + Left and then place a balloon, reach the top of the ladder, go on the balloon and place the 2 other balloons to make your way to the left ladder. Note that you will have to wait that the press open to pass.
Safe one D-boost way
To speed up, you can do one dboost on the right ladder press to skip the left ladder press you'd normally have to wait for when playing without damage by using the invicibility frames of the damage.
The setup is very similiar to the safe way. You wanna place the balloons the same way but as you are jumping into the last balloon you wanna turnaround to get damage boosted to the left into the third balloon to reach the ladder afterwards, skipping the ladder press.
Other ways to only do one damage boost somewhat safe are out there. Feel free to test what works for you in that spot.
Safe two D-boosts way
Another safe way of doing it is to take 2 damage boosts. The safe way implies doing 2 full A+B inputs.
Unlike the previous ways you wanna go to the top of the ladder immediately. Then, you perform the first A+B to place the balloon and setup yourself to be on the left side of the 1st balloon, as you land you perform the second A+B which will make you take damage but you will land on the second ballon while falling on the first balloon.
Finally, you jump back on the second balloon and place the third balloon somewhat high and you slide into the ladder press while holding Left and Up so you can grab the ladder safely and move way.
Faster two D-boosts way
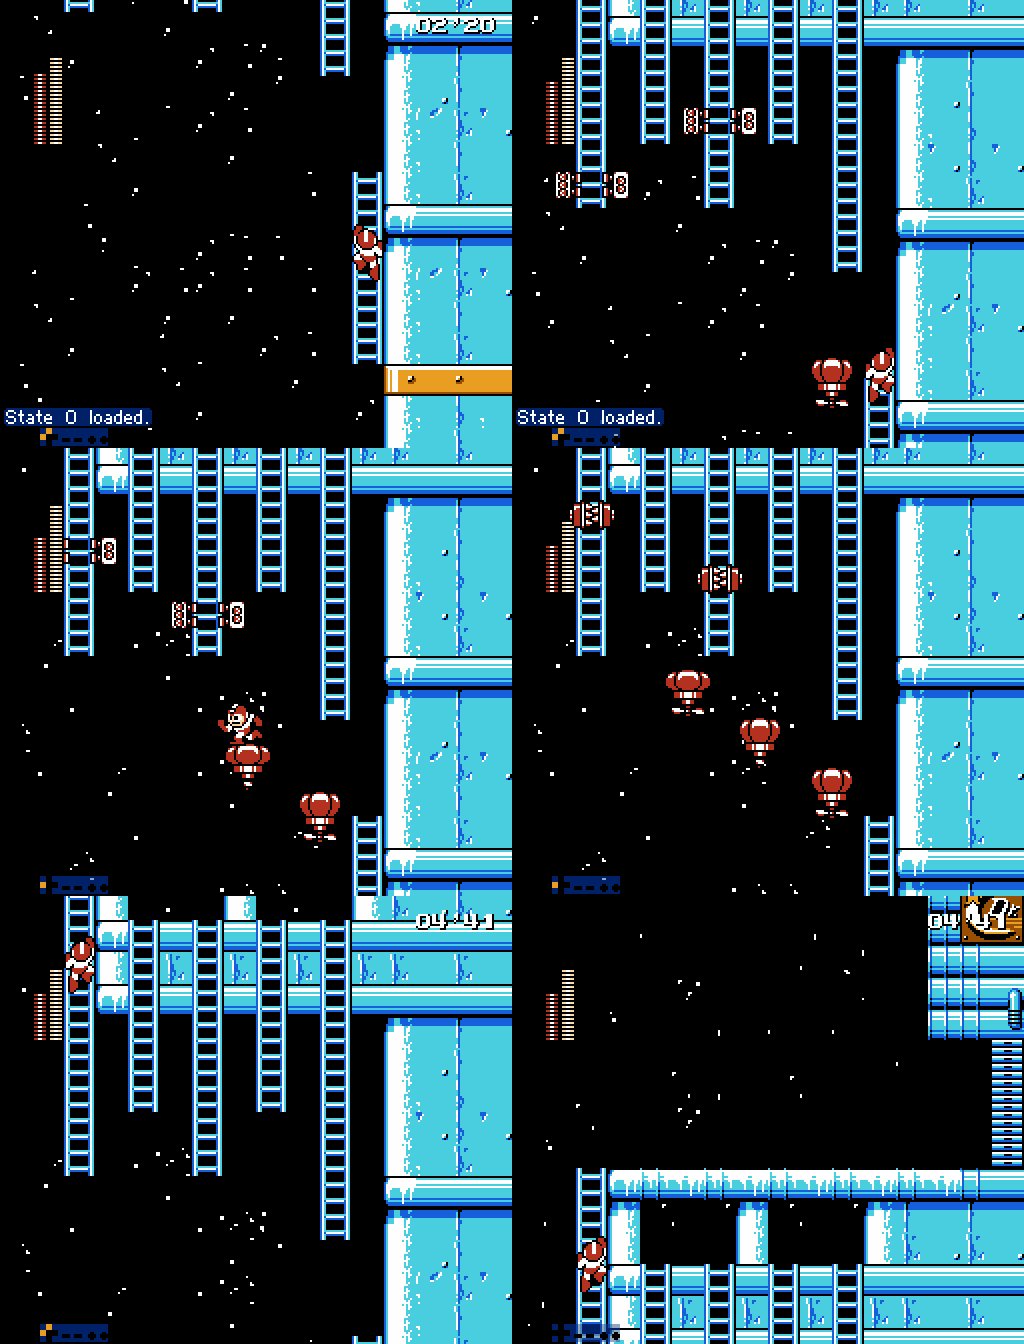
We can speed up that way by reducing the lag we are creating while placing the 2nd balloon.
You can A+B to place the first balloon and take damage right away, you will fall right back on the first balloon, since you already are in control you can also place the second balloon a bit higher to save time. Then you place the last balloon the same as the previous shown way.
Since there's only one block of the ceiling separating the ladders you actually cannot die while being crushed by the Balloon. So it's very safe to slide up there.
Taking 2 damage boosts give you low health, definitely a method to prohibit in case of low health going in this room
World Record way

