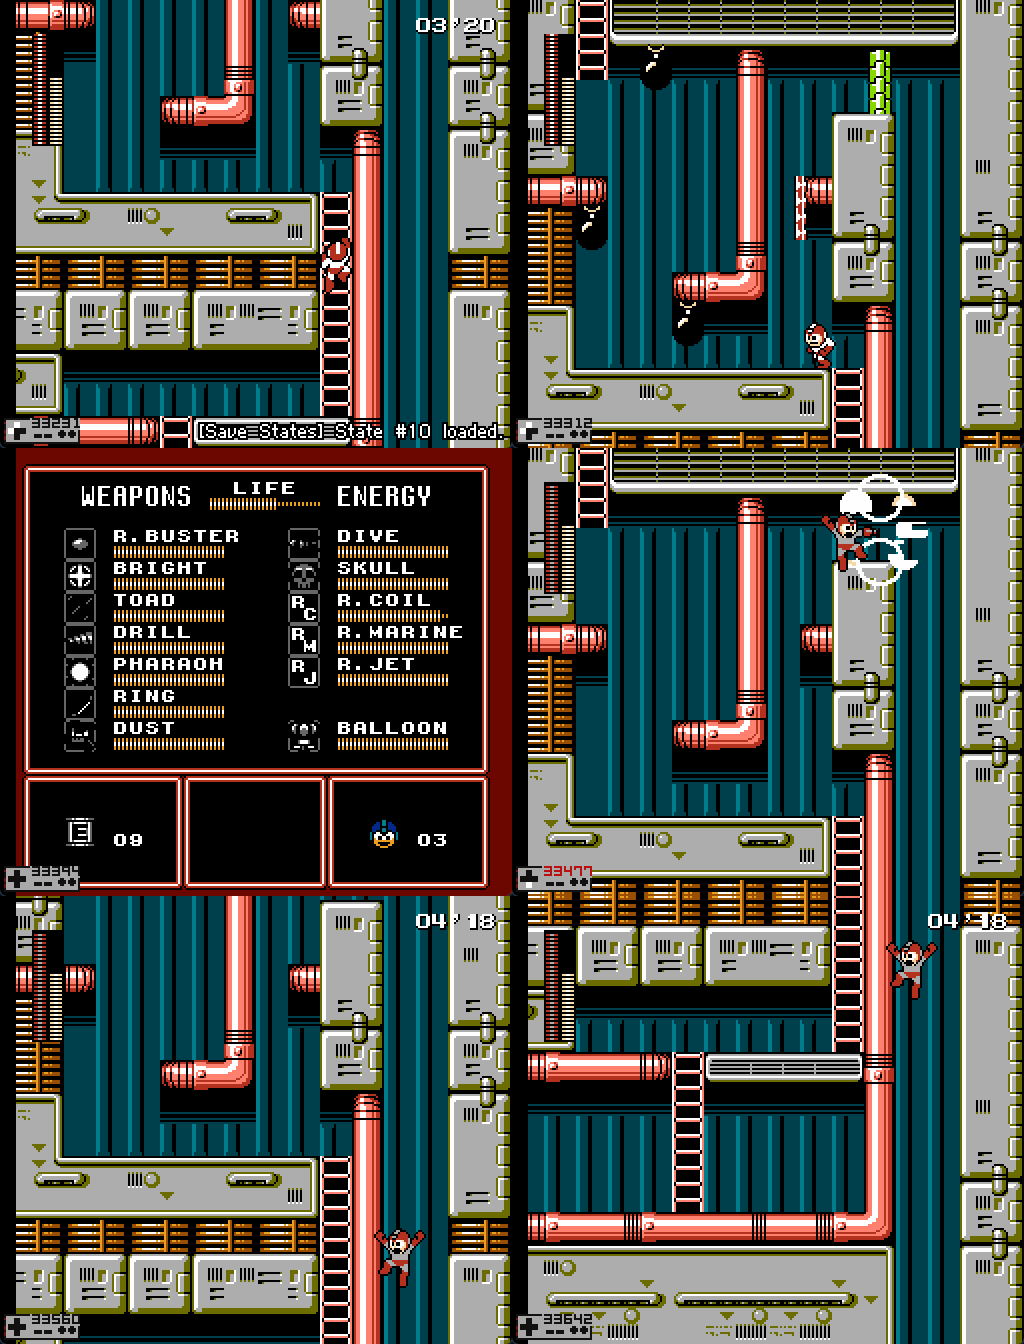
Screen 5 - The Shortcut
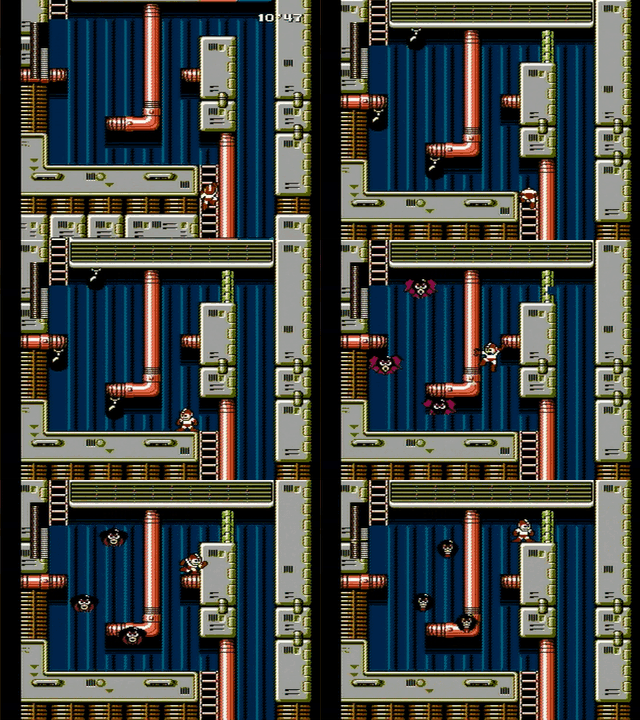
There are two paths through this screen. Going to the top right is faster.
Balloon
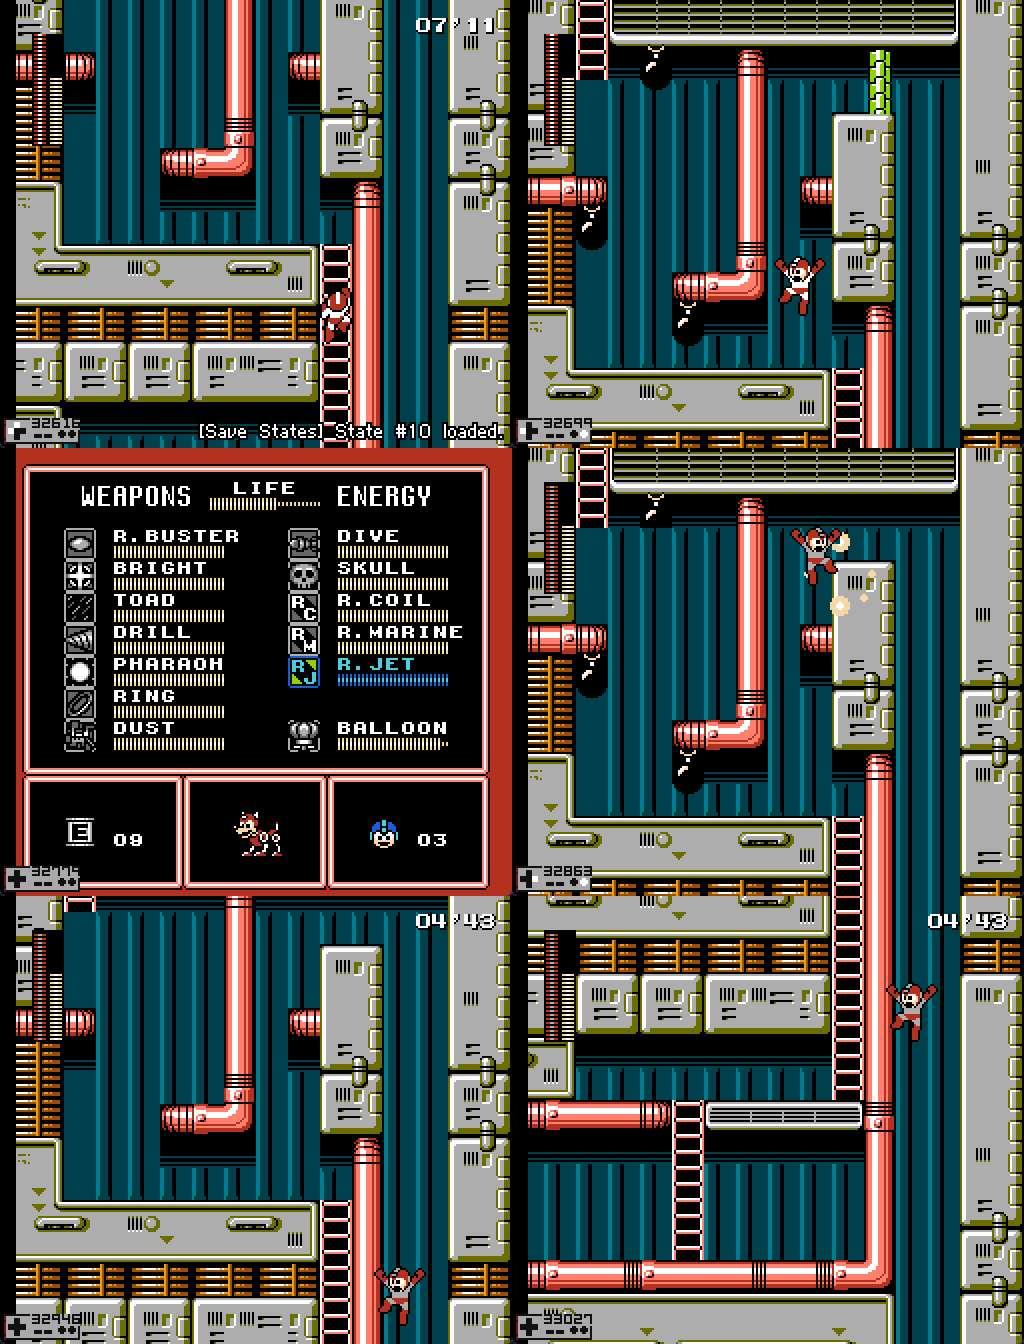
There is a tight space to get a balloon jump and not bonk on the platform above. This is the fastest method as it does not have Rush's pause animation, but it can be tricky.
There's also 2 ways to place it.
High placement
This one involves doing a small right release to do a straight jump to place it higher.
You can then proceed to menu and get rid of the wall as you start falling
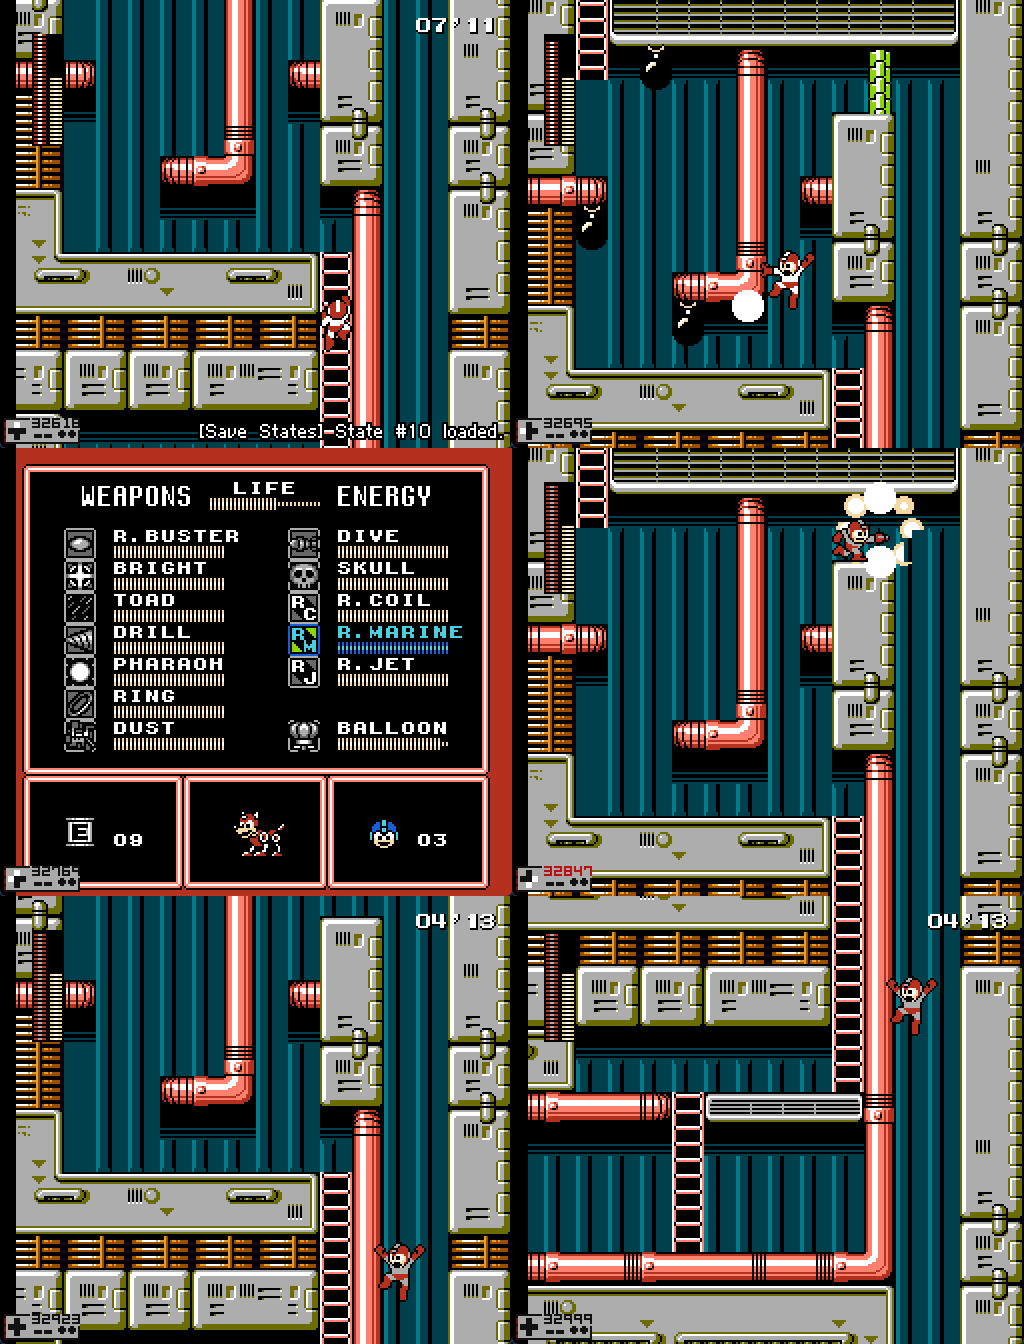
Low placement
This one can be either easier or harder depending of how you feel with the game.
There's severals advantages this can give you.
- Don't need to right release for the placement
- Gives you near perfect height with a max height jump to land immediately on the small ledge (no need to adjust like the heigher placement)
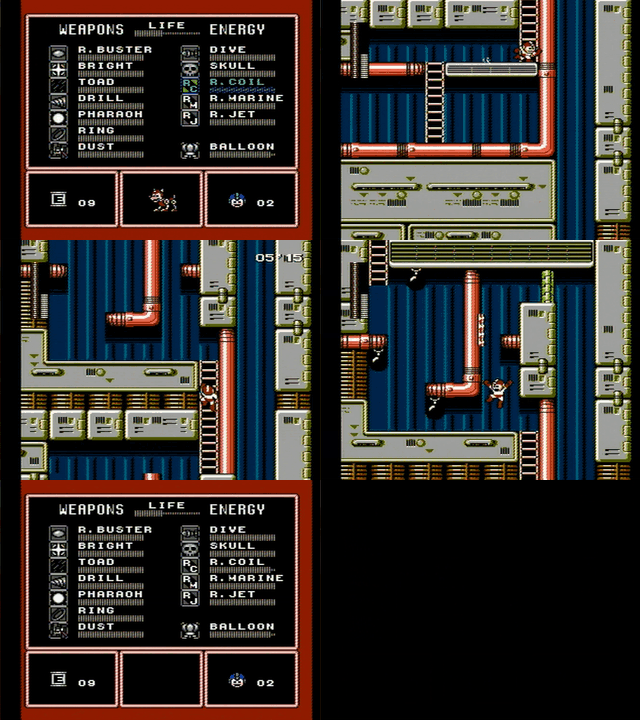
Rush Coil
Simply summon as you grab, and jump on top of it to reach the top
You can optimize the jump by letting Rush boost you instead of jumping on him, this gives you less height so you land quicker on the top ledge.
This is slightly slower due to the Rush Coil animation in the menu. It is however easier to execute, since you can jump against the wall then fall straight down onto Rush.
Next Steps
Use drill to break the wall. Then fall down with Drill still equipped.
There is a potential E-Tank at the bottom of the fall if you still have Drill equipped. This is a useful backup item, but not needed for WR attempts.

