The Climb
The first section of Ring Man's stage goes up. These strats largely depend on having balloon. If you do not and are still playing (presumably a no reset scenario), Bright is the ultimate backup for all things MM4.
Screen 1
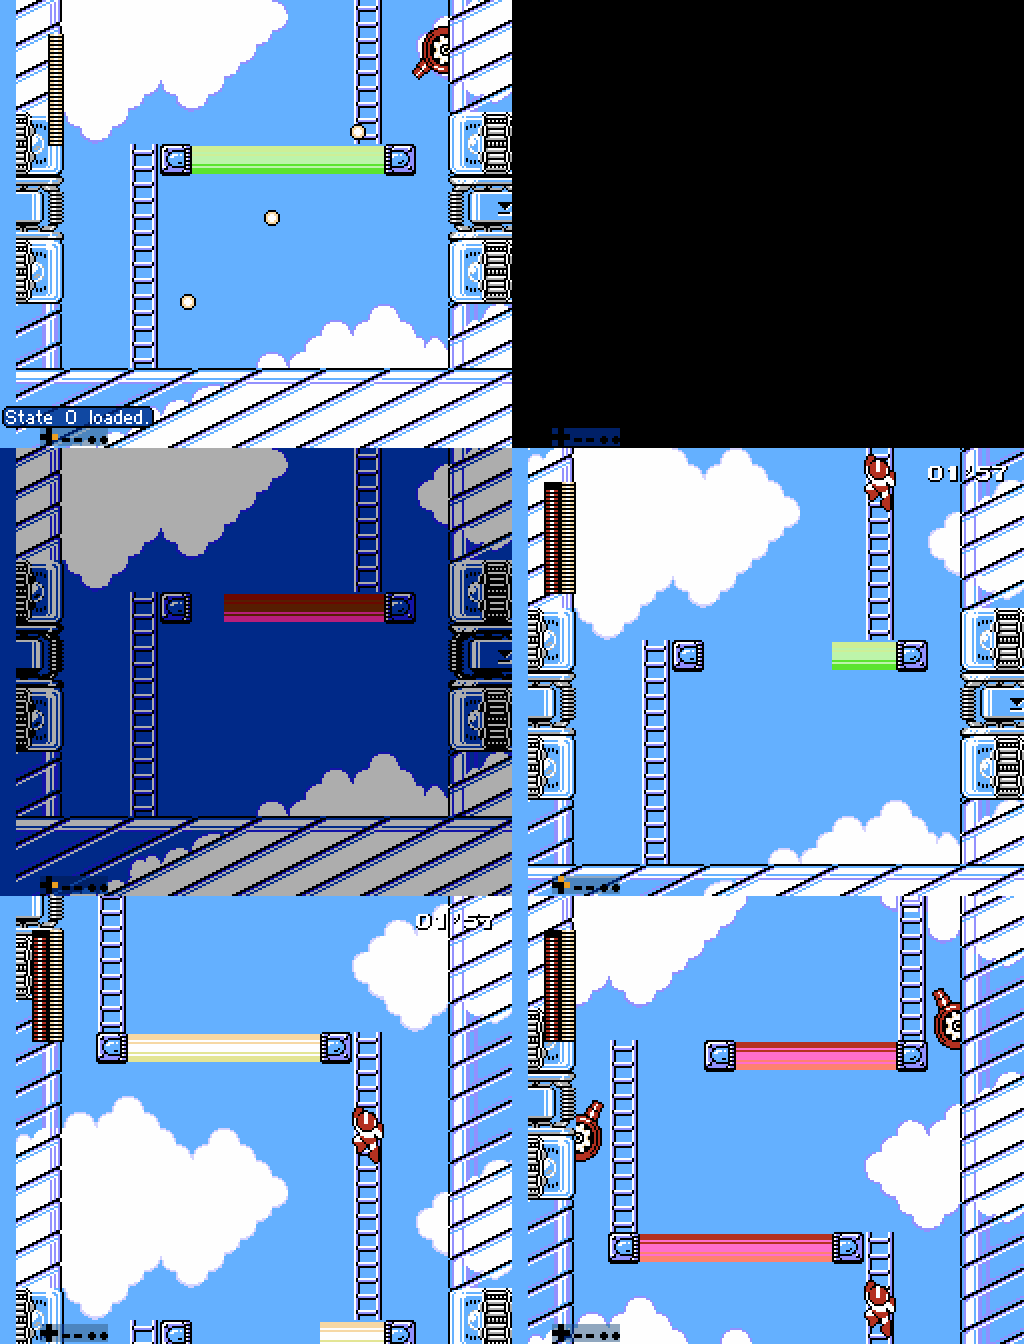
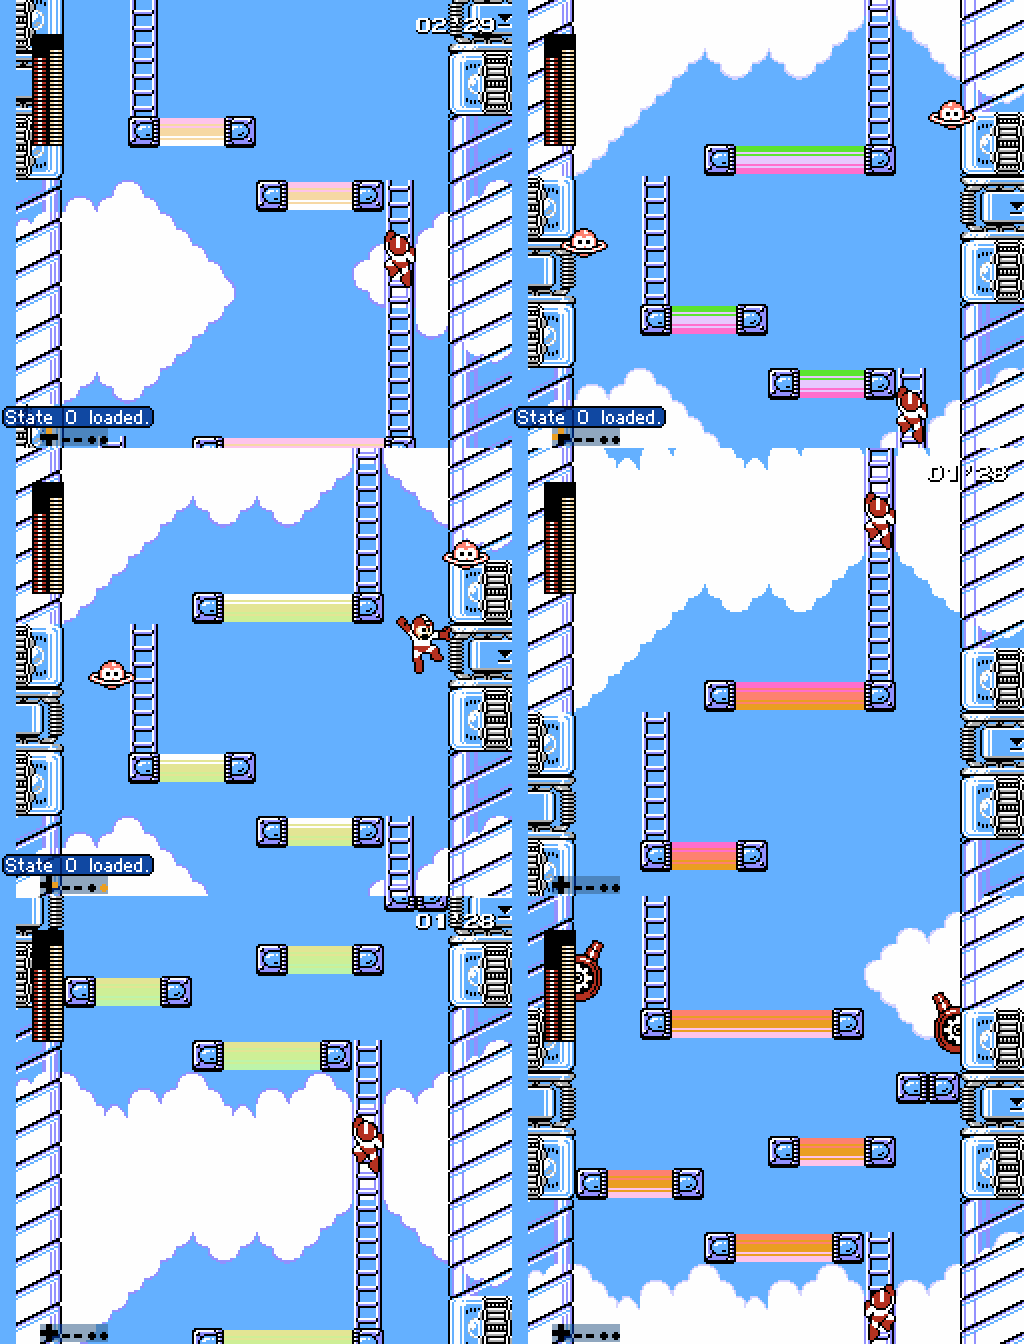
As soon as Mega Man teleports in, pause and switch to balloon. Unpause, jump towards the ladder with a balloon, and grab the ladder as close to the top of the screen as you can.
You have to act fast as the first turret can shoot you out of the air and off the starting platform.
Screen 2
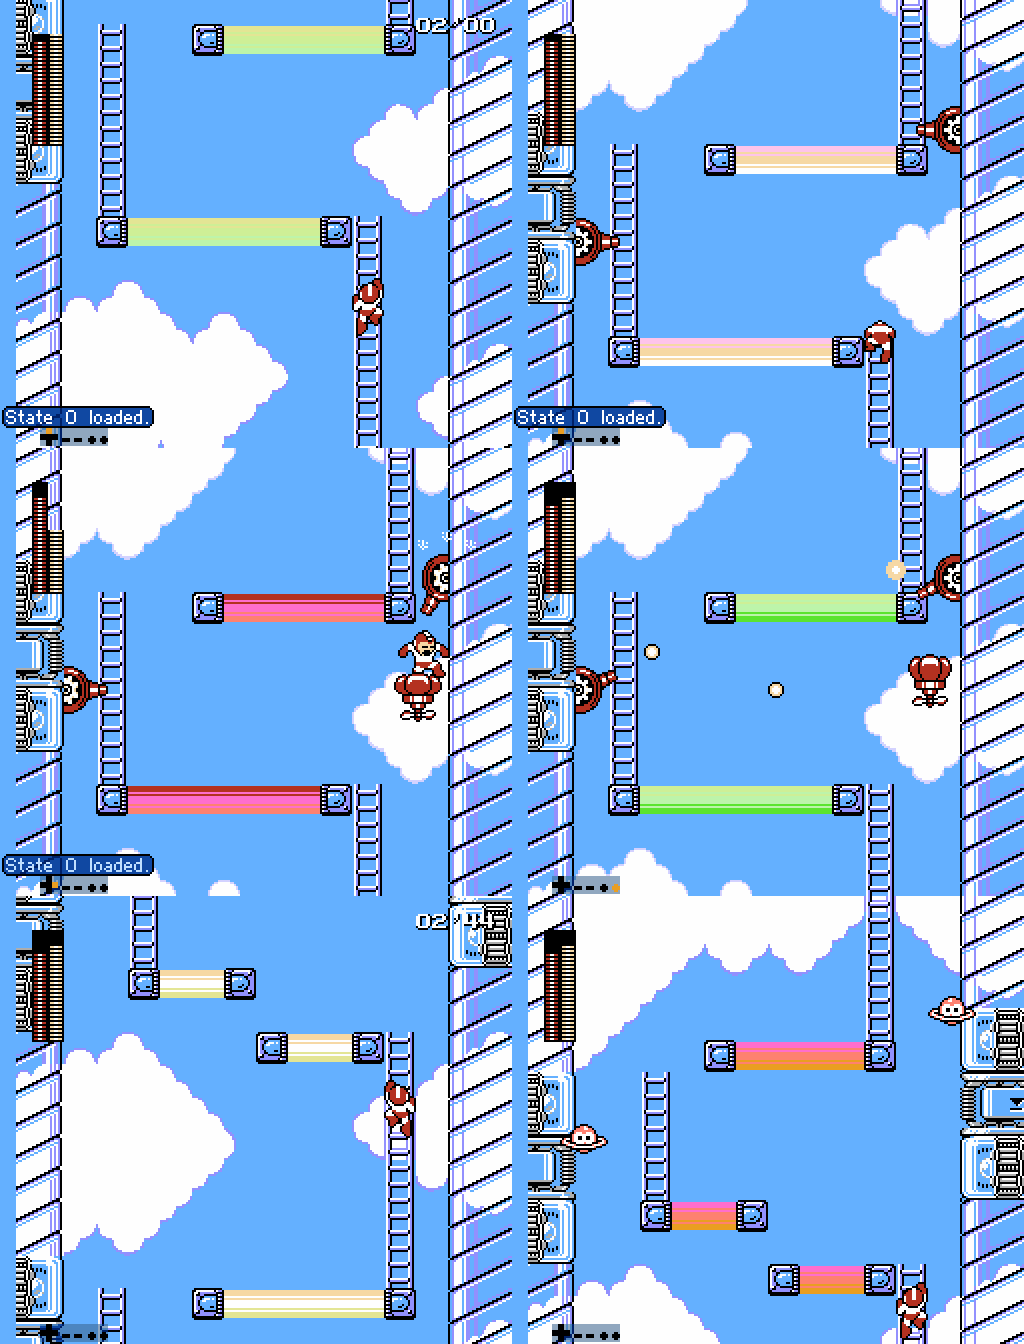
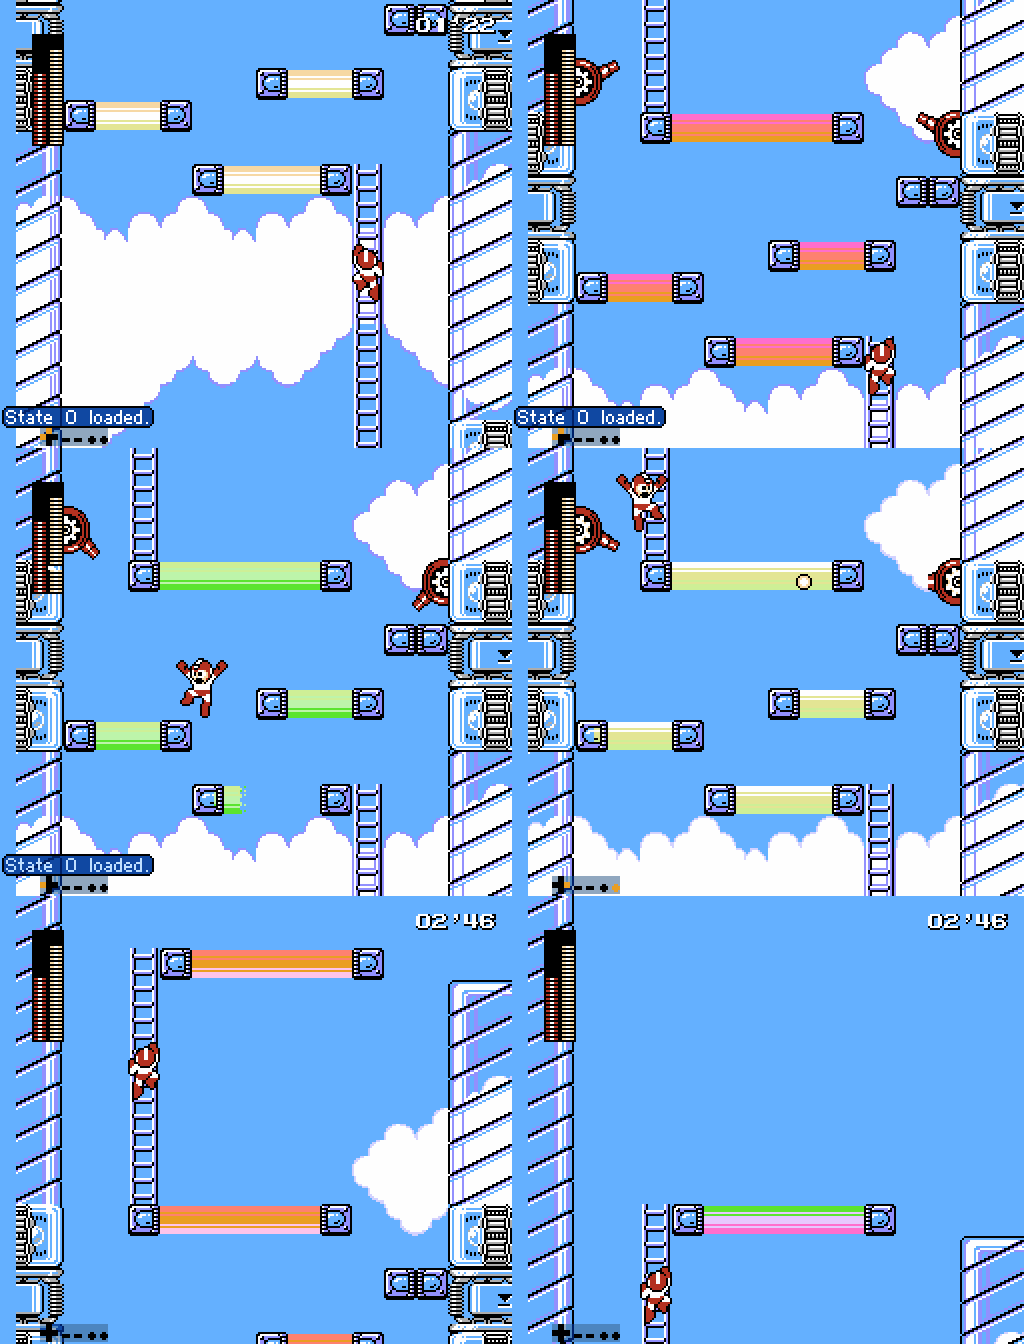
Jump straight up and face right. Place a balloon in the air - not in the wall (don't despawn it). The fastest path involves getting hit by the turrets, so you will get knocked down onto the balloon after the hit, then jump through to continue on.

There are various ways you can speed up the process. They get progressively harder as we go, so you are free to pick the one you feel the most consistent with.
The most obvious is to add an extra balloon to reach the top of the ladder faster
To go even faster with the same method you can very quickly turnaround to the left as you are about to take damage just so you dont move backwards. This allows you to jump immediately to place the 2nd ballon and save some frames
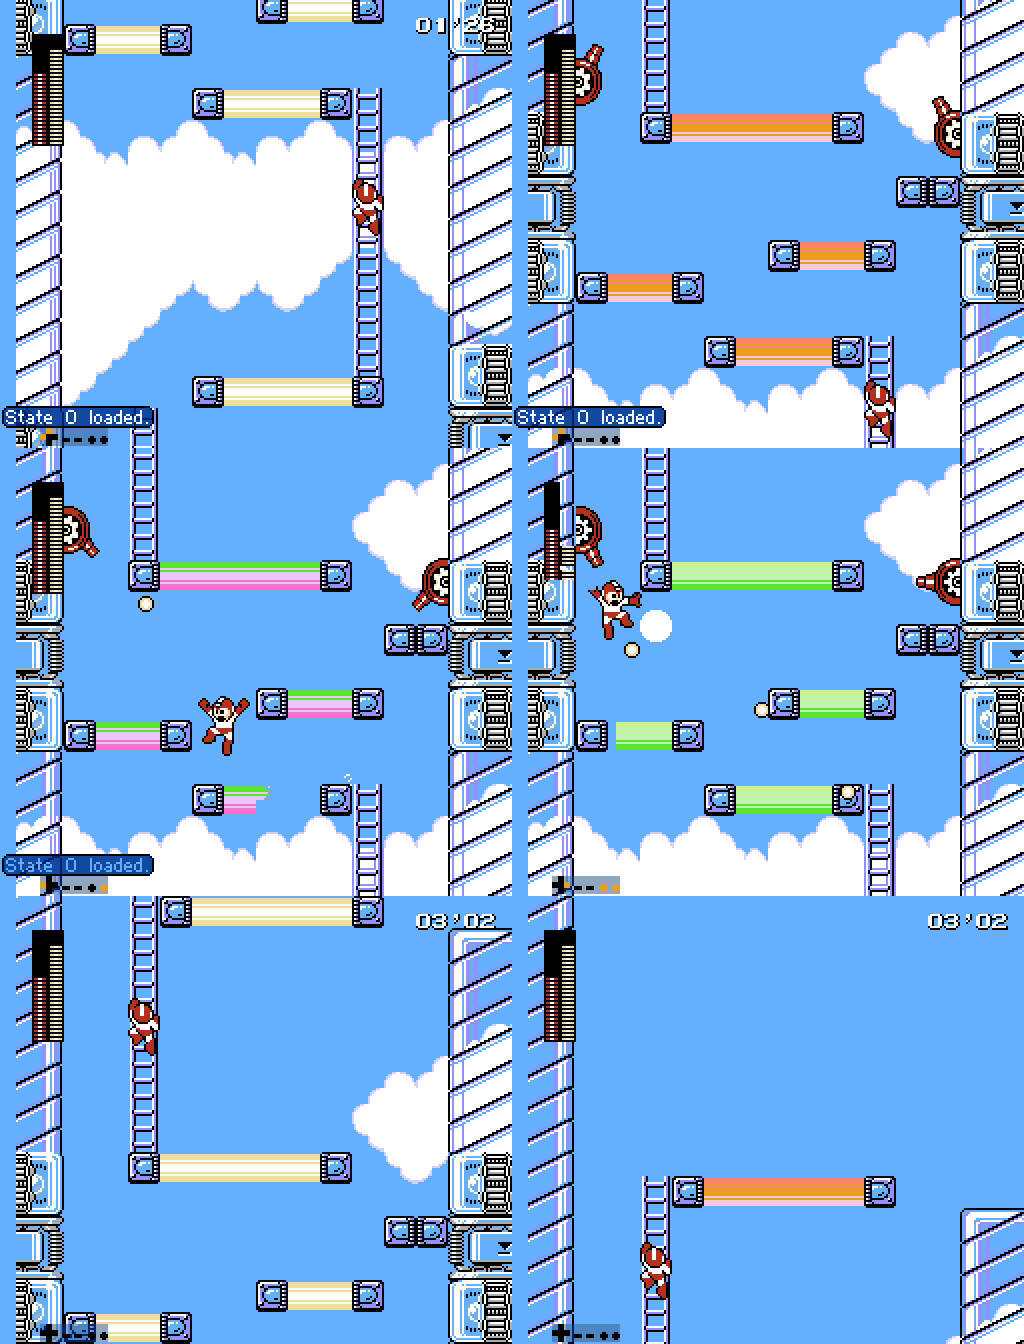
The last most difficult way is to gamble for the turret to shoot you so you can damage boost while facing left very quickly to reach the right side of the screen.
This specific turret has a 25% chance to shoot. Therefore, you need to able to react very quickly in case the turret doesn't shoot.
Shot pattern
No-shot pattern
It's worth noting that we place this balloon slightly higher to make sure when we get the bad pattern, Mega Man gets boosted upwards, so he doesnt get any knockback to the left.
Screen 3 - Balloon Despawn Jump
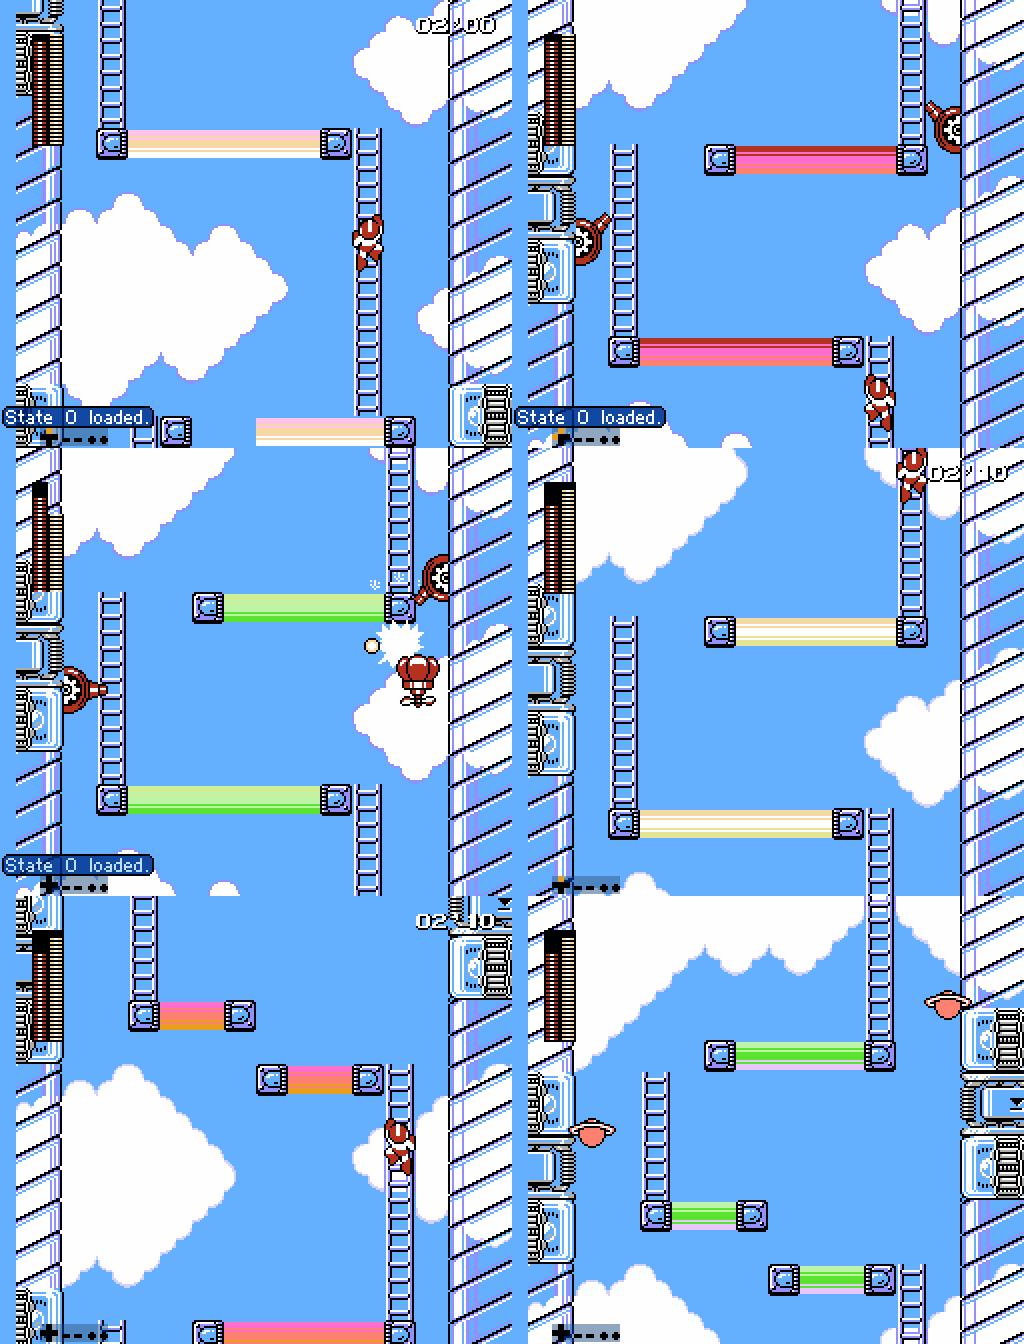
You need to place a balloon high enough to jump to the platform above, and in the wall but still able to land on it for the 16 frames. There is a bit of a rhythm to this, described in the balloon jump technique page.

Just like the previous screen, you can add an additional jump to grab the ladder quicker and save extra frames.
Screen 4 - Two Turrets
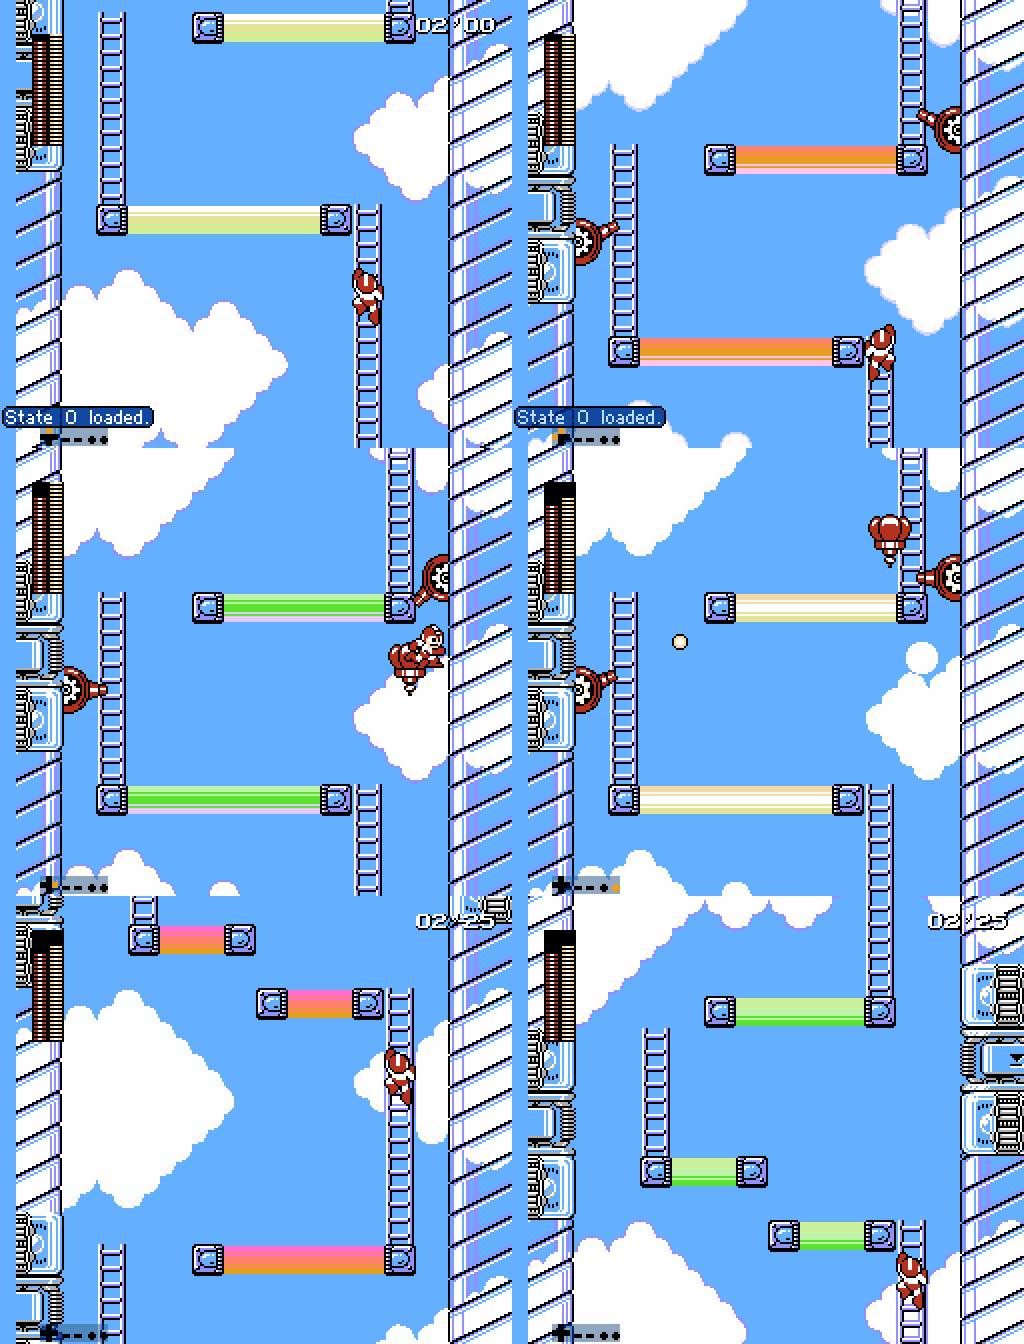
Move as fast as you can to the top left under the turret. The turret can shot and the space to slip through can be tight, so unless it is actively firing you may want to just try your luck.
Estimating the percentage on whenever the turrets can shot is quite difficult as depending of the pattern the will do they may call the RNG more than once. Here's a quick rundown on the RNG for the turrets
| 25% chance of shooting bullets | |
| Bullets | Odds in % |
| 1 | 12,5 |
| 2 | 25 |
| 3 | 75 |
So if you see bullets right away, there's a good chance it will be 3 shots hence its probably better to not go for the instant jump
Good RNG case
Bad RNG case (failed gamba)
Bad RNG case (no gamba)
Most top runners will always try to go for the gamba as the time difference isnt very massive.
Screen 5 - Just go
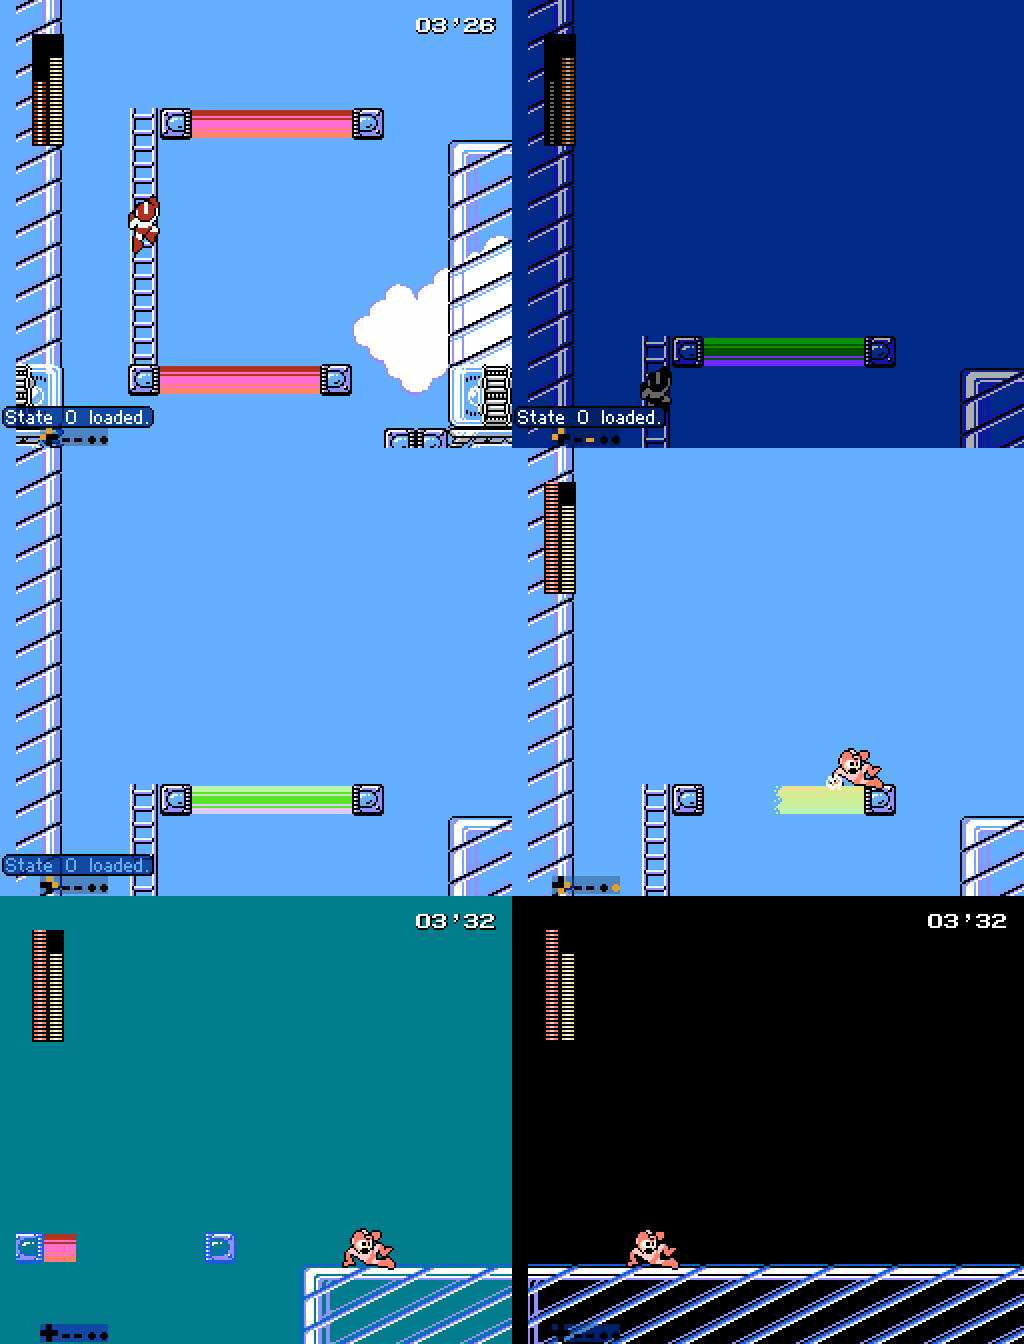
As you climb up the ladder menu to Pharaoh and just slide to the right.
While it's possible to do the last part without the jump, it's extremely unreliable due to subpixels and the timesave is really not worth going for in RTA runs.



No comments to display
No comments to display